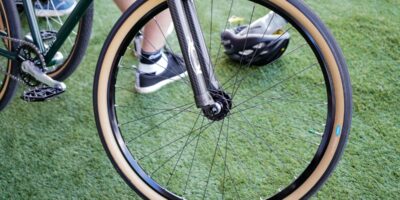

Bottom Bracket Service: Keep Your Crankset Spinning Smoothly
The bottom bracket is the hardest-working bearing system on your bike, enduring constant pressure, exposure to road spray, and substantial loads with every pedal stroke. Understanding bottom bracket types and proper service keeps your drivetrain running efficiently and prevents costly damage.
Understanding Bottom Bracket Types
Threaded Bottom Brackets:
- BSA (English): 68mm width, 1.37 inch x 24 TPI threading, drive side is reverse-threaded
- Italian: 70mm width, 36mm x 24 TPI, both sides thread the same direction
- Cartridge units: Sealed bearings in a single replaceable unit
- External bearing: Cups thread in, bearings sit outside the shell
Press-Fit Bottom Brackets:
- BB86/BB92: 86.5mm or 92mm width, 41mm shell bore
- PF30: 68mm or 73mm width, 46mm bore
- BB30: 68mm or 73mm width, 42mm bore
- Bearings press directly into frame or into cups pressed into frame
Signs Your Bottom Bracket Needs Attention
- Creaking under power: Most common symptom, especially when climbing
- Clicking or popping: Often rhythmic with pedal strokes
- Side-to-side play: Grab crank arm and wiggle – no play should be present
- Roughness: Feel when turning cranks slowly with no resistance
- Grinding: Indicates bearing failure, replace immediately
Diagnosing Bottom Bracket Issues
Before assuming bottom bracket failure, eliminate other causes:
- Pedals: Remove, grease threads, reinstall – often solves creaks
- Chainring bolts: Check torque and grease threads
- Crankarm bolts: Verify proper torque
- Seat and seatpost: Can transmit sounds that seem to come from below
- Cleats: Loose or worn cleats creak at regular intervals
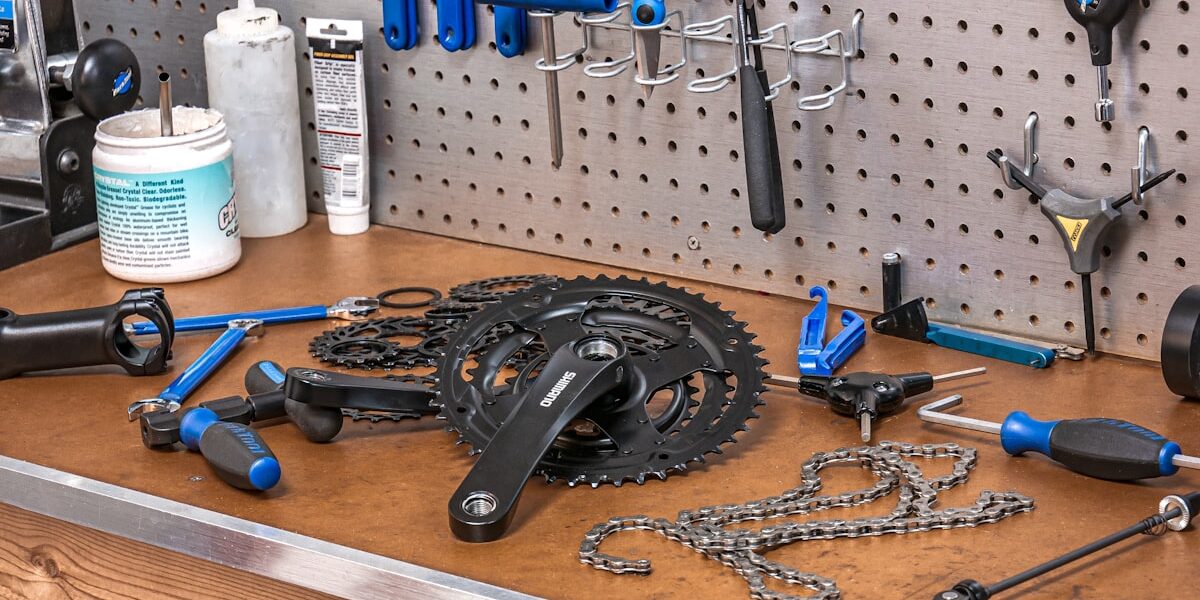
Servicing Threaded Bottom Brackets
Tools Required:
- Bottom bracket tool (specific to your BB type)
- Large adjustable wrench or BB wrench handle
- Crank puller (for square taper and octalink)
- Grease
- Torque wrench
Removal Process:
- Remove crankset following manufacturer procedure
- Identify thread direction (BSA drive side is reverse – turn clockwise to remove)
- Install bottom bracket tool, ensuring full engagement
- Carefully break loose each side
- Remove cups or cartridge completely
- Clean shell threads thoroughly
Inspection:
- Check bearing rotation for roughness or binding
- Inspect cups for corrosion or damage
- Examine shell threads for cross-threading or stripping
- Look for cracks in the bottom bracket shell
Installation:
- Apply grease to shell threads liberally
- Apply anti-seize compound for aluminum into steel or vice versa
- Thread in by hand first to prevent cross-threading
- Tighten to specification (typically 35-50 Nm)
- Install crankset and verify smooth operation
Servicing Press-Fit Bottom Brackets
Tools Required:
- Press-fit BB removal tool
- BB press tool for installation
- Mallet
- Grease
- Clean rags
Removal:
- Remove crankset
- Insert removal tool through shell
- Hook bearing cup from inside
- Tap out with mallet, working evenly around the edge
- Remove both sides
Installation:
- Clean BB shell thoroughly
- Apply thin layer of grease to shell bore
- Align new cups squarely
- Use BB press to press cups in evenly
- Verify cups are fully seated
- Install spindle spacers if required
- Install crankset and check for smooth operation
Preventing Bottom Bracket Problems
- Keep it dry: Avoid pressure washing, dry bike after wet rides
- Regular inspection: Check monthly for play or roughness
- Grease on installation: Threads or bore, depending on type
- Torque to spec: Over-tightening damages bearings, under-tightening causes creaks
- Replace proactively: Do not wait for complete failure
Common Bottom Bracket Problems and Solutions
Persistent creaking:
- Remove, clean, grease, reinstall even if bearings seem fine
- Check spindle interface with crankarms
- Consider threadlocker on press-fit cups
Premature wear:
- Upgrade to higher-quality sealed bearings
- Install protective covers if available
- Service more frequently in harsh conditions
Play that returns after adjustment:
- Bearing cups may be worn
- Press-fit shells may need reaming
- Consider thread-in conversion kits for press-fit frames
When to Seek Professional Help
- Stripped or damaged shell threads
- Press-fit shell tolerance issues
- Unusual bottom bracket standards requiring special tools
- Cracked bottom bracket shell or frame
A well-maintained bottom bracket spins freely and silently, transmitting every watt of power to the drivetrain. Regular inspection and proactive replacement keep you riding smoothly and prevent damage to more expensive components.