Guide to Bicycle Care
Cleaning Your Bicycle
Bicycle cleaning has gotten complicated with all the specialty products and techniques flying around. Do you need a specific bike wash? A special brush set? An ultrasonic chain cleaner? Honestly, no. Start with a bucket of warm soapy water and a soft brush or sponge. That’ll handle ninety percent of it. Focus on the chain, gears, and brakes — those are the areas where grime does the most damage. Rinse everything thoroughly with water and dry the bike with a clean cloth. Keeping things clean prevents rust and keeps your components working the way they should.
- Warm soapy water
- Soft brush or sponge
- Thorough rinse
- Dry with a clean cloth
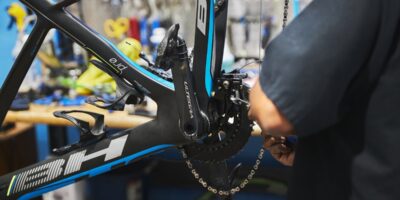
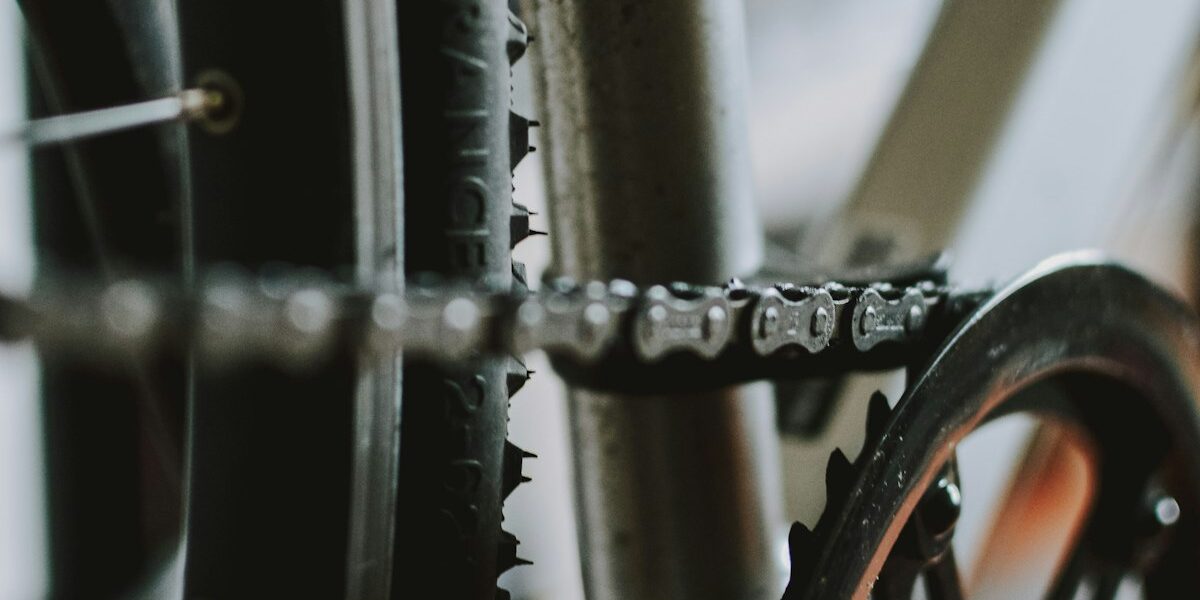
Lubricating the Chain
A well-lubricated chain is the difference between a ride that feels smooth and one that sounds like you’re dragging a bag of hardware behind you. Wipe the chain down with a cloth first to get the old dirt and dried lube off. Then apply a bike-specific lubricant — sparingly. I really mean sparingly. Too much lube just attracts more dirt, and then you’re worse off than when you started. Turn the pedals backward a few times to work the lube into the chain links, then wipe off whatever’s sitting on the surface.
- Wipe chain to remove dirt
- Apply bike-specific lubricant
- Turn pedals backward
- Wipe off excess
Adjusting the Brakes
Probably should have led with this, because your brakes are literally the most important safety feature on your bike. Check the pads for wear and replace them if they’re getting thin. Make sure each pad contacts the rim squarely — if one side hits before the other, you’re losing stopping power and wearing things unevenly. Adjust the cable tension using the barrel adjuster near the brake lever. Then squeeze the lever and make sure the bike actually stops. Sounds obvious, but you’d be surprised how many people ride with brakes that barely work.
- Inspect brake pads
- Adjust brake pad alignment
- Adjust brake cable tension
- Test brake function
Tire Maintenance
Check your tire pressure regularly — ideally before every ride. Use a gauge to make sure you’re within the recommended range printed on the sidewall. While you’re at it, look over the tires for cuts, embedded glass or debris, and worn tread. Riding on bald or damaged tires is just asking for trouble. Replacing them proactively costs a fraction of what a crash or a long walk home costs you in time and frustration.
- Check tire pressure
- Use a pressure gauge
- Inspect for cuts or debris
- Replace worn tires
Inspecting and Tightening Bolts
Loose bolts are sneaky. You don’t notice them until your handlebars shift mid-turn or your saddle drops three inches while you’re climbing. Get in the habit of checking the bolts on your handlebars, stem, seat post, and wheels regularly. Use the right tool — wrong-size Allen keys strip bolt heads, and stripped bolts are a headache you don’t need. Snug everything up, but don’t go gorilla on it. Over-tightening cracks components, especially carbon ones.
- Inspect handlebars, stem, seat post, and wheel bolts
- Tighten with appropriate tool
- Avoid over-tightening
Checking the Gears
Smooth gear shifting makes riding so much more fun. Shift through all your gear combinations and pay attention. Any skipping? Hesitation? Grinding noises? Those are signs something needs adjusting. The derailleur is usually the culprit — tweak the barrel adjuster to fine-tune cable tension. Make sure the derailleur hanger is straight too, because a bent hanger throws everything off. That’s what makes well-tuned gears endearing to riders who put in serious miles — you forget they’re even there, which is exactly the point.
- Shift through all gear combinations
- Adjust derailleur if necessary
- Fine-tune with barrel adjuster
- Check derailleur hanger alignment
Wheel Truing
Wheels should spin straight and true without wobbling side to side. Give each wheel a spin and watch closely. If you see lateral movement, it’s time for some spoke adjustment. Use a spoke wrench and make small adjustments — a quarter turn at a time, max. Alternate sides to keep things balanced. Check frequently as you go. It’s a patience game, but a true wheel rolls better, brakes better, and lasts longer. If you’re new to this, there are great video tutorials out there that walk you through it step by step.
- Spin wheels to check for wobbles
- Use spoke wrench for adjustments
- Tighten or loosen spokes as needed
- Check frequently during adjustments
Replacing Worn Parts
Everything on a bike wears out eventually — tires, chains, brake pads, cables, cassettes, chainrings. The trick is catching wear before it becomes failure. A worn chain that snaps mid-ride can take out your derailleur. Bald tires flat more often. Thin brake pads don’t stop you. Inspect your components regularly and replace them when they’re getting close to the end of their life, not after. Your bike’s manual will have recommended replacement intervals, which are a solid starting point.
- Inspect for worn tires, chains, brake pads, and cables
- Replace worn parts as needed
- Consult bike manual for replacement intervals
Storage Tips
Where you keep your bike when you’re not riding matters more than most people think. A dry, sheltered spot is ideal — garage, shed, or inside the house if you’ve got the room. Use a bike rack or wall hook to save floor space and keep it from getting knocked over. Avoid leaning it against rough surfaces that scratch the frame. And if you’re putting the bike away for a while, do a quick maintenance pass first — clean it, lube the chain, inflate the tires. That way it’s ready to go when you are.
- Store in a dry, sheltered area
- Use a bike rack or hang it
- Avoid leaning against scratch-prone surfaces
- Conduct maintenance before long-term storage