Advanced Bike Care Guide
Last summer I rebuilt a friend’s neglected road bike from the bottom bracket up. He’d ridden it hard for three years with basically zero maintenance beyond pumping up the tires. The chain was so stretched it was skipping gears, the brake pads were worn to the metal backing, and I’m pretty sure the cassette teeth were shaped more like shark fins than proper cogs. It was a project, but we got it running like new. That experience taught me that advanced bike care isn’t about being a perfectionist — it’s about understanding how things work together so you can keep them working well.
Essential Tools
A solid toolkit is the foundation here. Basic stuff like allen wrenches, tire levers, and a pump are obvious. But if you want to do real work, invest in a quality bike repair stand — it holds the bike steady and makes everything easier. Beyond that, you’ll want a chain checker, a bottom bracket tool, and a torque wrench. These aren’t cheap, but they pay for themselves fast when you stop paying shop rates for stuff you can handle at home.
Regular Inspections
Get in the habit of giving your bike a once-over before each ride. Check tire pressure with an actual gauge — squeezing the tire with your thumb doesn’t count. Look the tires over for cuts or anything stuck in the tread. Lift the bike and spin the wheels to check for wobbles or side-to-side play, which tells you a wheel needs truing. Check brake pad wear and alignment while you’re at it. This whole process takes maybe five minutes and can save you from nasty surprises on the road.
Deep Cleaning
A deep clean goes way beyond a quick wipe-down. Pull the wheels off and clean the hubs and spokes individually. Use a brush to really get into the cassette and derailleur — dirt packs in there like concrete if you let it go. Clean the chain with a degreaser and a chain cleaning tool. Rinse everything thoroughly and dry it all to prevent rust. I usually do a deep clean every couple of months, or after any particularly muddy ride. It’s satisfying work, honestly. There’s something about seeing all that built-up grime come off.
Lubrication Practices
Probably should have led with this because proper lubrication is the single biggest thing you can do to extend the life of your components. Apply bike-specific lube to the chain, but don’t drown it. A drop per link, then wipe off the excess. Too much lube attracts dirt and creates grinding paste — the exact opposite of what you want. Don’t forget the derailleur pivot points, brake cables, and pedal threads. One more thing: use dry lube in dry conditions and wet lube when it’s rainy. They’re formulated differently for a reason.
Wheel Maintenance
Wheels take a beating, especially if you ride rough roads or trails. Check spoke tension regularly — a spoke tension meter is the proper tool for this, though experienced mechanics can get close by feel and sound. True the wheels when needed to keep them straight and balanced. Check hub bearings for play or roughness by grabbing the rim and rocking it side to side. Any clicking or looseness means the bearings need attention. And inspect your rims for cracks or excessive wear, especially around the brake track on rim-brake bikes.
Brake System Checks
This is safety, plain and simple. Check brake pad thickness — if they’re getting thin, replace them before they’re down to metal. Inspect brake cables for fraying, or if you’ve got hydraulic brakes, check the lines for damage or leaks. Test the lever feel. If hydraulic brakes feel spongy or soft, they need bleeding. That’s not a hard job, but it does require specific tools and fluid. If you’ve never done it, watch a couple of tutorials first. Getting air out of the system is the whole point, and it takes patience.
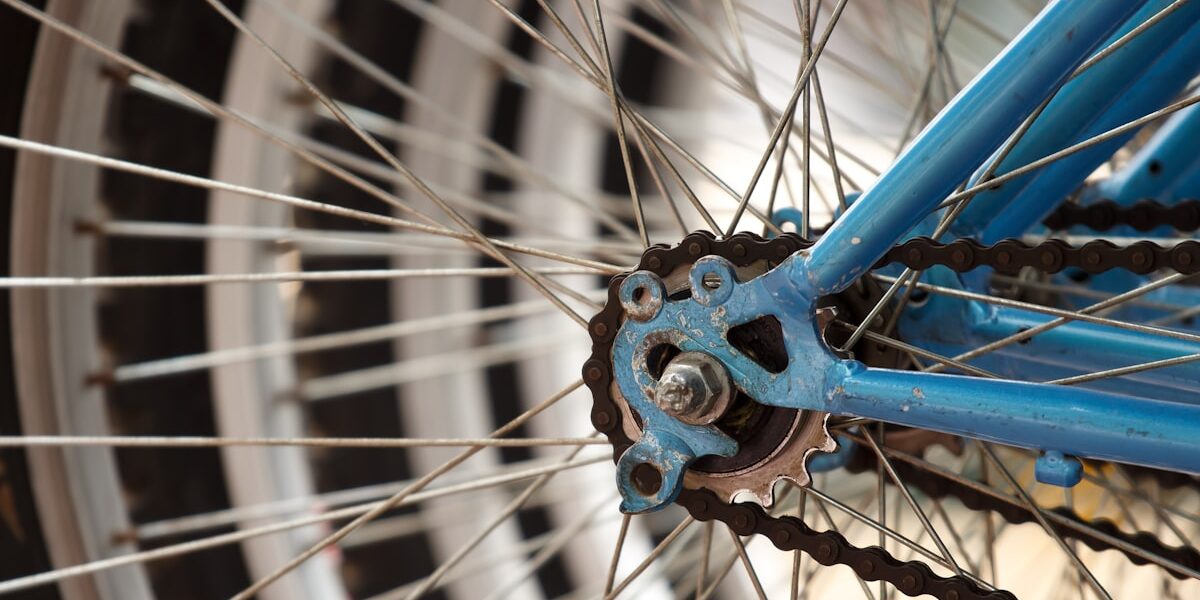
Drivetrain Care
That’s what makes a well-maintained drivetrain endearing to serious cyclists — it shifts crisply, pedals smoothly, and doesn’t make a sound. Clean your chainrings and cassette regularly. Use a chain checker to measure stretch; when the chain hits the replacement mark, swap it out. A worn chain grinds down the cassette and chainrings, and those are a lot more expensive to replace. Adjust your derailleur’s limit screws and indexing so shifts land precisely. And don’t neglect the bottom bracket area — creaking from down there usually means it needs cleaning or servicing.
Suspension Maintenance
Suspension systems are their own world. After each ride, wipe down the shock and fork stanchions. Look for dirt buildup or scratches on the stanchion surface — scratches can damage seals over time. Check and maintain air pressure in air forks and shocks according to the manufacturer’s recommendations for your weight. And get the suspension professionally serviced at the recommended intervals. This usually means an oil change and seal replacement, and it’s not really a DIY job for most people. The improvement in ride quality after a fresh service is always noticeable.
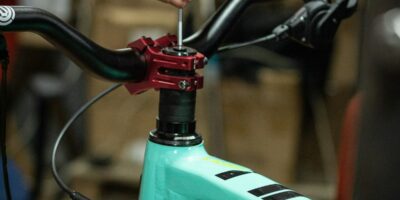
Bolt Tightening and Torque
Check every bolt on the bike periodically. A torque wrench isn’t optional for this — it’s required. Over-tightening can crack carbon parts or strip aluminum threads, and under-tightening can mean parts come loose while you’re riding. Neither is good. Pay special attention to the stem, handlebar, and seat post bolts. These are the ones most likely to cause problems if they’re not right, and they’re the ones most people just crank down by feel. Don’t be that person.
Caring for the Frame
Inspect your frame after any crash or hard impact, no matter how minor it seemed. Look for cracks, dents, or paint damage that could indicate something worse underneath. Carbon frames are particularly tricky because damage can be internal and invisible. Keep the frame clean to prevent dirt from rubbing through paint and protective coatings. Use frame protection tape or stickers on areas that get hit by chain slap or cable rub. And store the bike indoors if you can — UV exposure and weather aren’t doing your frame any favors.
Handlebar and Stem
Check the handlebars and stem for any signs of stress or fatigue, especially on aluminum parts which can develop cracks over time. Make sure everything is properly aligned and tightened to spec. Replace grips or bar tape if they’re worn, torn, or getting slippery. And verify that the headset is properly adjusted — there shouldn’t be any play when you grab the front brake and rock the bike forward and back. A loose headset wears itself out and makes the steering feel vague.
Saddle and Seatpost
Your saddle should still be comfortable. If it’s showing wear or the cover is damaged, it’s probably time for a new one. Clean and lightly grease the seatpost to keep it from seizing in the frame — especially if you have an aluminum post in a carbon frame or vice versa. Check your saddle height and angle periodically. Bodies change, flexibility changes, and what felt perfect six months ago might not feel right anymore. Small adjustments can make a big difference in comfort on longer rides.
Electrical Components
If you’re running electronic shifting, lights, or a bike computer, keep those systems in check too. Check battery levels before heading out — nothing worse than your Di2 dying mid-ride and leaving you stuck in one gear. Clean the connectors and look for signs of corrosion, especially if you ride in wet conditions. Update firmware for electronic shifting systems when the manufacturer releases updates. They sometimes fix bugs or improve shift quality, and the process is usually pretty straightforward through a smartphone app.