Figure Out Which Side Is Rubbing First
Bike brake rubbing has gotten complicated with all the conflicting advice flying around. Half of it tells you to start yanking on your caliper bolts immediately. Don’t. Spend two minutes figuring out what you’re actually dealing with before you touch anything.
This article includes affiliate links. We may earn a commission at no extra cost to you.
Here’s the diagnostic that actually works. Take your bike somewhere quiet and spin the wheel slowly by hand. Just listen. Is the rubbing constant — a steady scritch-scritch-scritch that happens every single rotation? Or does it fade in and out, getting louder at one specific point, then backing off?
Constant rub means caliper misalignment or uneven pad wear. Same spot, every revolution. That’s your fast fix.
Intermittent rub — the kind that swells and shrinks as the wheel turns — points somewhere else entirely. Bent rotor. Out-of-true rim. The brake isn’t your problem. The wheel is.
No truing stand? Good, because most people don’t own one. Grab a zip tie and attach it to your fork leg or seatstay so the tail hangs just barely clear of the rotor or rim edge. Spin the wheel and watch the gap. When it gets tight, you’ve found your bent section. Costs nothing. Works on every bike I’ve tested it on — including a 2019 Trek Marlin that had been rattling around in my truck bed for six months.
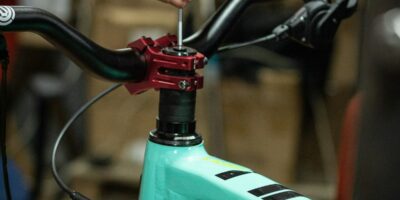
How to Fix a Rubbing Disc Brake Caliper
Disc brake rubbing is usually a centering problem. The caliper drifted slightly, pulling one pad closer to the rotor than the other. Simple cause. Annoying symptom.
Start by loosening the two bolts clamping the caliper to the frame or fork. Not all the way off — just loose enough that the caliper can slide laterally. Most modern bikes take a 5mm Allen key. Spin the wheel. The rotor should pass through without grazing either pad.
Once it spins free, squeeze the brake lever hard three or four times. This centers the caliper hydraulically — the pistons push evenly on both sides and the caliper finds its natural resting position. Hold pressure on the lever while you tighten both bolts evenly. Snug them alternately: bolt A a quarter turn, then bolt B a quarter turn. Repeat. Tightening one bolt all the way down first pulls the caliper sideways every time. I learned that the hard way on a Shimano MT200 caliper I spent forty-five minutes fighting before figuring out what I was doing wrong.
Don’t make my mistake. Most calipers spec out at 6 to 8 Newton-meters. Hand-tight plus a quarter turn gets you close enough for trail repairs.
Release the lever. Spin the wheel again.
Probably should have opened with this section, honestly — this fix works about 70% of the time and takes five minutes if you have an Allen key sitting around.
If rubbing persists, check your caliper mount type. PostMount calipers — two bolts straight into the frame or fork, standard on most bikes made after 2015 — center more predictably than older IS mounts. IS mounts sometimes need a shim spacer on one side. These run about three dollars and come in 0.2mm increments. Worth having a few in your kit.
Peer through the caliper slot with a light source behind the rotor. You want even daylight on both sides between rotor and pad. If one pad sits flush against the rotor with zero visible gap, that piston probably isn’t retracting fully. Push it back gently using a flathead screwdriver or a plastic tire lever — not aggressive, just enough pressure to create roughly 1mm of clearance.
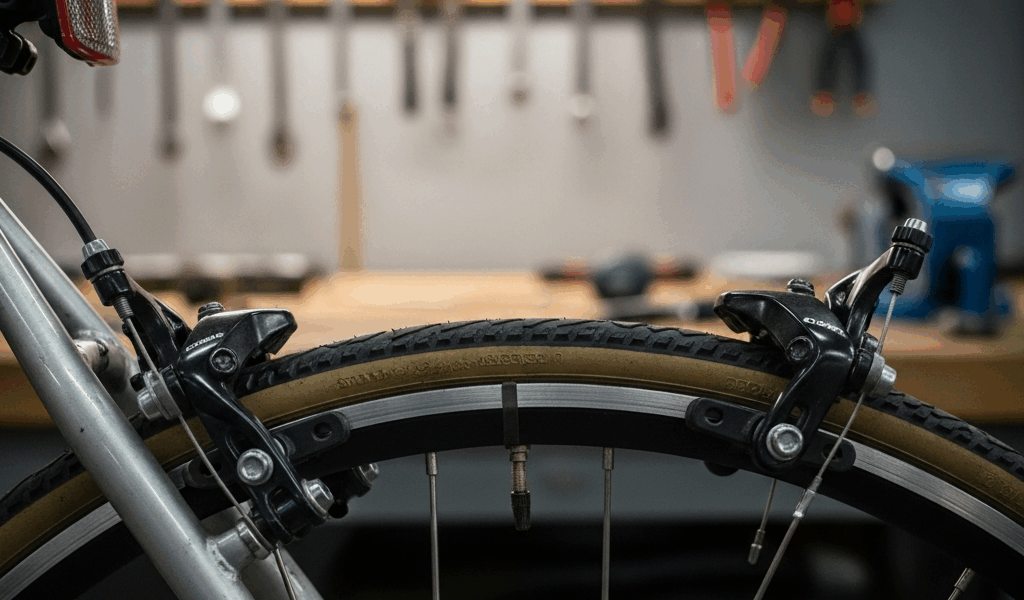
How to Fix Rubbing on a Rim Brake
Rim brakes are simpler machines. Fewer moving pieces means fewer things to diagnose.
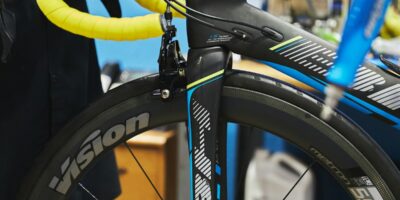
On dual-pivot calipers — the standard setup on most older road bikes and plenty of hybrids — the barrel adjuster is your first stop. It’s the threaded collar on the cable housing right where it enters the caliper body. Turn it counterclockwise a quarter turn. This releases a bit of cable tension and pulls the brake shoes back from the rim. Spin the wheel. Rub getting quieter? You found it. The caliper was over-tensioned and pulling one pad into the rim constantly.
If the barrel adjuster doesn’t change anything, look for the centering screw — sometimes called the set screw — on the caliper face or occasionally on the brake lever itself. Small Allen fitting, usually 2mm or 2.5mm. Turning it adjusts spring tension on the non-braking side, nudging that pad away from the rim. Half a turn makes a noticeable difference. Go slow.
Older single-pivot brakes? Loosen the main pivot bolt, push the lever until the pads sit centered on the rim, and retighten. Crude, but effective.
If one pad is dragging and the spring tension looks fine on both sides, that pad might just be worn at an angle. New rim brake pads run $10 to $20 and take about ten minutes to swap. Glazed pads — shiny, hard surface from heat exposure — also drag more because they’ve lost their grip and don’t spring back cleanly. Replace them. Resurfacing is genuinely a waste of your afternoon.
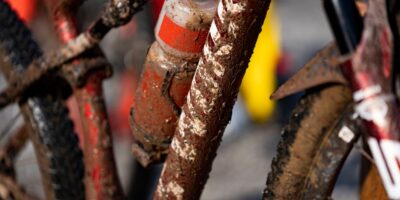
Bent Rotor or Untrue Rim — When the Rub Moves
Rubbing that shifts position as the wheel spins means the wheel itself is the problem. Not the brake.
For disc brakes, watch the gap between the rotor edge and the caliper opening during a slow, deliberate spin. That gap should stay constant. If it opens and closes rhythmically as the wheel turns, the rotor is warped.
Minor bends — we’re talking quarter-millimeter deflections — respond well to a rotor truing fork. These run $20 to $40. The Park Tool BTD-1 is what I keep in my workshop, though the Birzman version works just as well at the same price. Spin the wheel slowly. At the point where the rotor comes closest to the caliper, slide the fork prongs around either side of the rotor and apply gentle outward pressure. That’s it. Small bends straighten out quickly.
Significant bends — pads rubbing hard, rotor visibly sitting more than 1mm off-plane — need a proper truing stand or a mechanic. Forcing heavy corrections by hand risks creasing the rotor. A creased rotor is a replaced rotor.
Untrue rims show the same moving-rub symptom on rim brake bikes. Minor lateral wobble responds to spoke tension adjustment. The Park Tool SW-15 spoke wrench costs about $15 and covers most common nipple sizes. Tighten spokes on the side the rim is pulling away from, loosen slightly on the opposite side. This is delicate, iterative work — small adjustments, then spin and check, then repeat.
Be honest with yourself here. If you’ve never trued a rim before, a mechanic visit beats a guessing game that turns a 30-minute fix into a three-hour mess. I’ve watched it happen. More than once.
Rub Comes Back After You Fix It — What That Means
Fixed it yesterday, rubbing again after two rides. That pattern has three usual suspects — and I’m apparently someone who’s encountered all three on the same bike within a single season, so the Specialized Stumpjumper ST I rode in 2022 basically wrote this section for me.
First thing to check: the through-axle. Modern disc brake bikes use through-axles that must thread completely and bottom out firmly. A slightly loose axle — even barely perceptible — lets the wheel shift laterally under braking load and throws the rotor out of alignment. Grab the lever and confirm it’s fully threaded and locked down. Hand-tight, then lever down to the frame.
Second suspect: worn hub bearings. Spin the wheel, then grab the rim and try to wiggle it side to side. Any play at all — any — means the bearings need adjustment or replacement. This isn’t a brake problem. It looks like one, but it isn’t.
Third: a bent derailleur hanger. A minor hanger bend shifts frame geometry slightly and can transfer stress to the caliper mounting point. If your bike has recently taken any kind of impact — dropped in the parking lot, bumped hard on a trail — check the hanger with a derailleur alignment tool before assuming the brakes are at fault.
The pattern I’ve seen most consistently: loose through-axle. If the rub keeps returning after you’ve fixed everything else, that’s the first place I go. Every single time. Tighten it, spin the wheel, ride it, check again.
Quick checklist before calling the job done: through-axle fully seated and locked. Rotor bolts torqued to spec — usually 2 to 3 Newton-meters. Caliper bolts torqued evenly. Pads not glazed, springs not bent or deformed. Wheel spinning true with no lateral play. Check every box and the rub stays gone.

Stay in the loop
Get the latest bike maintenance pros updates delivered to your inbox.