A customer rolled in last week with a crank arm so wallowed out the spindle spun freely in the pedal hole. The cause? He’d hand-tightened his pedals and ridden for six months. What started as a quiet click became terminal damage. The repair: new $200 cranks because someone skipped a torque wrench.
Why Pedal Torque Matters
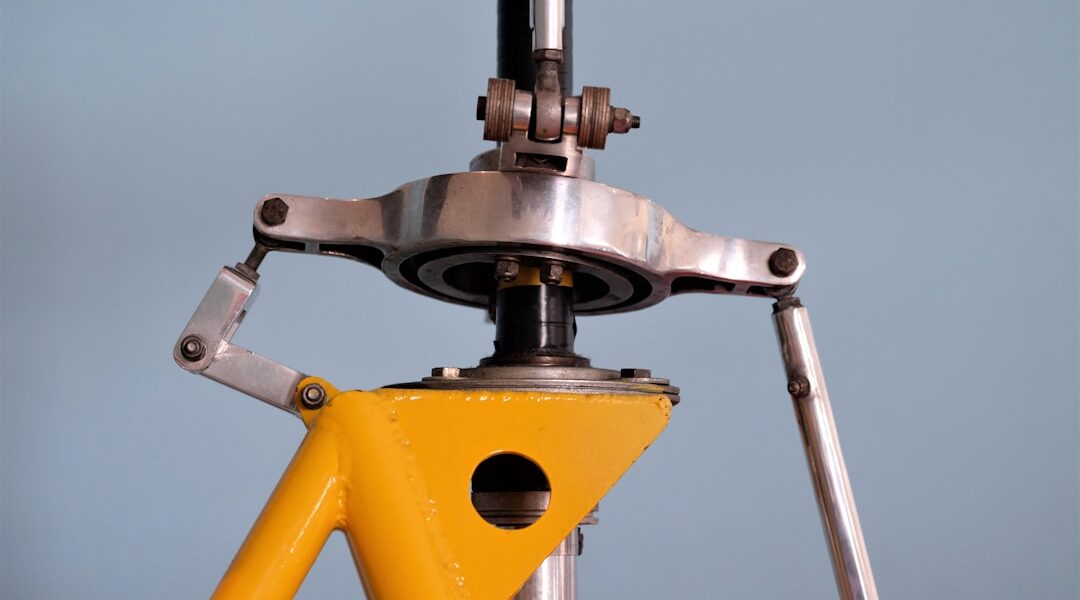
Pedals thread into aluminum or carbon crank arms with steel or titanium threads. This dissimilar material interface creates unique problems:
Under-torqued pedals move microscopically under load. Each pedal stroke applies lateral and rotational force. That movement wears the aluminum threads. Over time, the hole becomes oblong, the threads strip, and the pedal falls out—taking the crank’s useful life with it.
Over-torqued pedals stress threads beyond their design limits. Aluminum threads can strip during installation if torque is excessive. Worse, over-tight pedals become nearly impossible to remove later, often requiring destructive extraction.
The solution is simple: follow the torque spec.
The Correct Torque Range
Most manufacturers specify 35-40 Nm (300-350 in-lbs) for pedal installation. This applies to standard 9/16″ x 20 TPI pedal threads, which covers nearly all adult bikes.
Shimano: 35-55 Nm depending on model
Look: 40 Nm
Time: 35-40 Nm
Crankbrothers: 35-40 Nm
SPD variants: Generally 35-40 Nm
Check your specific pedal’s documentation, but 35-40 Nm is the safe default for most systems.
The Installation Process
Step 1: Identify left vs. right. Right pedal (drive side) threads clockwise to tighten. Left pedal (non-drive side) threads counter-clockwise to tighten. This prevents pedaling motion from loosening them. Most pedals are marked “R” and “L” on the spindle.
Step 2: Clean threads. Remove old grease, inspect for damage. Crank threads should be clean and intact. Pedal threads should show no signs of cross-threading.
Step 3: Apply grease. A thin coat of waterproof grease on pedal threads serves two purposes: easier future removal and prevention of galvanic corrosion between steel pedal and aluminum crank.
Step 4: Hand-thread first. Start the pedal into the crank by hand. If it won’t thread smoothly, stop—you may be cross-threading. Pedals should spin in easily for several turns before requiring tools.
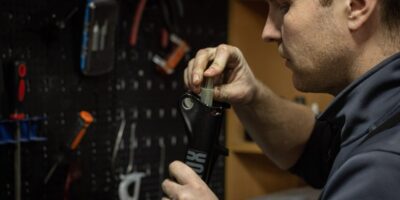
Step 5: Torque to spec. Use a torque wrench with a pedal wrench adapter, or a pedal wrench with your torque wrench. Tighten to 35-40 Nm. You’ll feel the threads seat firmly without excessive force.
Signs of Improper Torque
Clicking while pedaling: If you hear a click synchronized with pedal strokes, check pedal tightness immediately. This clicking is the pedal moving in the crank—the beginning of thread damage.
Pedal looseness: A pedal that can be wiggled in the crank is under-torqued. Remove, inspect threads, re-grease, and install to proper torque.
Visible thread damage: If aluminum threads look torn, stretched, or missing sections, the crank may be beyond saving. Thread repair kits (helicoil inserts) sometimes work, but replacement is more reliable.
The Hand-Tight Trap
Some riders reason that since pedals thread in a self-tightening direction (the right pedal tightens as you pedal forward, the left pedal also tightens as you pedal forward), hand-tight is sufficient. Physics will take care of the rest.
This is dangerously wrong. The self-tightening effect only works if the pedal is already tight enough to eliminate play. A loose pedal has enough movement that the self-tightening precession doesn’t occur reliably. Instead, the micro-movement damages threads progressively.
Additionally, hard accelerations and torque spikes during climbing apply forces that hand-tight installations can’t withstand. Professional-grade torque is mandatory.
Removal Best Practices
Stuck pedals are the other side of this equation. To prevent removal nightmares:
- Annual removal and re-greasing prevents corrosion bonding
- Penetrating lubricant applied hours before removal helps with stuck pedals
- Correct removal direction: right pedal turns counter-clockwise, left pedal turns clockwise (both toward the rear wheel)
- Long-handled pedal wrench provides leverage for stubborn installations
If a pedal is truly seized, clamp the crank arm (protected with soft jaws) and apply steady pressure with a long wrench. Impact drivers sometimes work but risk cracking the crank arm.
The Torque Wrench Investment
A basic beam-style torque wrench costs $25-40 and covers this and many other cycling applications. A click-style torque wrench runs $50-100 and provides more precise, repeatable results.
Compare that to the $150-400 cost of new cranks when stripped threads require replacement. The torque wrench pays for itself the first time you use it correctly.
Every component on your bike has a torque spec. The pedal-crank interface is one of the most unforgiving when ignored. Don’t learn this lesson the expensive way.

Stay in the loop
Get the latest bike maintenance pros updates delivered to your inbox.