Dropper Post Service: Fix Slow or Stuck Posts
Dropper posts transform mountain bike handling by allowing quick saddle height adjustments on the fly. But these complex mechanisms require maintenance to keep functioning smoothly. Learn to diagnose common problems and perform basic service to keep your dropper reliable.
How Dropper Posts Work
Most droppers use one of two mechanisms:
- Hydraulic cartridge: Oil-filled damper controls speed (Fox Transfer, RockShox Reverb)
- Mechanical/Air: Air spring with mechanical release (OneUp, PNW, many budget options)
The remote lever releases a valve that allows the post to move, while an air spring or mechanical spring returns it to full height.
Common Dropper Problems and Causes
Post Won’t Return (or Returns Slowly):
- Low air pressure (air-sprung models)
- Cable tension too tight
- Internal cartridge issue
- Contamination in cartridge
Post Won’t Drop:
- Cable not pulling actuator
- Stuck valve mechanism
- Seized post from lack of maintenance
Post Drops Under Rider Weight:
- Air pressure too low
- Internal seal failure
- Cartridge needs service or replacement
Basic Maintenance (All Droppers)
Monthly:
- Clean post shaft with damp cloth
- Apply light suspension lube to shaft
- Cycle post several times to distribute lube
- Check remote lever cable for fraying
- Ensure lever moves freely and returns
Every 50 Hours:
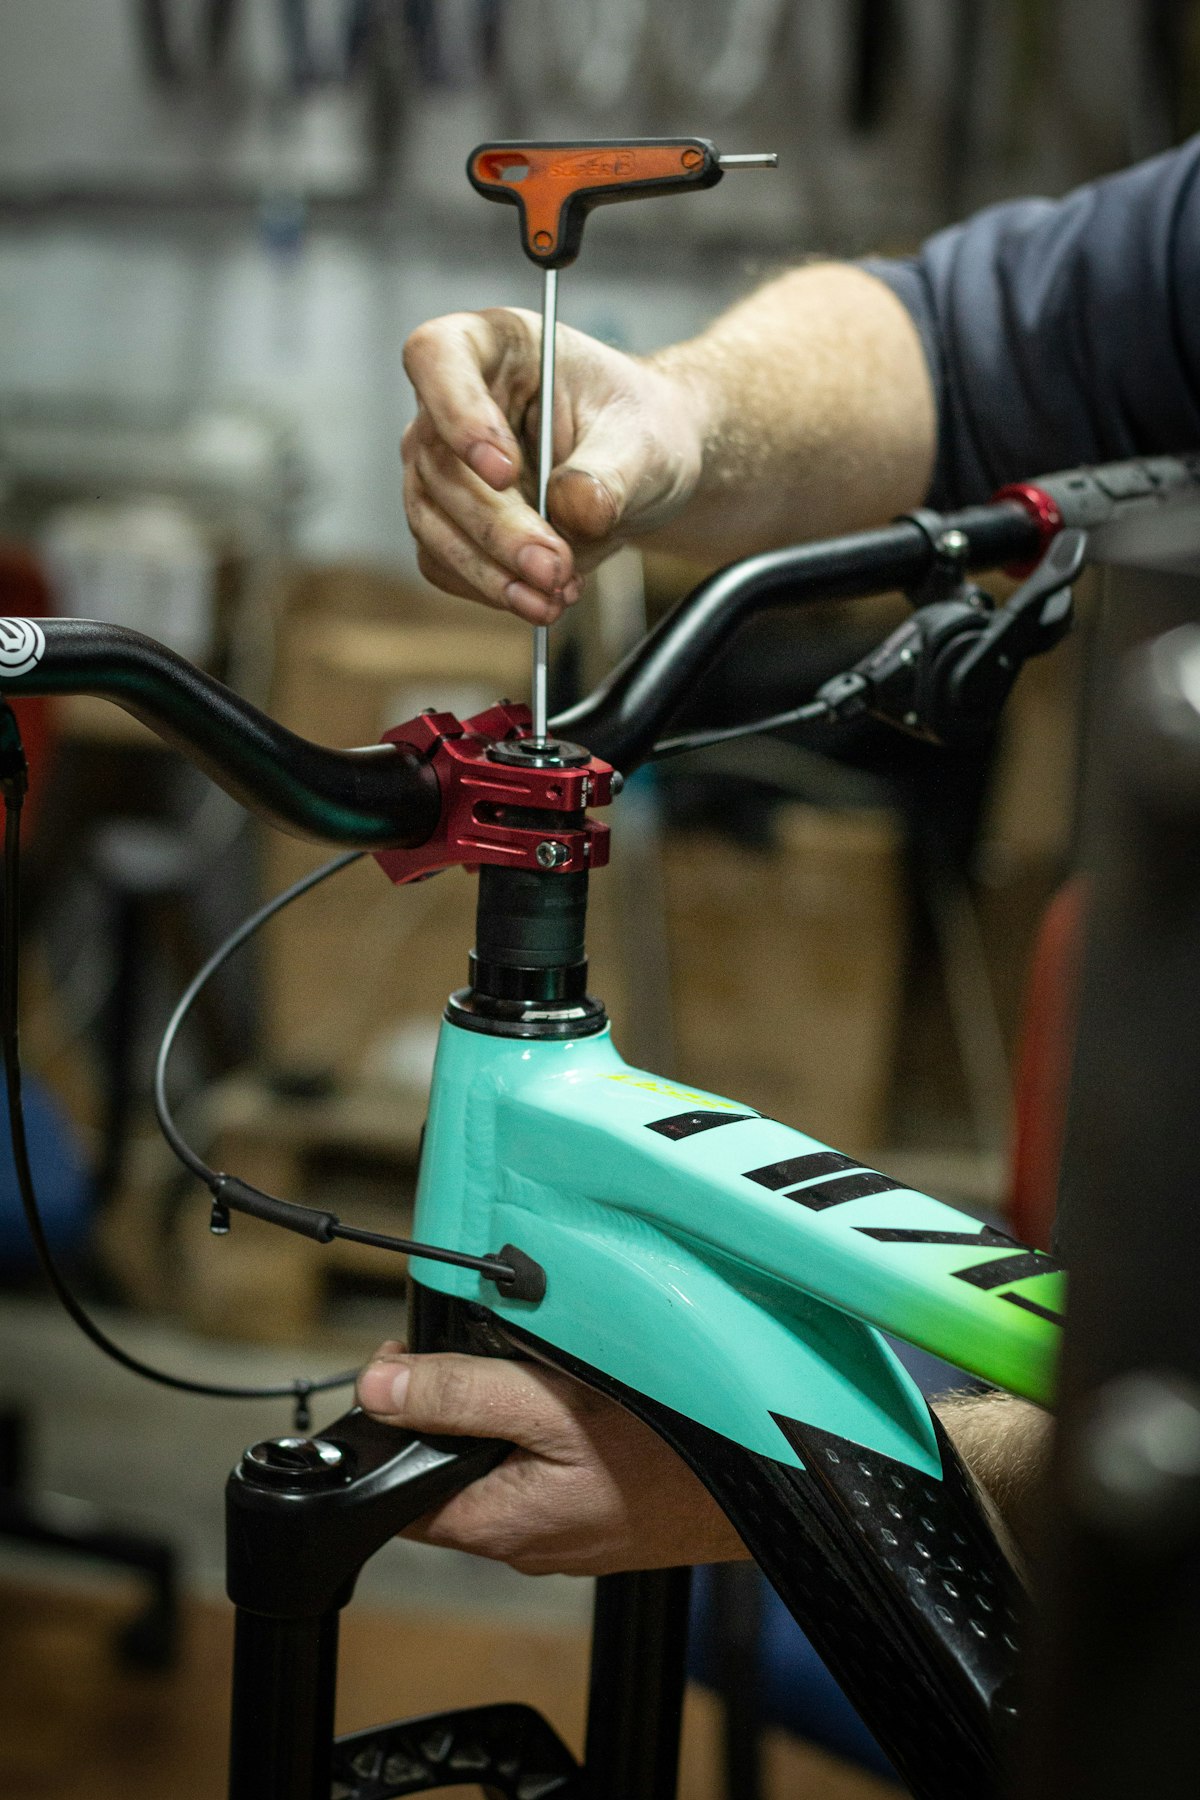
- Remove post from frame
- Clean shaft thoroughly
- Inspect wiper seal for damage
- Apply fresh grease to shaft
- Check air pressure (air-sprung models)
Air Pressure Check and Adjustment
Many droppers have air springs that require periodic pressure checks:
- Locate air valve (usually at bottom or top of post)
- Remove dust cap
- Attach shock pump carefully
- Check pressure (typically 150-250 PSI depending on model and rider weight)
- Adjust pressure: higher for faster return, lower for slower
- Remove pump and replace dust cap
Pressure Guidelines:
- Lighter riders (under 150 lbs): 150-200 PSI
- Medium riders (150-180 lbs): 200-230 PSI
- Heavier riders (over 180 lbs): 230-250 PSI
Cable Service
Internal and external dropper cables need attention:
- Disconnect cable at post actuator
- Remove cable from housing
- Inspect for fraying, kinks, or corrosion
- Clean housing with compressed air
- Apply light cable lube before reinstalling
- Replace cable annually or when damaged
- Adjust tension: should have slight slack when released
When to Seek Professional Service
- Cartridge making grinding or clicking noises
- Oil leaking from cartridge
- Post won’t hold position (slips down)
- Complete rebuild needed (every 200+ hours)
- Hydraulic remote system issues (Reverb AXS, etc.)
Extending Dropper Life
- Keep post extended when not riding to prevent seal compression
- Avoid pressure washing directly at seals
- Clean and lube after wet/muddy rides
- Don’t exceed maximum insertion depth
- Use frame sag correctly – don’t rely on dropper for fit
Basic dropper maintenance takes 10-15 minutes and prevents most common issues. A well-maintained dropper should provide years of reliable service with only occasional professional cartridge service needed.


Stay in the loop
Get the latest bike maintenance pros updates delivered to your inbox.