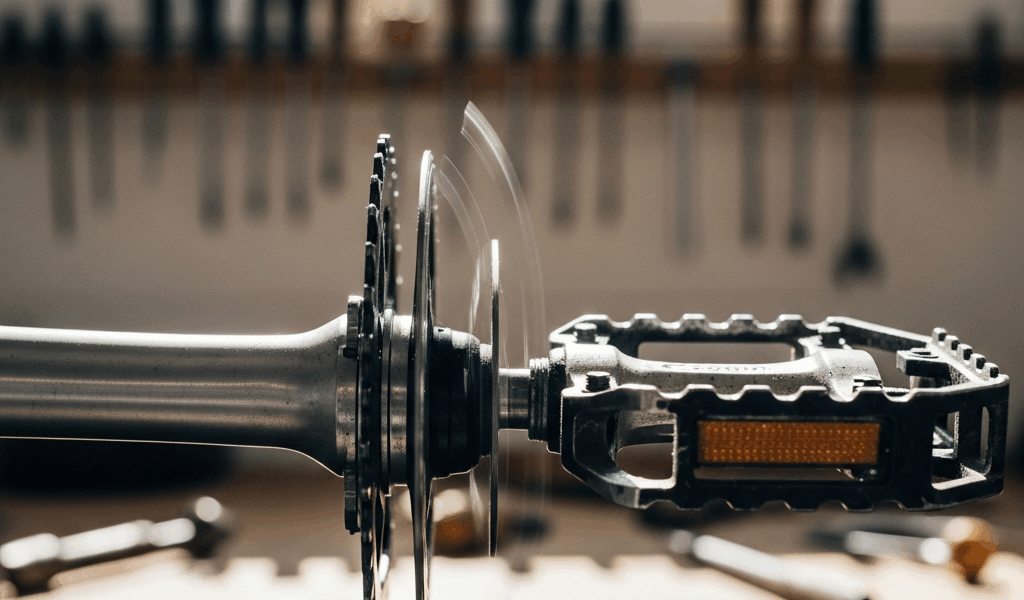
How to Tell If Your Pedal Spindle Is Actually Bent
I’ve spent enough time sitting on mechanic’s benches—both as a customer and someone learning the trade—to know that bent pedal spindles get misdiagnosed constantly. Riders come in convinced their bottom bracket is shot. Then we spin the pedals by hand and the real culprit becomes obvious. A bent spindle creates a signature feel that’s distinct from a loose crank or a worn BB.
Here’s what to do. Remove your foot from the pedal and grab it by the platform. Don’t unclip if you’re in clipless pedals—just step out. Spin the pedal in the forward direction. What you’re listening for is straightforward: smooth rotation or something wrong.
A healthy pedal spins freely with a barely perceptible wobble from the bearing preload. You might hear a soft whisper of sound. That’s normal. Now feel for lateral play—grab the pedal body and try to wiggle it side to side. There should be zero movement. If the spindle is bent, you’ll feel a distinct side-to-side slop, especially noticeable at one particular point in the rotation. That’s the hallmark sign.
The second thing to test is the binding spot. Spin the pedal slowly. A bent spindle will often create a tight zone—a point where the pedal resists rotation. It’s not smooth resistance like a tight bearing. It’s a catching sensation, like the spindle is trying to ride up one side of the bearing cup. As you continue spinning, the resistance releases. This on-off binding is the tell.
Probably should have opened with this section, honestly. The grinding feeling you might notice is different from both binding and play. Grinding means bearing damage, not spindle bending. If you hear a grinding sound when there’s no play, the bearings themselves are likely shot. That’s a different repair path entirely.
What you’re not looking for: small stress cracks in the pedal platform itself (those require full replacement anyway), clip wear on clipless pedals (that’s normal wear), or resistance that decreases as the pedal warms up (usually just stiff bearing grease working itself loose). Ruled out those false positives? If you feel side-to-side play when you grab the pedal body, the spindle is compromised.
The Three Ways to Fix a Bent Pedal Spindle
Once you’ve confirmed a bent spindle, you have three actual options. They sit on a spectrum of cost, skill level, and risk.
Option 1: True It Yourself With a Pedal Truing Tool
Cost: $20–$40 for the tool. Time: 30–45 minutes. Success rate: 60–70%.
This is the cheapest path. You’ll need a pedal truing tool—brands like Park Tool make them, around $35—and a vice or bench clamp. The tool holds the spindle while you apply measured pressure to straighten it. The risk is obvious: apply too much force and you crack the spindle entirely, forcing you to buy a replacement anyway. But if you’re methodical, you can often save the pedal.
Option 2: Press a Replacement Spindle Into the Pedal Body
Cost: $30–$60 for the spindle kit, plus $20–$40 if you take it to a shop. Time: 2–3 hours if you own a press, or one shop visit. Success rate: 95%.
This is the middle ground. Many pedal brands—Shimano, Look, Crank Brothers—sell spindle-only replacement kits. You press the old spindle out and the new one in. It requires a hydraulic press or arbor press to do right. Most home mechanics don’t own one. A local shop will do this for $20–$40, which means total cost sits around $50–$100. It’s nearly foolproof once the spindle is pressed in.
Option 3: Replace the Entire Pedal
Cost: $40–$120 per pedal. Time: 5 minutes. Success rate: 100%.
The simplest route. You unscrew the old pedal, screw in a new one, and you’re done. New pedals come with fresh bearings, a straight spindle, and a warranty. The only downside is cost—you’re paying for everything, not just the damaged part.
Step by Step Truing a Bent Spindle at Home
Caught by a curb strike on the local trail, I once tried to true a spindle using a vice and a rubber mallet. Didn’t work. Here’s the better method.
Install the pedal truing tool according to the manufacturer’s instructions. The tool typically clamps around the spindle and has a window where you can see the bend. Secure it in the vice with the spindle horizontal. Tighten the vice gradually—not hard enough to crush the spindle, but firm enough that it won’t slip.
Now apply pressure. Use a rubber mallet or a dead-blow hammer, never a regular hammer. Tap gently at the bend. Check your progress every quarter turn by spinning the pedal in the tool and watching the spindle rotation. It should gradually straighten.
The critical mistake is over-correcting. You bend it back, then slightly past center, and now it’s bent the other direction. Work slowly. Tap, check, tap again. If you’ve been at it for 15 minutes and the bend is still obvious, stop. The spindle is work-hardened or the material won’t cooperate. Replace it instead.
Safe pressure feels like firm tapping, not forceful striking. If you need a real hammer blow to move the bend, the spindle is too compromised to save. Another rule: if the spindle is cracked visibly, stop immediately. You can’t repair a crack. Pressing will only spread it.
When to Just Buy New Pedals Instead
The decision comes down to three factors: pedal type, cost comparison, and your time value.
Platform pedals bend more often than clipless pedals because they’re heavier-duty and take more ground strike. If you’re riding rough terrain—mountain biking, urban riding—and your platforms bend regularly, new pedals are the reliability play. A pair of decent platform pedals like Wellgo, Fyxation, or DMR runs $45–$80 and will last years.
Clipless pedals are different. They’re lighter, rarely strike the ground, but when they bend, the spindle often bends sideways on impact. Replacement spindle kits for clipless pedals cost $30–$50, and pressing takes one shop visit. For clipless, I’d true it or press a new spindle rather than replace the whole pedal, because clipless pedals run $60–$150.
The mechanic wisdom I picked up: if you’re spending $40 on parts and an hour at the bench, new pedals at $50 might make more sense. Your time is worth something. Factor that in.
How to Prevent Bent Spindles in the First Place
Most bent spindles come from pedal strikes. Curbs, rocks, roots, and log obstacles catch the pedal at a bad angle and the spindle bends inward or sideways under your body weight.
Foot placement matters. Keep your foot centered on the pedal platform, not hanging off the edge. If you’re striking pedals regularly on trails, you’re either riding too tight to obstacles or your bike is positioned wrong for the terrain. Move wider, or slow down.
Clipping in and out technique also matters. Unclip before you put a foot down on technical terrain. A clipped-in foot that suddenly drops and strikes the ground can torque the pedal violently. The spindle absorbs that twisting force.
Monthly maintenance catches problems early. During winter riding season especially, spin your pedals by hand once a month. Feel for play. Catch a slight bend before it becomes a full-on binding problem. A tiny bend that you true early might give you another season of use.
Check your crank clearance on your bike, too. Some frames have tight crank-to-frame geometry. At full pedal extension in the forward position, your pedal platform should clear obstacles by at least a half-inch. If your frame is tight, bent spindles will happen no matter what you do.


Stay in the loop
Get the latest bike maintenance pros updates delivered to your inbox.