Why Your Brake Lever Feels Spongy
Spongy brake levers have evolved with all the conflicting advice flying around — “just bleed it,” “replace the cable,” “buy new pads.” I spent three seasons convinced my mechanical brakes were dying before I figured out the real problem was air trapped in my hydraulic line. Wasted a full Sunday afternoon on it. That experience taught me something worth knowing: sponginess has three distinct causes, and figuring out which one you’re actually dealing with matters more than grabbing a bleed kit and hoping for the best.
The three culprits? Air bubbles in hydraulic brake fluid. Cable stretch or fraying on mechanical brakes. Worn pads that have gone past their effective range. Hydraulic systems go spongy when air compresses instead of transmitting pressure — fluid can’t do that, air can. Mechanical brakes feel soft when cable tension drops, either through gradual stretch or internal fraying. Worn pads create excessive lever travel, where the lever swings almost to the bar but barely stops you. Know your system first. Everything else follows from that.
Quick diagnostic shortcut: if your lever compresses smoothly then suddenly goes slack near the bar, that’s air. If it’s gotten progressively mushier over weeks, that’s cable stretch. If the lever feels totally normal but your brakes don’t actually stop you — worn pads. Write that down if you need to.
Check These Things Before You Do Anything Else
The piece that matters most here. Most riders jump straight to bleeding or swapping cables without spending two minutes on visual inspection. I’ve fixed spongy mechanical brakes in under 120 seconds with nothing but a 3mm hex key and my own two eyes.
Start here:
- Find the barrel adjuster on your brake lever or caliper body — that small cylindrical knob that threads in and out. Turn it counterclockwise a half-turn. Squeeze the lever. Firmer? Good. Not quite? Another half-turn. Most mechanical brake sponginess lives right here and takes about 45 seconds to fix.
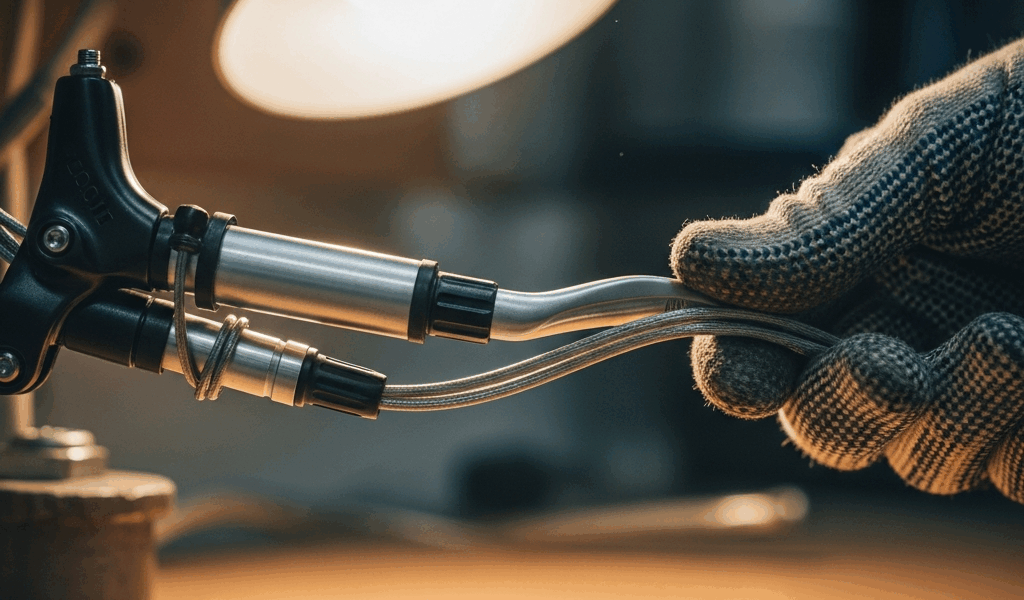
- Run your eyes along the entire cable from lever to caliper. Look for kinks, white fraying at the housing ends, or rust on the cable itself. Damaged housing collapses under pressure and creates play that no adjustment will fix.
- Squeeze the lever slowly while watching the gap between pads and rotor (hydraulic) or rim (mechanical). It should close evenly. If it doesn’t close all the way, there’s a real cable or fluid pressure problem. If it closes fine but still feels spongy, you’re probably just looking at a tensioning fix.
- Pull the lever all the way to the bar — slowly. Does it hit the handlebar before brakes engage? That’s cable stretch or low fluid. You’ve run out of effective lever travel and there’s nothing subtle about it.
- Check pad thickness. Most pads have a wear indicator line molded right into the backing plate. Below that line, no cable adjustment or bleed job will make the lever feel firm. Replace the pads first — full stop.
Eighty percent of mechanical brake sponginess gets resolved right here. Hydraulic brakes rarely respond to barrel adjuster tweaks, so if you’re running disc brakes with fluid, skip ahead to that section.
How to Fix Spongy Mechanical Brakes
Cable stretch is a slow creep — your brake feels progressively softer week by week until one day you notice you’re pulling almost to the bar. Fraying or kinked housing breaks the clean connection between lever and caliper and feels more sudden.
Start with the barrel adjuster. Turn counterclockwise in quarter-turn increments, squeezing the lever after each one. Once it feels too firm, back off a quarter-turn. You’re looking for firm engagement within the first two fingers of lever travel. Not mushy, not an immediate lock — just clean, responsive feel.
If that doesn’t solve it, go to the cable anchor bolt at the caliper body. Usually a 5mm hex. Loosen it completely without removing it entirely. Pull the cable taut by hand, hold that tension, and re-tighten the bolt. This removes slack that’s been accumulating for months. Test it. You might be surprised how much that single step changes things.
Visibly frayed or kinked cable? It’s done — don’t keep fussing with it. A new Shimano cable and housing set runs $8 to $15. Thread the new cable through the housing from lever to caliper, anchor it at the caliper body, dial in tension with the barrel adjuster. Maybe 10 minutes if you’ve done it before. Thirty if you haven’t. Side-step the error I made of putting it off because it “seemed like a big job.”
The two-finger test confirms the fix. Pull the lever smoothly — it should stop with two clear fingers of space between the blade and your handlebar. Pull again. Identical feel both times, no sponginess, no dead zone before the pads engage.
Worn pads will destroy every adjustment you make, every single time. At or below the wear indicator line means you buy replacement pads for your specific brake model before doing anything else. A worn pad always feels soft because there’s simply nowhere for it to go.
How to Fix Spongy Hydraulic Brakes
Spongy hydraulic brakes almost always mean air in the system. Fluid is incompressible. Air isn’t. When you pull the lever and nothing happens for the first inch of travel, then it partially engages — that’s air. No mystery there.
You’ll need a brake bleed kit. Shimano, SRAM, and Magura all sell kits designed for their specific systems, generally $25 to $50. Check your brake manual or manufacturer website before buying anything. This matters more than it sounds — mineral oil and DOT fluid are not compatible. Mixing them destroys the seals and makes the brakes genuinely unusable. I’ve watched someone ruin a perfectly good caliper that way. Check the manual before you open anything.
The basic bleed process: attach the bleed kit to your lever or caliper depending on your brake design, open the bleed port, work the lever while watching the syringe for air bubbles. Clear fluid is what you want. Foam or bubbles mean you keep going. Usually two to four minutes per brake. YouTube has model-specific bleed tutorials — use those rather than generic instructions, because the port locations and sequences vary enough to matter.
Sponginess returns after two bleeds? Or you’re seeing fluid weeping at the lever clamp or caliper body? That’s a seal problem. Take it to a shop. A seal kit costs around $15 but requires disassembly, and one wrong move means a destroyed caliper. That’s not a beginner repair — it just isn’t.
How to Know the Fix Actually Worked
Pull the lever slowly and deliberately. Firm, responsive feel — no spongy give, no dead zone where you pull but the world doesn’t respond. Two fingers of clear space between lever and bar. Your palm should be open, relaxed. Not clenched around the bar hoping something happens.
Do a slow roll test in a parking lot before riding anywhere real. Get up to 10 mph and brake gently. Then harder. The lever should feel consistent both times — no surprise engagement, no fade, no late bite that catches you off guard.
Sponginess comes back within a week? Something structural is wrong. Cable fraying faster than normal means replace it. Hydraulic leak that won’t quit means the shop. Stop adjusting and start replacing at that point — you’ve already done the diagnostic work and it told you something. Trust what it said.


Stay in the loop
Get the latest bike maintenance pros updates delivered to your inbox.