DIY Guide to Bike Care
Cleaning Your Bike
I once let my bike go three months without a proper wash. Three months. By the time I got around to it, there was so much grime caked on the drivetrain that the degreaser barely made a dent on the first pass. Lesson learned. Start with a gentle rinse to knock off the loose debris, then use a mild soap and water mix with a soft brush. Scrub the frame, wheels, and drivetrain parts carefully — get in the nooks where dirt hides. Rinse off all the soap, then dry everything with a clean cloth so nothing rusts. It takes maybe 20 minutes and your bike will feel like a different machine.
Lubricating the Chain
A well-lubed chain is a happy chain. First, clean it with a degreaser to strip off the old lubricant and accumulated gunk. Then apply a small amount of bike-specific lubricant to each link — just a drop or two, not a stream. Wipe off the excess with a rag. I can’t stress this enough: over-lubing does more harm than good because it turns into a sticky dirt trap. Regular lubrication keeps the chain running smooth and extends its life by a significant margin.
Inspecting Brake Pads
Worn-out brake pads are genuinely dangerous. Check them regularly — it takes 10 seconds. If the grooves in the pads are nearly gone, or you’re hearing a metal-on-metal squeal when you stop, it’s replacement time. Don’t ride on shot brake pads. New ones are cheap, easy to install, and the improvement in stopping power is immediate. This is one of those things where spending five bucks now saves you from a much worse day later.
Checking Tire Pressure
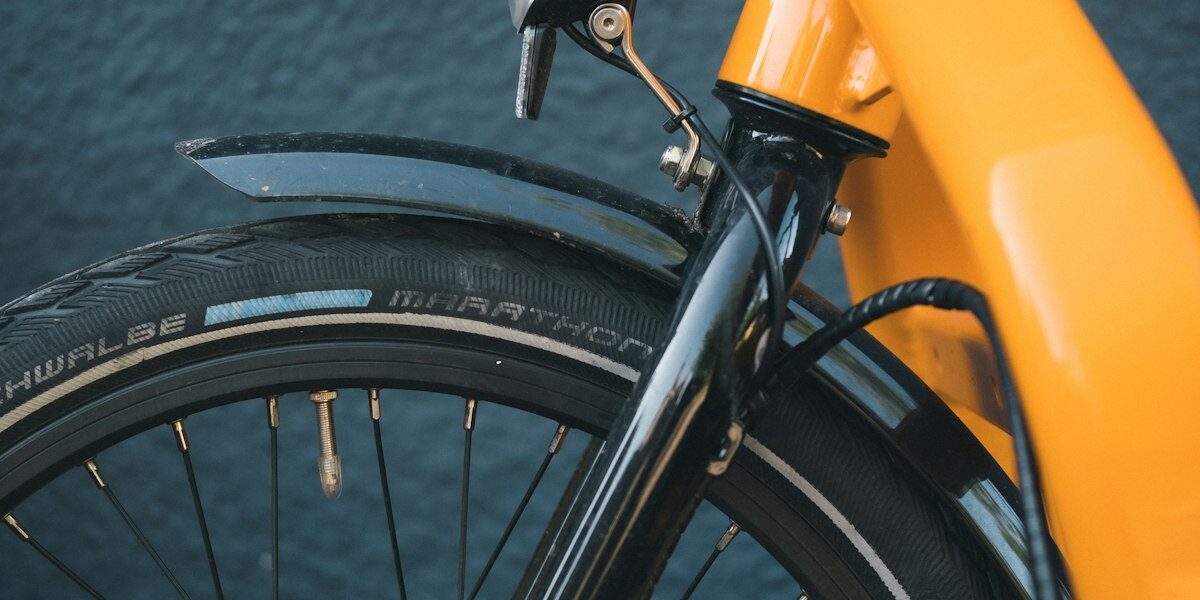
Probably should have led with this because it’s the single easiest maintenance task and it makes the biggest difference in how your bike rides. Check the recommended pressure printed on the tire sidewall. Use a pump with a gauge — don’t guess. Maintain pressure based on your riding conditions and how much weight you’re carrying. Under-inflated tires make pedaling feel like wading through mud. Over-inflated tires can blow out or lose grip in corners. Find the sweet spot and check it often.
Adjusting Gears
When your gears aren’t shifting right, rides get frustrating fast. Put the bike on a stand so you can spin the wheels freely. Shift through each gear and listen. Hear clicking, skipping, or grinding? Time to adjust. The barrel adjuster on the derailleur is usually all you need to fine-tune cable tension. If that doesn’t do it, consult your bike’s manual for the limit screw settings. Well-adjusted gears make a noticeable difference in how smooth and enjoyable your ride feels.
Tightening Bolts
Loose bolts can cause real problems — a handlebar that rotates mid-ride or a seat post that slips down are both bad scenarios. Check and tighten all the important bolts regularly using a torque wrench. Focus on the stem, handlebars, and seat post. Get them snug to the manufacturer’s torque specifications, but don’t overdo it. Over-tightening strips threads and can crack components, especially on carbon parts.
Maintaining the Drivetrain
The drivetrain needs regular attention because it does all the hard work. Start with a deep clean of the cassette, chainring, and derailleur pulleys using a brush and degreaser. Really scrub in there — buildup between cassette cogs is the worst offender. After cleaning, lubricate the moving parts. That’s what makes a clean drivetrain endearing to anyone who’s ever experienced the difference — it shifts better, it’s quieter, and everything lasts longer.
Inspecting the Frame
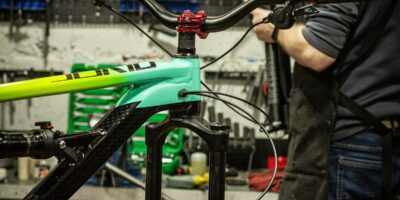
Give your frame a visual inspection now and then. Look for cracks, dents, or anything that seems off. Listen for unusual creaks while you ride — those can be clues that something is developing. Even small issues can turn into big ones if you ignore them. If you spot anything concerning, especially on a carbon frame, take it to a professional mechanic for a closer look. Don’t gamble with frame integrity.
Wheel Truing
Wobbling wheels affect handling, cause uneven brake pad wear, and just feel wrong. Check alignment by spinning each wheel and watching for side-to-side movement. Use a spoke wrench to adjust tension — turn in small increments and check often. This is a skill that takes practice to get good at. If you’re not confident, take it to a shop. A badly trued wheel can end up worse than when you started, and the shop will usually charge a reasonable price for the job.
Replacing Cables
Cables stretch and fray over time, and that directly affects your shifting and braking. Inspect them periodically and replace any that look rough — kinked, frayed, or rusty cables need to go. Use fresh housings when you replace cables and make sure everything moves freely. It’s a straightforward job that makes a big difference in how responsive your brakes and gears feel.
Caring for Suspension
If your bike has suspension, don’t neglect it. Clean the stanchions after rides, check for oil leaks around the seals, and lubricate according to the manufacturer’s recommendations. Follow the recommended service intervals — usually every 50-100 hours of riding for a lower leg service, and annually for a full rebuild. Skipping suspension maintenance leads to poor performance and eventually expensive repairs that could have been avoided.
Pre-Ride Checklist
Get into the habit of a quick check before every ride. It takes two minutes and can prevent a lot of hassle. Verify tire pressure. Squeeze the brakes. Click through a few gears. Make sure the chain looks clean and lubed. Wiggle the handlebars and saddle to check for loose bolts. If everything feels right, you’re good to go. If something feels off, fix it before you roll.
Basic Tool Kit
- Hex wrenches (Allen keys)
- Torque wrench
- Chain tool
- Spoke wrench
- Tire levers
- Pump with gauge
- Lubricant
- Rags and brushes
Having these tools within reach makes maintenance much less of a chore. You won’t need to run to the bike shop for every little thing.
Winter Storage Tips
Storing your bike for winter? Clean it thoroughly first — don’t let grime sit on it for months. Lube the chain and all moving parts. Store it somewhere dry to avoid rust. Keep the tires inflated to prevent flat spots from developing. Hanging the bike saves space and takes pressure off the tires, which is a nice bonus.
Common Problems and Solutions
Flat tires, loose chains, rubbing brakes — every rider deals with these at some point. Knowing how to address them quickly saves time and keeps small annoyances from turning into ride-ending problems. Build your troubleshooting skills one fix at a time.
Learning Resources
There’s a ton of good information out there if you want to level up your skills. Video tutorials are especially helpful for visual learners — watching someone do a repair is worth ten pages of text. Online forums are great for troubleshooting specific problems because someone else has probably had the exact same issue. And there are some really solid bike maintenance blogs that go deep on specific topics. The more you learn, the more confident you’ll get with a wrench in your hand.
Importance of Regular Maintenance
I’ll wrap up with this: regular maintenance isn’t just about keeping your bike working. It improves performance, extends the lifespan of every component, and keeps you safe on the road or trail. Schedule it, stick to it, and you’ll spend more time riding and less time dealing with breakdowns. Your bike gives back exactly what you put into it.