Bicycle Care Guide
Bicycle care has gotten complicated with all the product recommendations and conflicting advice flying around. I was at my local bike shop last week and overheard two guys arguing about whether you should clean your chain with citrus degreaser or a dedicated chain cleaner tool. Neither of them was wrong, exactly, but listening to the debate you’d think the fate of the world hung in the balance. The truth is, taking care of your bike doesn’t have to be that complicated. Let me walk you through what actually matters.
Cleaning Your Bicycle
A clean bike runs better, lasts longer, and lets you spot problems before they get expensive. Dirt, mud, and road grime act like sandpaper on moving parts. They accelerate wear on everything from your chain to your brake pads. Cleaning your bike regularly is the single best thing you can do for its longevity.
Supplies Needed
- Bucket of warm water
- Bicycle specific cleaner
- Soft brush
- Old toothbrush or detailing brush
- Clean rags
- Chain cleaning tool
- Degreaser
- Chain lubricant
Steps to Clean
- Rinse the bike with a gentle spray of water. No pressure washers — you’ll push water into places it shouldn’t go.
- Apply bicycle cleaner to the frame and components. Let it sit for a minute to break down the grime.
- Use the soft brush on the frame and larger parts. Switch to a toothbrush or detailing brush for tight spots around the brakes, derailleurs, and spoke nipples.
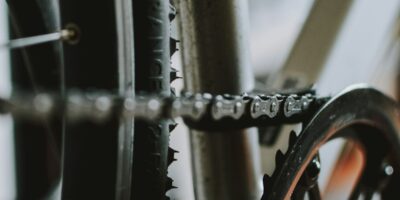
- Clean the drivetrain — chain, cassette, chainrings, derailleurs — using a chain cleaning tool and degreaser. This is where the worst buildup lives.
- Rinse the whole bike thoroughly with clean water. Make sure no soap residue is left behind.
- Dry everything with clean rags. Water left on the bike leads to corrosion, so be thorough here.
- Apply chain lubricant while slowly turning the pedals backward. One drop per link, then wipe off the excess.
Checking Tire Pressure
Right tire pressure makes your ride more comfortable, gives you better traction, and cuts your flat risk. It’s also the easiest check on this entire list. Takes maybe a minute, and the difference is immediately noticeable.
Finding the Right Pressure
- Check the sidewall of your tire — the recommended pressure range is printed right there.
- Use a reliable pressure gauge. The built-in gauges on some floor pumps aren’t great, so a standalone gauge is worth having.
- Road bikes typically run 80-130 psi. Mountain bikes are usually 30-50 psi. But it depends on your weight, tire width, and the terrain.
Inflating Tires
- Remove the valve cap.
- Attach the pump head to the valve — make sure it’s seated properly so you don’t lose air.
- Inflate to your target pressure.
- Double-check with a gauge.
- Pop the valve cap back on.
Inspecting and Adjusting Brakes
Good brakes keep you safe. Bad brakes keep you nervous. Probably should have led with this: if there’s one thing on your bike you never want to neglect, it’s the brakes. Everything else is about performance or comfort. Brakes are about not getting hurt.
Brake Pads
- Check for wear indicators — most pads have grooves or lines that disappear as the pad wears down. Once they’re gone, swap the pads.
- Make sure the pads hit the rim squarely and evenly. Misaligned pads cause uneven wear and weaker braking. Adjust with the pad mounting bolt if needed.
Brake Cables
- Inspect cables for fraying, rust, or kinks. Any of those means the cable needs replacing.
- Test the brake lever pull. If you have to squeeze the lever all the way to the bar to engage the brakes, tighten the cable. A barrel adjuster at the lever makes quick adjustments easy.
Lubricating the Chain
A well-lubed chain shifts better, runs quieter, and lasts longer. It’s one of those maintenance items that takes two minutes and makes a real difference. But the type of lube matters, and how much you use matters even more.
Choosing the Right Lubricant
- Wet lube for wet or muddy conditions — it stays put in the rain but attracts more dirt.
- Dry lube for dry, dusty conditions — it runs cleaner but washes off easily in wet weather.
Applying Lubricant
- Clean the chain before lubing. Putting fresh lube on a dirty chain just makes expensive mud.
- Apply lube evenly, one drop per link, while turning the pedals backward.
- Wipe off excess with a clean rag. Leftover lube on the surface just attracts dirt.
Tightening Bolts
Bolts loosen over time from vibration. It’s just physics. And a loose bolt in the wrong spot — stem, handlebars, seatpost — can cause a real problem mid-ride. Going through the bike with a wrench every few weeks takes five minutes and gives you peace of mind.
Inspection Tips
- Use a torque wrench for accurate tightening. It’s especially important on carbon components where over-tightening can cause damage.
- Focus on handlebars, stem, seat post, crank arm bolts, and brake caliper mounts.
- Look for any signs of corrosion or wear around bolt heads.
Steps to Tighten
- Check the torque spec for each bolt — it’s usually printed on the component or in the manual.
- Use the right tool (hex key or torque wrench) and tighten to the specified value.
- Re-check after hard rides or crashes, when bolts are most likely to have loosened.
Checking Bearings
Bearings are what let your wheels, pedals, and headset rotate smoothly. When they go bad, you feel it — grinding, roughness, or looseness. Regular checks keep things rolling smoothly and catch problems before they cause damage to other parts. That’s what makes bearing maintenance endearing to detail-oriented riders — it’s the kind of invisible work that makes everything feel right.
Types of Bearings
- Loose ball bearings — individual balls in a cup-and-cone setup. Adjustable and serviceable.
- Cartridge bearings — sealed units that get replaced as a whole when they wear out.
Steps to Check Bearings
- Spin the wheels and feel for smooth rotation. Any grinding or roughness means the bearings need attention.
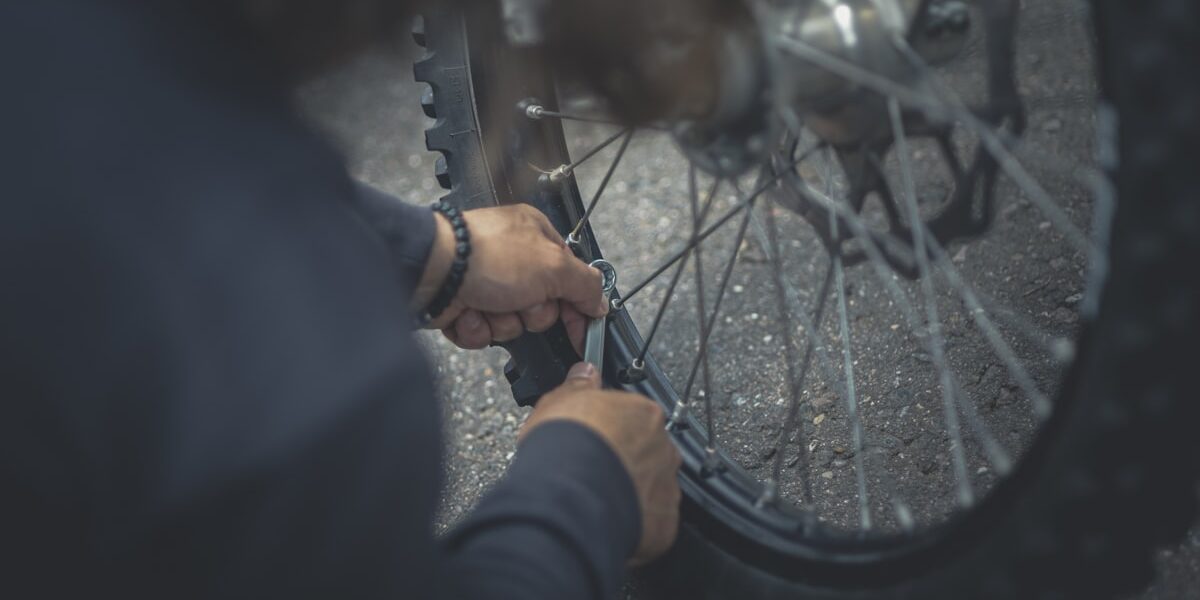
- Grab the rim and try to wiggle it side to side — play indicates loose bearings.
- Check pedal and headset bearings the same way — spin, feel, wiggle.
- For cup-and-cone bearings, adjust the cone nuts. For cartridge bearings, replace the whole unit if they feel rough.
Inspecting the Frame
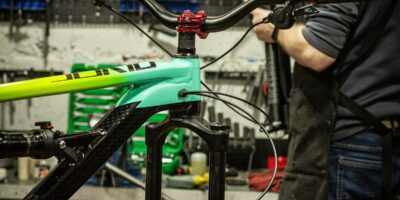
The frame is the skeleton of your bike. Everything hangs off it, and if it’s compromised, nothing else matters. Regular visual inspections can catch cracks or damage early, before something fails while you’re riding.
Inspection Areas
- Check welds and joints for cracks — this is where stress concentrates, especially on aluminum frames.
- Look for paint chips or dents that could indicate impact damage beneath the surface.
- Inspect the bottom bracket area for stress marks or hairline cracks.
- Check the head tube and dropouts carefully — these are high-stress areas.
What to Do if You Find Damage
- Stop riding the bike immediately. A cracked frame can fail without warning.
- Take it to a professional mechanic or frame builder for assessment.
- Depending on the severity and frame material, repair might be possible. But sometimes replacement is the only safe option.
Conclusion
Taking care of your bicycle is really just a bunch of small habits stacked together. None of these individual tasks is particularly hard or time-consuming. The key is consistency — do a little bit regularly instead of nothing for months and then trying to fix everything at once. Once you build the routine, it becomes second nature. You’ll catch problems early, your bike will ride better, and your components will last longer. And honestly, there’s something satisfying about a well-maintained bike. You can feel it the moment you start pedaling. Now go ride.