Essential Bike Servicing Tips
I blew a spoke on a group ride last spring, and let me tell you, coasting to the nearest bike shop with a taco’d wheel while your buddies wait is a humbling experience. That little incident convinced me to actually take bike servicing seriously instead of just hoping everything would hold together. Whether you’re riding for exercise, commuting, or just because it’s fun, regular maintenance keeps your bike happy and keeps you from becoming that person on the side of the road.
Inspect Your Tires
Check tire pressure on the regular. Low tires make your ride feel heavy and sloppy, and they wear out faster. Use a pressure gauge and match the manufacturer’s recommendation stamped on the sidewall. While you’re at it, look over the whole tire surface for cracks, cuts, or anything sharp that’s embedded in the rubber. Catching a piece of glass now beats fixing a flat later.
Check the Brakes
Your brake pads should still have plenty of material on them. If they’re getting thin, don’t wait — replace them before they start grinding metal on metal. Inspect the cables for any fraying or rust spots. Position the brake levers where your fingers can reach them easily, and make sure both sides engage evenly and smoothly. Lopsided braking is a problem you want to fix before it matters.
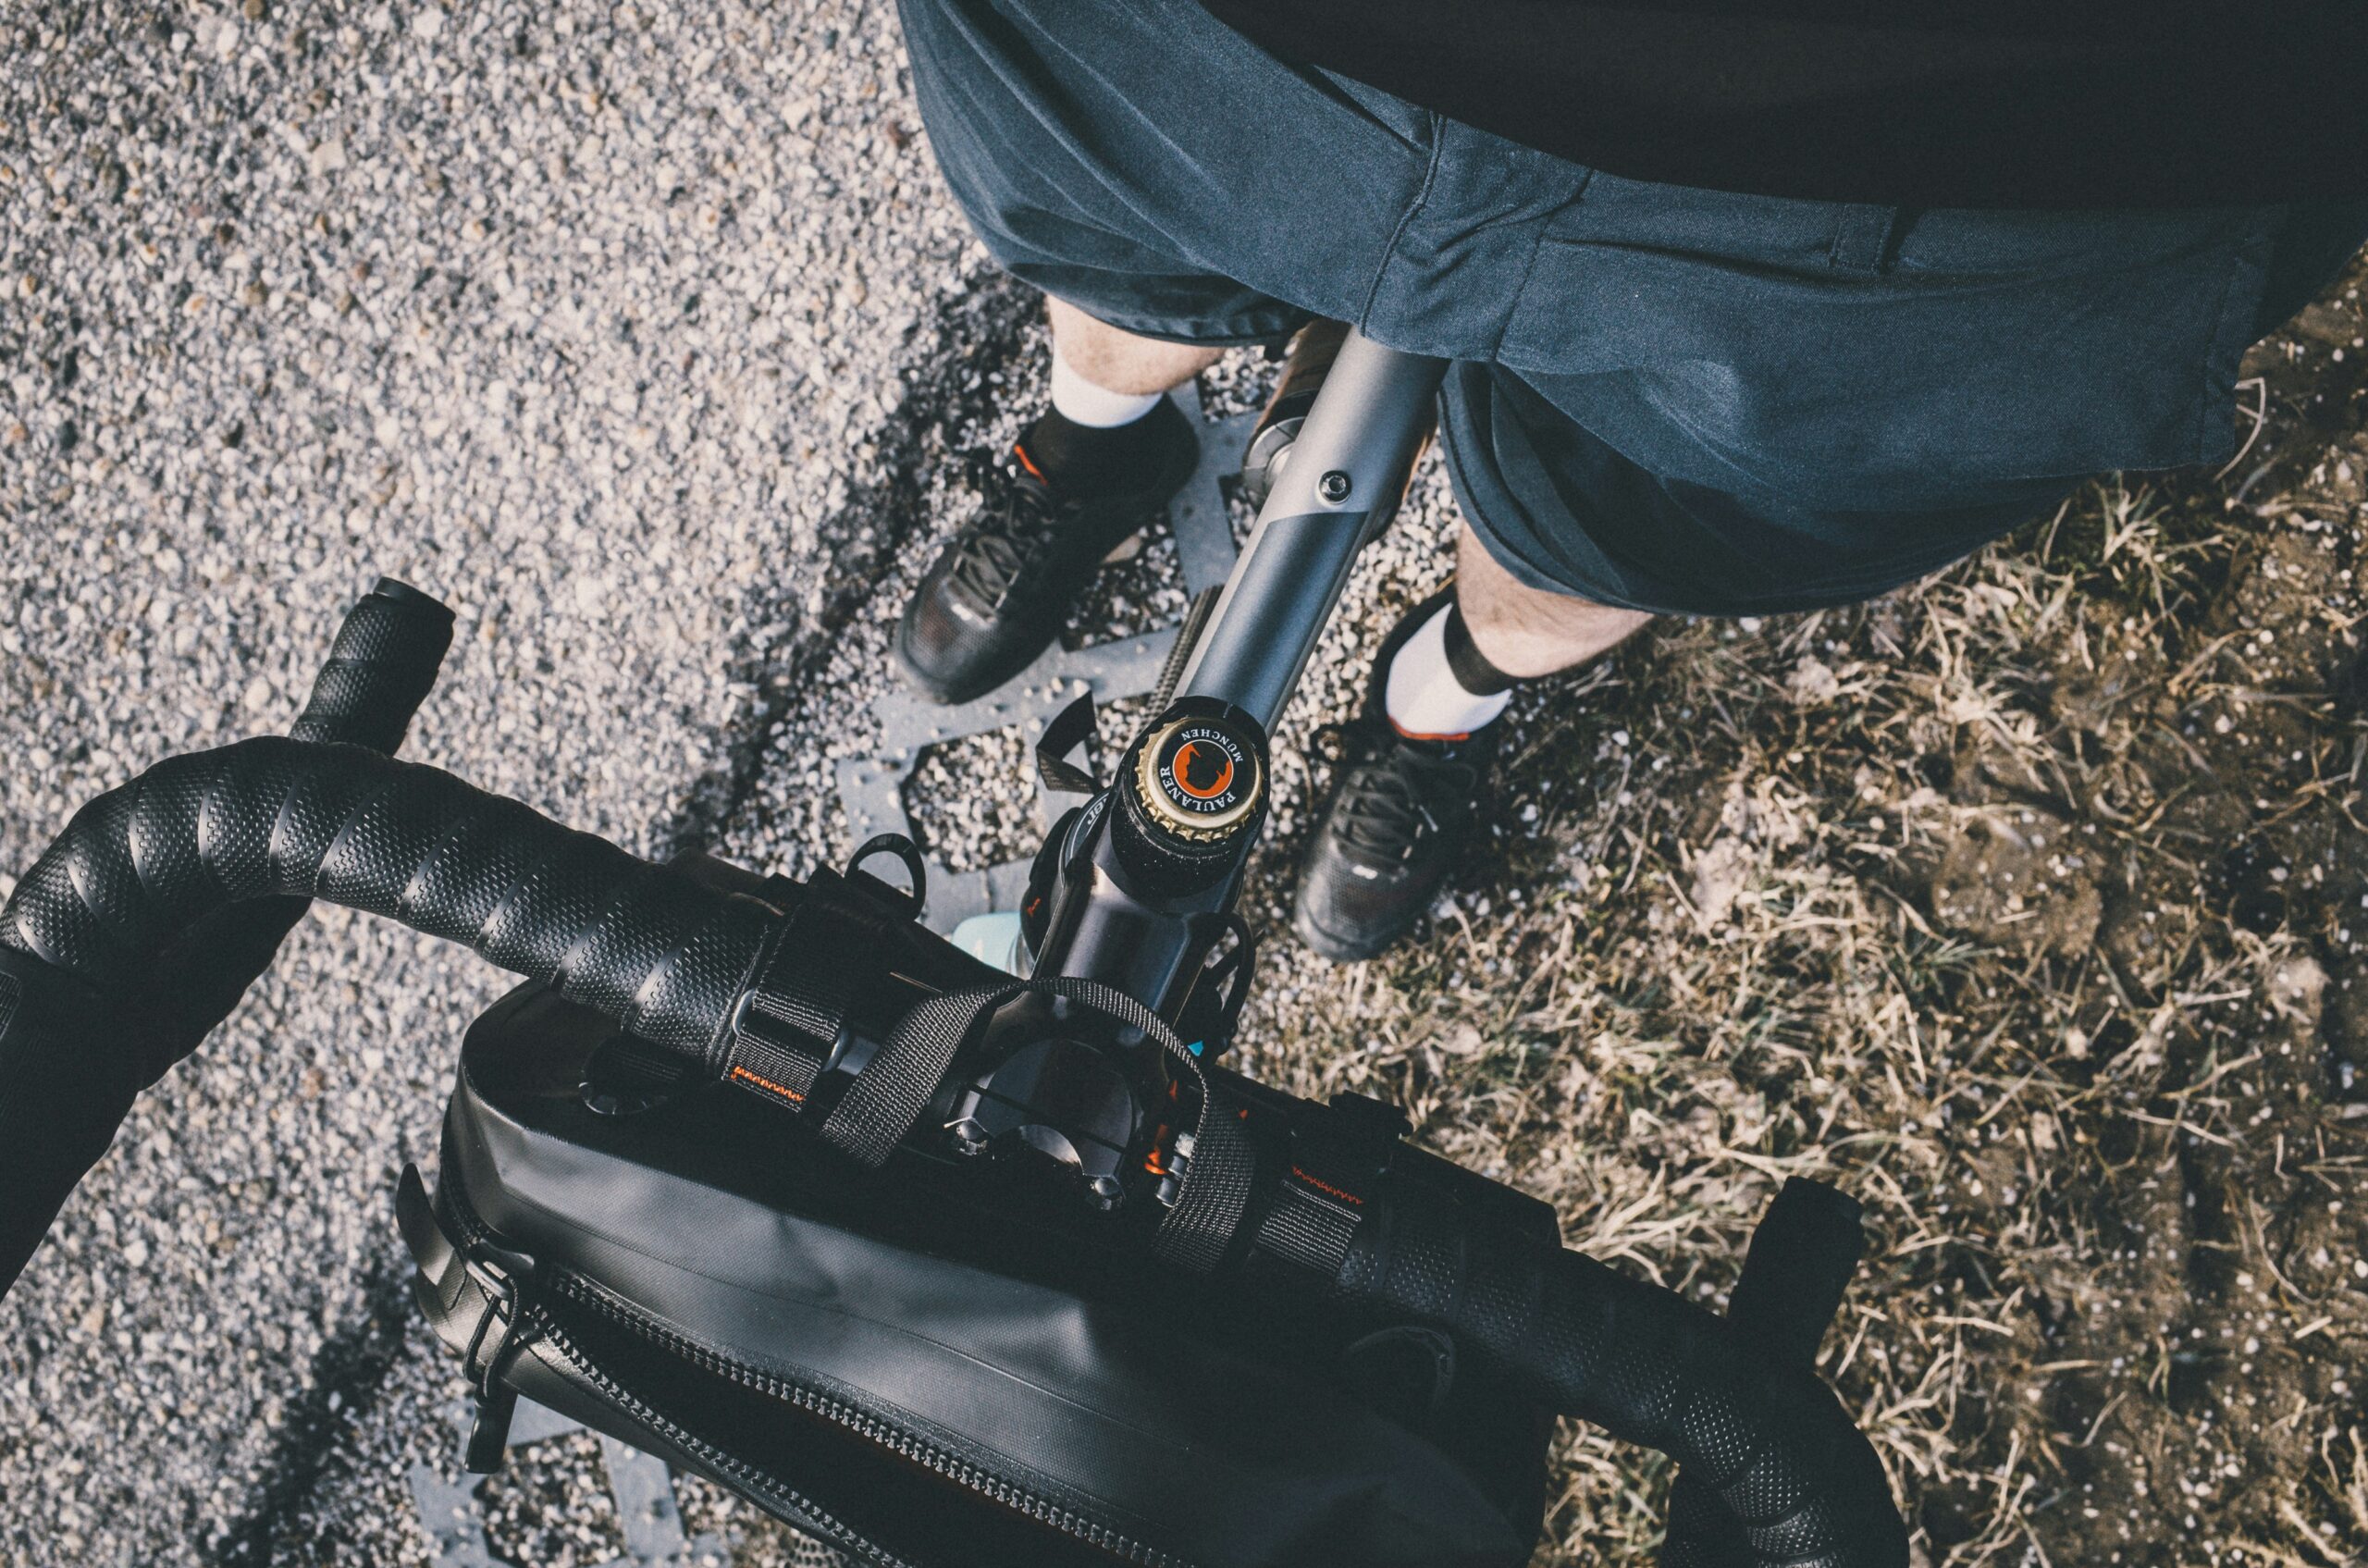
Clean and Lubricate the Chain
Probably should have led with this, because the chain is the heart of your drivetrain. When it’s dirty, everything suffers — shifting gets rough, things wear out faster, and you’ll hear about it with every pedal stroke. Use a degreaser to strip the old crud off, then apply a bike-specific lubricant. Wipe off the excess with a clean cloth. You want a thin, even coat, not a dripping mess that attracts every speck of dust on the road.
Inspect and Adjust the Derailleurs
Take a look at both derailleurs to make sure they’re sitting straight. Adjust the limit screws and barrel adjusters to get your shifting dialed in. If things still aren’t shifting cleanly after adjusting, the cables and housing might be past their prime. Fresh cables can make an old bike shift like new — it’s honestly kind of amazing how much difference they make.
Check the Wheels
Spin each wheel and watch for wobble. A true wheel spins straight without wandering side to side. If you spot a shimmy, try tightening spokes with a spoke wrench, or bring it to a shop for proper truing. Also check the hub bearings while you’re at it — they should spin freely without any gritty feeling. If they’re rough, they’ll need adjustment or replacement.
Examine the Crankset and Bottom Bracket
Grab one of the crank arms and try wiggling it side to side. Any play or movement there means the bottom bracket probably needs attention — either an adjustment or a swap. Check the chainrings too. They shouldn’t be bent, and the bolts holding them should be snug. A wobbly chainring will throw your chain and mess with your shifting.
Test the Headset
Hold the front brake and rock the bike forward and backward. Hear a knock or feel a clunk? That’s a loose headset, and it needs tightening. Then turn the handlebars side to side. Steering should feel smooth and free. If it’s stiff, notchy, or rough, the headset bearings might need servicing or replacement. That’s what makes a well-adjusted headset endearing to riders who’ve dealt with a loose one — you forget it’s even there when it’s right.
Inspect the Handlebars and Stem
Look for cracks or signs of fatigue in your bars and stem, especially if they’re aluminum or carbon. Make sure everything is bolted down tight to the recommended torque. Adjust the height and angle of your handlebars so you’re comfortable and in control. An uncomfortable cockpit leads to sore hands, a sore neck, and shorter rides than you planned.
Check the Pedals
Your pedals should spin smoothly on their axles without any grinding or excessive wobble. If they feel gritty, they might need fresh grease or new bearings. Check the pedal body for damage too — cracked platforms are no good. And make sure they’re threaded tightly into the crank arms. Remember, the left pedal is reverse-threaded.
Examine the Saddle and Seatpost
Look over your saddle for rips, worn areas, or broken rails. Make sure it’s clamped securely to the seatpost and positioned at the right height and angle for your body. Check the seatpost for cracks, especially around the clamp area. Tighten it to the proper torque — you don’t want the saddle slowly sinking during a ride.
Inspect All Bolts and Fasteners
Do a full walkaround and check every bolt on the bike. Everything should be snugged to the manufacturer’s specs. Loose bolts are a safety hazard and can damage threads and components. If you’ve got a torque wrench, use it. If you don’t, consider getting one — they’re not expensive and they save you from both over- and under-tightening.
Inspect Lights and Reflectors
Ride in the dark or low light? Make sure your lights and reflectors are working. Check batteries, recharge anything that needs it, and clean the lenses. Being visible to cars is non-negotiable. A good set of lights is cheap insurance.
Test the Suspension
If your bike has suspension, give it a bounce test. Compress the front fork and rear shock and feel for smooth travel. Look for oil leaks around the seals. Service them on the schedule your manufacturer recommends — skipping suspension maintenance leads to degraded performance and expensive rebuilds down the road.
Regularly Service the Bearings
Bearings are tucked away in your wheels, headset, bottom bracket, and pedals. They wear out gradually, and when they go, things get noisy and rough. Check them periodically — clean out old grease, repack with fresh stuff, or replace them if they’re pitted or worn. Healthy bearings make everything feel smoother than you’d expect.
Keep It Clean
A regular wash prevents grime from slowly destroying your bike. Mild soap, water, and a soft brush are all you need. Skip the pressure washer — it pushes water into bearings and sealed areas where it causes real damage. Dry everything off and re-lube the chain and moving parts afterward.
Store Your Bike Properly
Keep your bike in a dry, cool spot. Leaving it outside exposed to rain, sun, and temperature swings is rough on every component. Use a vertical or horizontal rack to keep the tires and frame in good shape. If you’re parking it for a while, a bike bag or cover goes a long way.
Regular Professional Servicing
Home maintenance handles a lot, but a professional tune-up catches the stuff you might overlook. A good mechanic can true wheels, tune suspension, deep-clean the drivetrain, and spot developing problems before they strand you. Even once a year makes a real difference.
Maintain a Maintenance Log
This might sound overly organized, but keeping a simple log of what you’ve done and when is genuinely useful. It helps you spot patterns — like how often your chain actually lasts, or when your brake pads tend to need replacing. Plus, if you ever need warranty service, having a record of proper maintenance is gold.