Quick Bike Repair Tips
Quick Bike Repair Tips
Last fall I was twenty minutes into a ride when my chain popped off, my rear brake started rubbing, and I realized I’d left my multi-tool at home. Good times. Whether you’re a daily commuter dodging potholes or a weekend warrior hitting the trails, knowing some basic bike repair gets you out of jams like that. You don’t need to be a pro mechanic. You just need to know enough to keep rolling. Here are the fixes I use the most.
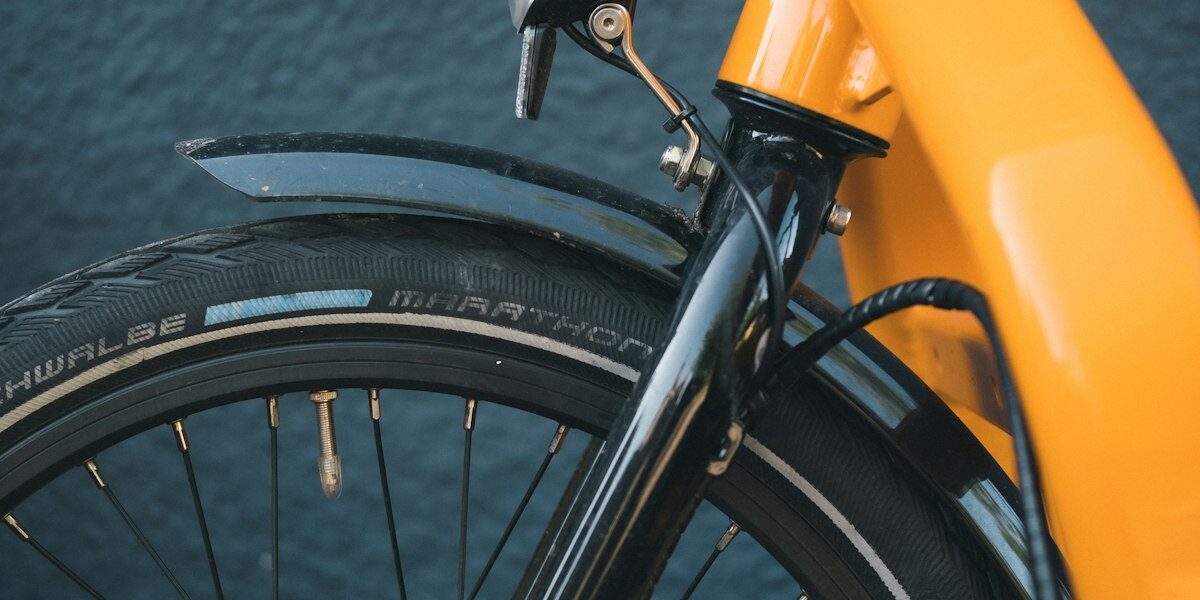
Fixing a Flat Tire
Flats happen to everybody. Here’s the drill:
- Remove the wheel using the quick-release lever or by loosening the axle nuts with a wrench.
- Pry the tire off the rim with tire levers. Start on the side opposite the valve — it gives you more slack to work with.
- Pull out the inner tube and run your fingers along the inside of the tire to find whatever caused the puncture. Glass, thorns, wire — get it out or you’ll just flat again.
- Inflate the new or patched tube slightly so it holds its shape, then tuck it back into the tire.
- Work the tire back onto the rim starting at the valve. Use tire levers at the end if it’s stubborn, but be careful not to pinch the tube.
- Reattach the wheel and inflate to the recommended pressure. Give the wheel a spin to make sure nothing’s rubbing.
Adjusting Bike Brakes
Brakes that actually stop you — kind of important, right?
- Check brake pad alignment first. The pads should contact the rim squarely, not touching the tire at all.
- If the pads are off, loosen the brake pad screws, reposition them, and retighten. Take your time here.
- Squeeze the brake lever. There should be a gap between the lever and the handlebars when fully pressed. If it’s hitting the bar, you need more cable tension.
- Use the barrel adjuster to fine-tune tension, or tighten the brake cable at the anchor bolt for bigger adjustments.
- Make sure both pads hit the rim at the same time. If one side grabs before the other, adjust the centering screws until they’re balanced.
Chain Maintenance
Probably should have led with this because a neglected chain causes more problems than just about anything else on the bike:
- Wipe the chain down regularly with a rag and some degreaser. You don’t need a fancy chain-cleaning gadget — a rag works fine.
- Check for wear with a chain checker tool. They cost about ten bucks and tell you instantly if the chain is stretched.
- If it’s worn out, replace it. A chain tool makes removal and installation straightforward. Don’t ride a stretched chain — it’ll destroy your cassette and chainrings, which are way more expensive to replace.
- Lube the chain with bike-specific lube after cleaning. Wipe off excess so it doesn’t turn into a dirt magnet.
- Shift through every gear to make sure the chain runs smooth across all the cogs.
Fixing a Slipped Chain
Chain fell off? Don’t panic. Quick fix:
- Stop pedaling immediately. Continuing to pedal with a dropped chain can jam things up or scratch your frame.
- Grab a rag to keep your hands clean. Lift the chain and guide it back onto the smallest chainring.
- Pedal slowly and gently to let the chain settle back into place.
- Before you take off again, check that the chain tension feels right and the derailleur alignment looks good. If the chain keeps dropping, that’s a sign something else needs adjusting.
Adjusting Derailleurs
Smooth shifting makes riding so much more enjoyable:
- Start with cable tension. The barrel adjuster is your go-to for small tweaks — turn it in small increments and test.
- Set the high and low limit screws so the derailleur can’t push the chain off either end of the cassette. Dropping a chain into the spokes or off the small cog is no fun.
- Shift through every gear, front and back. Listen for hesitation, skipping, or grinding.
- If something’s still not right, make small barrel adjuster tweaks until each shift is clean and crisp.
Fixing Noisy Pedals
Creaky, clicky pedals will drive you absolutely nuts on a quiet morning ride:
- First, check if the pedals are tight. Use a pedal wrench and remember — the left pedal is reverse-threaded (righty-loosey on that side).
- If the noise sticks around, remove the pedals entirely. Clean the threads on both the pedals and the crank arms.
- Apply a good layer of grease to the threads before screwing them back in.
- Take a test ride. If you still hear noise, the issue might be the bottom bracket or crank arm bolts, not the pedals. That’s what makes diagnosing bike noises endearing to nobody — it’s always a process of elimination.
Repairing a Broken Spoke
A broken spoke throws your wheel out of true and weakens the whole structure:
- Remove the wheel and tire. Take note of the spoke lacing pattern before you pull anything out.
- Remove the broken spoke using a spoke wrench. Sometimes the nipple is seized and you’ll need to work it free carefully.
- Thread the new spoke through the hub and rim, following the same pattern as the surrounding spokes.
- Tighten the new spoke to roughly the same tension as its neighbors. Pluck them like guitar strings — they should sound similar.
- Check the wheel for trueness and adjust as needed. You may need to tweak a few neighboring spokes to get everything balanced.
Aligning a Bent Wheel
Straighten a wobbly wheel for a smoother, safer ride:
- Mount the wheel in a truing stand if you have one. If not, the bike frame and brake pads work as a rough guide.
- Spin the wheel slowly and watch where it wobbles toward one side or the other.
- Use a spoke wrench to tighten spokes on the side opposite the wobble and loosen on the wobble side. Quarter turns at a time.
- Keep spinning and adjusting until the wheel runs true. Patience here pays off big time.
Basic Handlebar Adjustments
Comfort and control start with the bars:
- Loosen the stem bolts with an Allen wrench. Don’t remove them entirely — just enough to let things move.
- Adjust the angle and height to suit your riding position. Higher bars for a more upright posture, lower for a more aggressive tuck.
- Tighten the stem bolts back down evenly and firmly. Give the bars a good tug to make sure they’re not going anywhere.
Saddle Positioning
A properly positioned saddle prevents a lot of discomfort and potential knee issues:
- Set saddle height so your leg has a slight bend at the bottom of the pedal stroke. You shouldn’t be locking your knee out or rocking your hips to reach.
- Level the saddle so your weight is distributed evenly. A nose-down tilt makes you slide forward; nose-up puts pressure where you don’t want it.
- Check the fore-aft position. When seated naturally with the pedal at 3 o’clock, your knee should be roughly over the pedal axle. This isn’t a hard rule for every rider, but it’s a solid starting point.
Reattaching a Dropped Chain
Quick rescue for a dropped chain:
- Shift to the smallest chainring and smallest cog setting.
- Use a gloved hand or rag to lift the chain back onto the chainring teeth.
- Pedal slowly and make sure the chain engages properly before you start riding at speed again.
Inflating Tires
Properly inflated tires make a bigger difference than most people realize:
- Use a pressure gauge to check where your tires are at. Squeezing with your thumb is better than nothing, but a gauge gives you actual numbers.
- Inflate to the recommended PSI listed on the tire’s sidewall. Road bikes typically run higher pressure, mountain bikes lower.
- Make checking tire pressure part of your pre-ride habit, especially before longer rides. Tires lose air gradually even without a puncture.
Tightening Loose Bolts
Loose bolts cause rattles, handling issues, and sometimes dangerous failures:
- Do a regular bolt check on the stem, handlebars, saddle, seatpost clamp, wheel axles, and bottle cage bolts. It only takes a minute.
- Use the right tool and snug everything down, but don’t go Hulk on them. Overtightening strips threads and cracks carbon components. If you have a torque wrench, use it — especially on carbon parts.
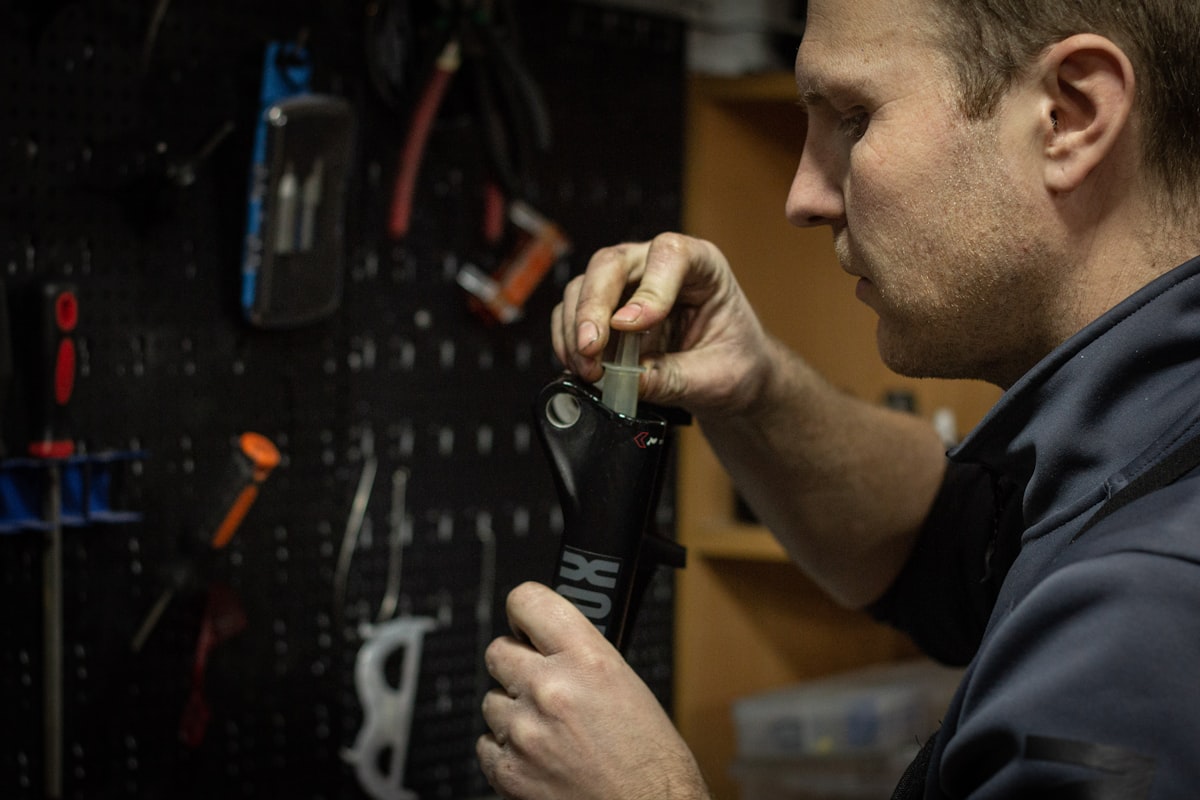
Repairing a broken cable
Cables fray and snap, usually at the worst possible time:
- Carefully remove the damaged cable using cable cutters. Note how it’s routed so you can thread the new one the same way.
- Feed the new cable through the housing and secure it at the brake caliper or derailleur.
- Set the tension for smooth operation using the barrel adjuster. Test the brake or shifter several times to make sure everything feels right before you ride.