Bicycle Repair Techniques
I got my first flat tire about two miles from home on a Sunday evening. No spare tube, no patch kit, no clue what I was doing. I walked the bike back in the dark, swearing I’d learn basic repairs before my next ride. And I did — eventually. Bike repair has gotten complicated with all the electronic shifting and tubeless tire talk flying around, but the core techniques haven’t really changed. Here’s what every cyclist should know how to do.
Flat Tire Repair
This is the one repair you absolutely need to have down. It’ll happen, and probably when you least want it to.
Start by removing the wheel from the bike. Unscrew the nuts or flip the quick-release lever. Let all the air out of the tire by pressing the valve. Then grab your tire levers and work one side of the tire off the rim, going around until it’s free. Pull the tube out.
Now play detective. Run your fingers carefully around the inside of the tire to find whatever caused the puncture. Could be a thorn, a piece of glass, a tiny wire — get it out. If you’re patching instead of replacing the tube, rough up the area around the hole with sandpaper, spread on the adhesive, wait until it gets tacky, press the patch on, and hold it there for a minute. Let it set.
Slide the tube back in, making sure it’s sitting right and not pinched anywhere. Work the tire bead back onto the rim with your hands — use a lever for the last stubborn bit if you have to, but be careful not to pinch the tube. Pump it up to the recommended pressure and you’re rolling again.
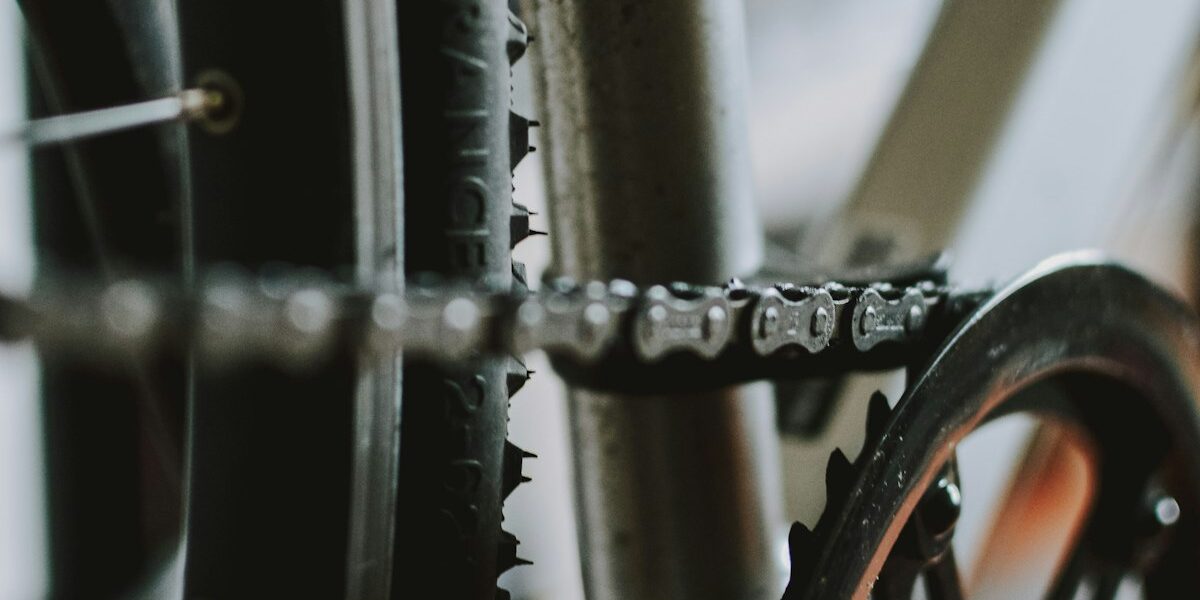
Chain Maintenance
Your chain takes the most abuse of any component on the bike. Regular cleaning and lubing keeps it running smooth and extends its life significantly. Shift to the smallest gears front and rear so you’ve got some slack to work with. Use a chain cleaning tool or a stiff brush to scrub off the gunk. Hit it with degreaser and let it sit for a few minutes, then rinse and dry with a clean cloth.
Once it’s clean and dry, apply chain lube — but don’t go crazy with it. You want a thin, even coat. Spin the pedals backward to work it into all the links, then wipe off whatever’s left on the surface. Excess lube just attracts more dirt, and then you’re back to square one.
Brake Adjustment
If your brakes feel mushy or weak, they probably need adjusting. First check the pads — if they’re worn down, no amount of adjustment will fix things. Replace them first.
For rim brakes, loosen the bolt holding each pad and reposition them so they’re parallel to the rim and hitting it evenly when you squeeze the lever. Tighten the bolts once they’re lined up. It’s fiddly work, but it makes a big difference.
Disc brakes are a different animal. Make sure the rotor is straight by spinning the wheel and watching for wobble. If it’s bent, a rotor truing tool straightens it out. For the calipers, loosen the mounting bolts, squeeze the brake lever to center everything, then tighten the bolts back down while holding the lever. Probably should have led with this — brakes are the most safety-critical system on your bike, and getting them right matters more than anything else.
Gear Shifting Issues
Sloppy shifting drives me nuts. If your gears aren’t changing cleanly, start with the derailleur hanger. Is it straight? Even a tiny bend throws everything off, and if it’s bent, you’ll need to replace it or straighten it with an alignment tool.
Next, check the high and low limit screws on the derailleur. These set the boundaries for how far the derailleur can move — they prevent your chain from flying off into the wheel or jamming against the frame. Then look at cable tension. Shift to the smallest gear and use the barrel adjuster to fine-tune. Chain skipping? Add tension. Chain hesitating to shift up? Back it off a little.
Wheel Truing
A wobbly wheel is annoying at best and unsafe at worst. Put the bike in a stand and spin the wheel slowly. Watch where it veers to one side — that’s where you need to work. The fix involves tightening spokes on the opposite side of the wobble with a spoke wrench.
Go slow. Like, really slow. Quarter turns at a time, checking after each adjustment. Over-correcting creates new problems in different spots, and then you’re chasing wobbles all day. If you can’t get it dialed in after patient work, take it to a shop. Some wheels just need professional attention.
Lubricating Moving Parts
Regular lubrication keeps your derailleurs, brake pivots, and other moving bits working the way they should. Focus on metal-on-metal contact points where friction builds up. A drop or two in the right places makes a noticeable difference in how the bike feels.
Always wipe off the excess. I know I keep saying this, but it’s the number one mistake people make. Lube left on the surface is basically glue for dirt and grime. Less is genuinely more here.
Handlebar and Stem Check
Loose handlebars are scary — and I mean genuinely dangerous, not just mildly concerning. Check the stem bolts regularly to make sure everything’s tight. If your bars creak when you pull on them, something’s loose.
Make sure the handlebars are aligned with the front wheel. If you’ve had a crash or even just transported the bike roughly, they can get knocked out of position. If alignment isn’t your strong suit, any bike shop will sort it out in about two minutes.
Bottom Bracket Service
The bottom bracket is one of those parts you don’t think about until it starts making noise. If you’re getting wobble in the cranks or hearing clicking while you pedal, it probably needs attention. Remove the crank arms, then use a bottom bracket tool to pull the BB out of the frame.
Clean out the shell, check the bearings for wear, and replace anything that’s pitted or rough. Grease the threads generously before reinstalling — bottom brackets that seize in the frame are a nightmare to remove later. Put it all back together and make sure everything spins smoothly. That’s what makes a quiet, well-serviced bottom bracket endearing to any rider who’s suffered through months of mysterious creaking.
Pedal Maintenance
Pedals seem simple, but they take a lot of abuse. Remove them with a pedal wrench (remember: left pedal is reverse-threaded), clean the threads, and check for any damage. Grease the threads before screwing them back in.
If a pedal doesn’t spin smoothly, the bearings inside might need cleaning and re-greasing. Some pedals can be disassembled for service; others are sealed units that just need replacing when they wear out. Either way, make sure they’re on there tight.
Saddle and Seatpost Adjustments
A saddle at the wrong height turns every ride into a chore. You want your knee slightly bent at the bottom of the pedal stroke — not locked out, not deeply bent. Loosen the seat post clamp, slide the saddle to the right height, and lock it down.
Keep the saddle level. A nose-up or nose-down tilt creates pressure points that get uncomfortable fast. If the saddle itself just doesn’t feel right no matter what you do, try a different shape. Saddles are personal — what works for your riding buddy might be torture for you.
Cable Replacements
Cables stretch, fray, and corrode over time. When your shifting or braking performance drops even after adjustments, fresh cables usually fix it. For gear cables, shift to the highest gear, detach the cable from the derailleur, and pull it out.
Inspect the housing while you’re at it — cracked or kinked housing causes poor cable movement. Cut a new cable to length, thread it through the housing, attach it to the derailleur or brake, and set the tension. Fresh cables feel amazing — it’s one of the cheapest upgrades you can do.
Grip and Tape Replacement
Worn-out grips or bar tape mean less control and more hand fatigue. Pull off the old stuff, clean the handlebar surface, and install the new material. For flat bar grips, a tiny bit of soapy water makes them slide on easier. For drop bar tape, start at the bar ends and wrap tightly with a slight overlap all the way up.
Plug the ends and secure everything with finishing tape. Take your time getting the wrap even — lumpy bar tape is uncomfortable and looks sloppy. A clean wrap job makes the whole bike feel fresh.
Suspension Maintenance
Suspension forks and rear shocks need regular cleaning at minimum. After every dirty ride, wipe down the stanchions to keep grit from destroying the seals. Check air pressure against the manufacturer’s recommendations for your weight.
Periodically, the internals need servicing — oil changes, seal replacements, the works. This gets into specialized territory, so if you’re not confident, take it to someone who knows what they’re doing. Neglected suspension gets worse gradually, so you might not notice until it’s really bad.
Headset Maintenance
The headset lets your fork turn inside the head tube. If it’s loose, you’ll feel a knock when you brake. If it’s gritty, steering feels rough. Check tension first by tightening the top cap bolt while holding the bars steady.
If things still feel off, you might need to pull the fork out, clean the bearings and races, and re-grease everything. It sounds like a big job, but it’s really just cleaning and reassembly. Smooth steering makes the whole bike feel right.
Derailleur Hanger Alignment
A bent derailleur hanger is one of the most common causes of bad shifting, and it’s easy to miss. You need a derailleur alignment gauge to check it properly — the tool attaches to the hanger and measures the distance to the wheel at multiple points.
If it’s off, gently bend it back into alignment. Then reattach the derailleur and run through all the gears. Straight hanger equals clean shifts. It’s a small thing that makes a massive difference.
Crank Arm Tightening
Loose crank arms waste power and can damage the bottom bracket interface. Check the bolts regularly with a torque wrench — tighten to the manufacturer’s spec, not just “until it feels tight.” If you notice any play or rocking in the cranks, deal with it right away. Sometimes the fix is just tightening; sometimes there’s wear that needs addressing.
Don’t ignore crank arm play. It gets worse over time and can round out the interface, turning a simple fix into an expensive one.
Cleat Position Adjustment
If you ride clipless, your cleat position matters more than you might think. Misaligned cleats can cause knee pain, hip issues, or just general discomfort. Position the cleat so it sits under the ball of your foot and allows your knee to track naturally through the pedal stroke.
Make tiny adjustments and ride for a bit to test each change. Once it feels right, tighten the cleat bolts securely and check them now and then — they can loosen up from vibration. Getting your cleats dialed in is one of those small things that makes long rides way more comfortable.