Bike Maintenance Tips
Last spring I pulled my bike out of the garage after a long winter and everything felt… wrong. The chain was stiff, the brakes were grabbing unevenly, and the tires were so flat they looked sad. I spent an entire afternoon getting it back into shape, and the whole time I kept thinking “if I’d just done this stuff regularly, I wouldn’t be here right now.” So here’s everything I’ve learned about keeping a bike happy, broken down into steps that are actually doable.
Cleaning Your Bike
Cleaning your bike is the foundation of everything else. Dirt, road grime, and trail muck work their way into moving parts and act like an abrasive. Over time, that wears things out way faster than normal use would. A clean bike lets you spot problems early too — it’s hard to notice a fraying cable when everything’s caked in mud.
Steps to Clean Your Bike
- Rinse the bike with water to knock off the loose stuff.
- Apply bike-specific soap — dish soap works in a pinch but it can strip protective coatings.
- Scrub with a soft brush, working around the frame, wheels, and components.
- Rinse off all the soap thoroughly so nothing dries and leaves residue.
- Dry the bike with a clean cloth. Don’t skip this — water left sitting on metal turns into rust.
Lubrication
Lube is what keeps your bike quiet and smooth. The chain is the obvious one, but your derailleur pivots, cable entry points, and brake levers benefit from a little attention too. The trick is using the right amount. Too much lube attracts dirt and creates a paste that grinds things down. Too little and you get friction and corrosion. Probably should have led with this: the right amount of lube is always less than you think.
How to Lubricate
- Clean the part before applying lubricant. Lube on top of grime is pointless.
- Use bike-specific lubes. Household oils break down fast and attract dirt.
- Apply drops sparingly, especially to the chain — one drop per link is plenty.
- Wipe off excess lubricant with a clean rag.
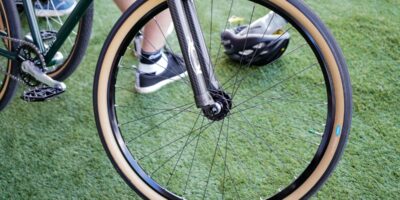
Tire Maintenance
Tires are where the rubber literally meets the road. Under-inflated tires make pedaling harder, handle poorly, and invite pinch flats. Over-inflated tires bounce off everything and give you less grip. Neither is great. Check your pressure before rides and give the tread a once-over for anything embedded — glass, thorns, sharp rocks. Catching a small piece of glass before it works all the way through saves you a flat later.
Tire Care Tips
- Use a pressure gauge to check inflation — don’t guess by squeezing.
- Inflate to the recommended PSI marked on the tire’s sidewall.
- Inspect the tire surface for cuts, embedded objects, or worn spots.
- Replace tires when the tread is worn smooth or the sidewalls are cracking.
Brake Maintenance
Your brakes are the most important safety feature on your bike. Full stop (pun intended). Worn pads, loose cables, or misaligned calipers all reduce your ability to stop when you need to. Check your brakes before every ride — just a quick squeeze of the levers to make sure everything feels right. If something feels off, fix it before you head out. That’s what makes brake maintenance endearing to riders who’ve had a close call — once you’ve needed your brakes and they weren’t there, you never skip the check again.
Brake Check Steps
- Inspect brake pads for wear. When the grooves are gone, the pads need replacing.
- Check that pads are aligned properly with the wheel rim or rotor.
- Test brake levers. They should engage firmly without touching the handlebar.
- Adjust cable tension if the brakes feel loose or spongy.
Derailleur Adjustment
A well-tuned derailleur shifts cleanly through every gear without skipping, hesitating, or dropping the chain. When it’s off, riding is frustrating. The good news? Basic adjustments are simpler than most people think.
Adjusting the Derailleur
- Shift to the smallest chainring and the smallest sprocket in the rear.
- Find the high and low limit screws on the derailleur — they control how far it can move in each direction.
- Turn the screws to set the boundaries so the chain can’t fall off either end of the cassette.
- Fine-tune cable tension with the barrel adjuster for precise, crisp shifting.
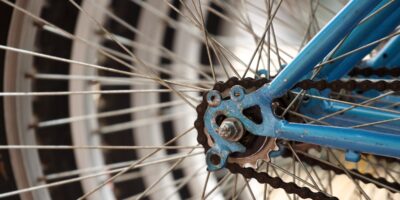
Chain Care
The chain is the hardest-working part of your drivetrain, and it’s also the cheapest to replace compared to cassettes and chainrings. That’s why staying on top of chain wear is so smart — a $20 chain swap prevents $100+ in cassette and chainring damage. Clean your chain regularly and keep it lubed. Simple as that.
Cleaning and Checking the Chain
- Use a chain cleaning tool or a rag wrapped around the chain to remove grime.
- Inspect for rust, stiff links, or discoloration.
- Measure chain wear with a chain checker tool — they’re inexpensive and easy to use.
- Replace the chain when it hits the wear limit. Don’t wait for it to break.
Wheel Alignment
A straight wheel rolls smooth and doesn’t cause brake rub or weird handling. If your wheel wobbles when you spin it, the spokes have uneven tension and it needs truing. This is one of those skills that seems intimidating at first but gets easier with practice.
Steps to Check Wheel Alignment
- Lift the bike and spin the wheels slowly.
- Watch for lateral wobble — the rim moving side to side.
- Use a spoke wrench to adjust tension: tighten spokes on the side you want to pull toward, loosen the opposite side.
- Make sure the wheel is centered in the frame or fork.
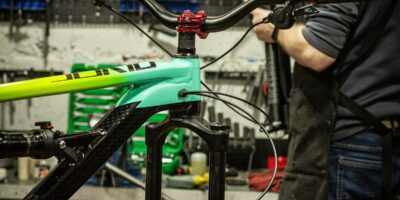
Regular Inspections
A quick once-over before rides and a deeper inspection monthly catches problems early. It’s way cheaper and easier to fix a small issue than deal with a breakdown on the road or trail. Make it a habit and it takes just a few minutes.
Inspection Checklist
- Check the frame for cracks, dents, or anything that looks off.
- Make sure all bolts and nuts are snug (use a torque wrench for accuracy).
- Inspect cables for fraying, rust, or kinks.
- Test that everything moves the way it should — wheels spin freely, brakes engage, gears shift.
Saddle and Handlebar Adjustment
Bike fit affects everything — your comfort, your efficiency, and how much strain your body takes. A saddle that’s too high makes you rock side to side. Too low and your knees take a beating. Handlebars that are too far away put strain on your back and shoulders. Getting the fit right doesn’t require a professional fitting session (though those are great). A few simple adjustments can make a world of difference.
Adjusting Your Bike Fit
- Set the saddle height so your leg has a slight bend at the bottom of the pedal stroke — not fully locked out.
- Position the saddle horizontally so your knee is roughly over the pedal spindle when the crank is at 3 o’clock.
- Adjust handlebars to a comfortable reach and height — you shouldn’t feel like you’re stretching or cramped.
- Make sure handlebars are securely tightened to the proper torque.
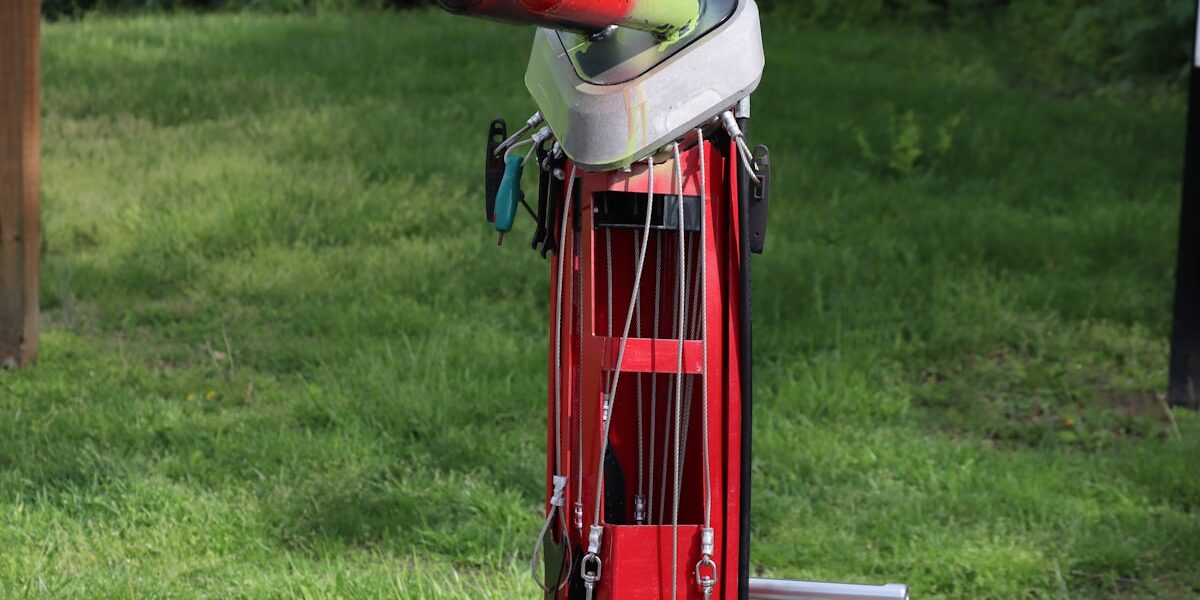
Storing Your Bike
How you store your bike between rides matters. Leaving it outside in the rain and sun does real damage over time. UV breaks down rubber and plastics. Moisture causes corrosion. Even temperature swings can affect tire pressure and cause condensation inside the frame.
Storage Tips
- Hang the bike on a wall hook or ceiling mount to keep it off the ground and out of the way.
- Use a cover if you have to store it outdoors.
- Don’t lean the bike against rough surfaces that can scratch the paint or damage components.
- Keep it in a stable spot where it won’t get knocked over by kids, pets, or random stuff falling on it.