Home Bike Maintenance
Last spring I tried to take my bike to the shop for a simple tune-up and was told the wait time was three weeks. Three weeks! That’s when I decided to figure out home bike maintenance for real. Turns out, it’s way more doable than I thought — and honestly, there’s something satisfying about knowing you can handle most of this stuff yourself. Here’s everything I’ve learned the hard way so you don’t have to.
Basic Tools You Need
Before you start turning wrenches, make sure you’ve actually got the right ones. Here’s what to have on hand:
- Allen wrenches (various sizes)
- Screwdrivers (flat and Phillips head)
- Bike pump with a pressure gauge
- Chain lubricant
- Tire levers
- Patch kit
- Clean rags or shop towels
Cleaning Your Bike
A clean bike is a happy bike — and I’m not just saying that. Regular cleaning seriously extends the life of your components. Start with the frame using warm water, mild soap, and a sponge. Don’t use a pressure washer or a garden hose on full blast — all that water gets pushed into bearings and causes problems down the line. For the drivetrain, turn the pedals and scrub the chain, chainrings, cassette, and derailleur with an old toothbrush and some mild degreaser. Rinse everything off and dry it properly.
Lubricate the Chain
A well-lubed chain is the difference between a bike that shifts like butter and one that sounds like a bag of nails rolling downhill. Apply bike-specific chain lube along the whole length while spinning the pedals backward. This distributes everything evenly. Then grab a clean rag and wipe off the excess — any lube sitting on the surface just collects dirt. Do this every couple of weeks or after any wet ride.
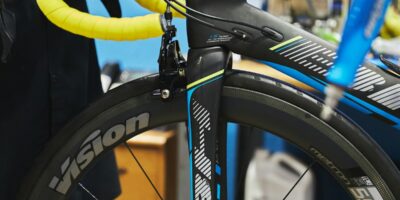
Inspect and Pump the Tires
Correct tire pressure affects everything — comfort, speed, grip, and flat resistance. Check the sidewall of your tire for the recommended PSI and use a gauge to get it right. While you’re at it, look over the tires for cuts, embedded glass, or little stones wedged in the tread. Pick that stuff out before it works its way through to the tube. If the tire’s looking bald or cracked, it’s replacement time.
Check the Brakes
Here’s the thing about brakes: you don’t appreciate them until they don’t work. Check your brake pads — if they’re under 3mm thick, swap them out. Make sure the cables are taut and not starting to fray. There should be a small gap between the pads and the rim when the lever’s released, and the brakes should grab firmly when you squeeze. Test them before every single ride. Probably should have led with this, honestly, because nothing matters if you can’t stop.
Assess the Gears
Put the bike on a stand (or flip it upside down if you don’t have one — no judgment) and shift through every gear. Listen carefully. Clicking, grinding, or hesitation all mean something needs adjusting. The barrel adjuster on the derailleur lets you fine-tune cable tension without tools. Also make sure the derailleur hanger is straight and the derailleur moves freely through its range.
Tighten Bolts and Screws
Vibrations from riding gradually loosen bolts. It’s just physics. Every few weeks, do a quick check of all the bolts on your bike — stem, handlebars, seat post, crank arms. A torque wrench is worth having so you tighten to spec without overdoing it. Over-tightened bolts crack components, which is worse than loose ones.
Inspect the Wheel Alignment
Lift the bike and spin each wheel. They should rotate freely and smoothly without any side-to-side wobble. If you see wobbling, you can try tightening spokes with a spoke wrench, but go easy — small adjustments only. If it’s really out of whack, take it to a shop. Riding on misaligned wheels wears your tires unevenly and makes the bike handle strangely.
Check the Headset
The headset is what lets your fork rotate inside the frame. To check it, hold the front brake and rock the bike forward and backward. If you feel a knocking sensation, the headset’s loose. Tighten the tension bolt on top of the stem, then retighten the stem bolts. It should turn smoothly without any play. That’s what makes a well-adjusted headset endearing to any rider who cares about precise handling — everything just feels locked in and responsive.
Evaluate the Suspension
If your bike has suspension, don’t neglect it. Clean the stanchions and seals after dirty rides. Check and adjust the air pressure based on your weight and how you ride. Look for oil leaks or seeping around the seals. Follow the manufacturer’s guidelines for service intervals — skipping services leads to blown seals and expensive rebuilds.
Replace Worn Parts
Everything on your bike has a lifespan. Use a chain checker tool to measure wear — a stretched chain damages your cassette and chainrings, so catching it early saves money. Inspect brake pads, tires, and cables on a regular basis. When something’s worn past its useful life, replace it. Riding on worn parts doesn’t just hurt performance — it can be dangerous.
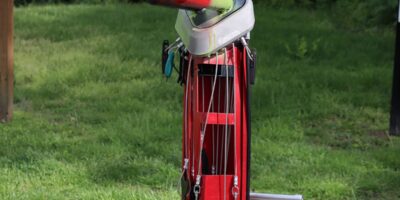
Store Your Bike Properly
Where your bike lives when you’re not riding matters. Indoors is best. If outside is your only option, use a waterproof cover and keep it out of direct sunlight — UV breaks down rubber and fades paint over time. For long-term storage, drop the tire pressure a bit to avoid flat spots from the bike’s weight sitting in one place.
Understand Basic Repair Techniques
Knowing how to fix a flat is non-negotiable. Remove the wheel, pop the tire off with tire levers, find the puncture, patch it or throw in a new tube, and inflate. It’s one of those things that seems intimidating until you’ve done it twice. Practice at home so you’re not figuring it out for the first time on the side of a busy road.
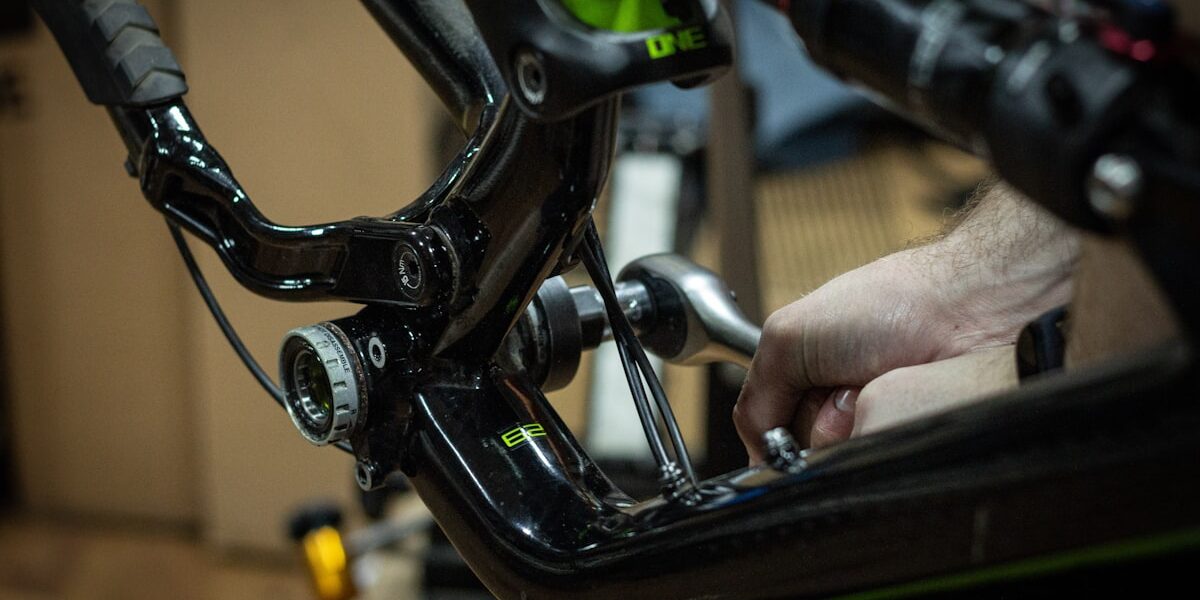
Brake and Gear Cable Maintenance
Cables stretch and wear — it’s inevitable. Check them regularly for smooth movement and any signs of fraying. A light coat of oil keeps things working well. If shifting or braking performance has degraded even after adjustments, the cables are probably due for replacement. Fresh cables make a noticeable difference.
Handlebar and Seat Adjustments
Getting your fit right prevents fatigue and injuries. Your handlebars should be at a comfortable height and angle — not so low that your back screams after twenty minutes. Set your saddle height so your leg is almost fully extended at the bottom of the pedal stroke. A well-fitted bike feels like an extension of your body, and a badly fitted one feels like a punishment.
Monitor Bike Components
Make it a habit to regularly look over your whole bike. Check pedal axles and the bottom bracket for smooth rotation. Examine the frame for any new cracks or dents. These routine checks help you spot trouble early, and early is always cheaper and easier than late.
Use Quality Replacement Parts
When you do need to replace something, don’t go with the cheapest option just to save a few bucks. Cheap parts wear out fast and sometimes don’t fit right. Use parts that match your bike’s specs and are recommended by the manufacturer. Quality parts last longer and keep you safer.
Learn From Online Resources
There are some genuinely great tutorials out there. Look for channels and sites run by actual mechanics — you can usually tell by whether they explain the “why” behind each step, not just the “what.” Cycling forums and communities are also goldmines for specific questions. Someone out there has had your exact problem and solved it.
Practice Regular Maintenance Schedule
Set up a routine and stick to it. Monthly checks on the basics — brakes, tires, chain, bolts — prevent the small stuff from snowballing into big, expensive problems. Set reminders on your phone if you have to. Seasonal deep-cleans and inspections round it out. Your bike gives back what you put in.
Safety First
Never compromise on the stuff that keeps you safe. Brakes and tires are the absolute minimum — if those aren’t in good shape, park the bike until they are. Add lights and reflective elements for riding in low light. A few minutes of checking before a ride beats an ambulance ride any day.
Track Maintenance Intervals
Keep a simple log of what you’ve done and when. It doesn’t need to be elaborate — a notes app or a spreadsheet works fine. Tracking helps you plan ahead and makes sure nothing slips through the cracks. When it’s time to sell the bike or take it to a shop, having that history is incredibly useful.