A well-maintained bicycle rides better, lasts longer, and keeps you safer on the road or trail. The good news? Most basic maintenance tasks require minimal tools and just a few minutes of your time. Whether you’re a daily commuter or weekend warrior, these fundamental skills will save you money and prevent breakdowns when you’re miles from home.
The Pre-Ride Safety Check
Before every ride, run through the ABC Quick Check—a 60-second inspection that catches problems before they strand you:
A – Air: Squeeze your tires. They should feel firm, not squishy. Check the sidewall for the recommended PSI range and use a floor pump with a gauge to hit the right pressure. Road bikes typically run 80-120 PSI, hybrids 50-70 PSI, and mountain bikes 25-35 PSI depending on terrain and rider weight.
B – Brakes: Squeeze each brake lever while pushing the bike forward. The wheel should stop completely, and the lever shouldn’t touch the handlebar. Check that brake pads contact the rim squarely (not rubbing the tire) and have visible wear grooves.
C – Chain and Cranks: Spin the pedals backward and watch the chain move through the derailleur. It should run smoothly without stiff links or grinding sounds. Grab each crank arm and wiggle—any looseness means the bottom bracket needs attention.
Quick Releases: If your wheels have quick-release skewers, confirm they’re tight. The lever should leave an imprint on your palm when closed. Loose wheels are a serious safety hazard.
Cleaning Your Bike
Dirt and grime accelerate wear on every moving part. A clean bike shifts better, brakes more reliably, and simply feels faster. Aim to clean your bike after wet or muddy rides, or every few weeks with regular use.
What you need:
- Bucket of warm soapy water (dish soap works fine)
- Sponge or soft brush
- Stiff brush for drivetrain
- Degreaser for chain and cassette
- Clean rags
- Chain lubricant
The process:
- Rinse the bike with low-pressure water to remove loose dirt (avoid high-pressure washers—they force water into bearings)
- Apply degreaser to the chain, cassette, and chainrings; let it sit for 2-3 minutes
- Scrub the drivetrain with a stiff brush, working the degreaser into the chain links
- Wash the frame, wheels, and components with soapy water and a sponge
- Rinse everything thoroughly
- Dry with clean rags, paying attention to the chain
- Apply fresh chain lube once the chain is completely dry
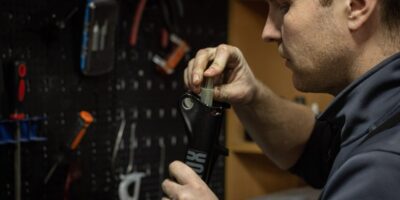
Chain Maintenance
Your chain is the hardest-working component on the bike, and a neglected chain destroys expensive cassettes and chainrings. Proper chain care is the single most cost-effective maintenance you can do.
Lubrication: Apply lube to a clean, dry chain by dripping it onto each roller while slowly spinning the pedals backward. Wipe off the excess—lube belongs inside the rollers, not on the chain’s exterior where it attracts dirt. Use wet lube in rainy conditions and dry lube for fair weather.
When to lube: If the chain sounds noisy or looks dry, it needs lube. For most riders, that’s every 100-200 miles, or after any wet ride.
Chain wear: Chains stretch over time, and a worn chain damages your cassette and chainrings. Use a chain checker tool monthly—when it reads 0.5% wear (0.75% for 12-speed), replace the chain. A $30 chain replacement prevents a $150+ drivetrain replacement.
Tire Care
Proper tire maintenance prevents flats and improves handling. Check pressure before every ride—tires lose air naturally, even without punctures.
Pressure guidelines:
- Road bikes: 80-120 PSI (lower for heavier riders, rough roads)
- Gravel/hybrid: 40-70 PSI
- Mountain bikes: 25-35 PSI (lower for better traction)
Tire inspection: Look for embedded glass, thorns, or wire. Check sidewalls for cuts or bulges. Examine the tread—if you see the casing threads showing through, it’s replacement time. Most road tires last 2,000-3,000 miles; mountain bike tires vary widely based on terrain.
Flat prevention: Consider tire sealant for tubeless setups, or tire liners for tube systems. Learn to change a flat at home before you’re stranded on a ride—it’s a 10-minute skill that every cyclist needs.
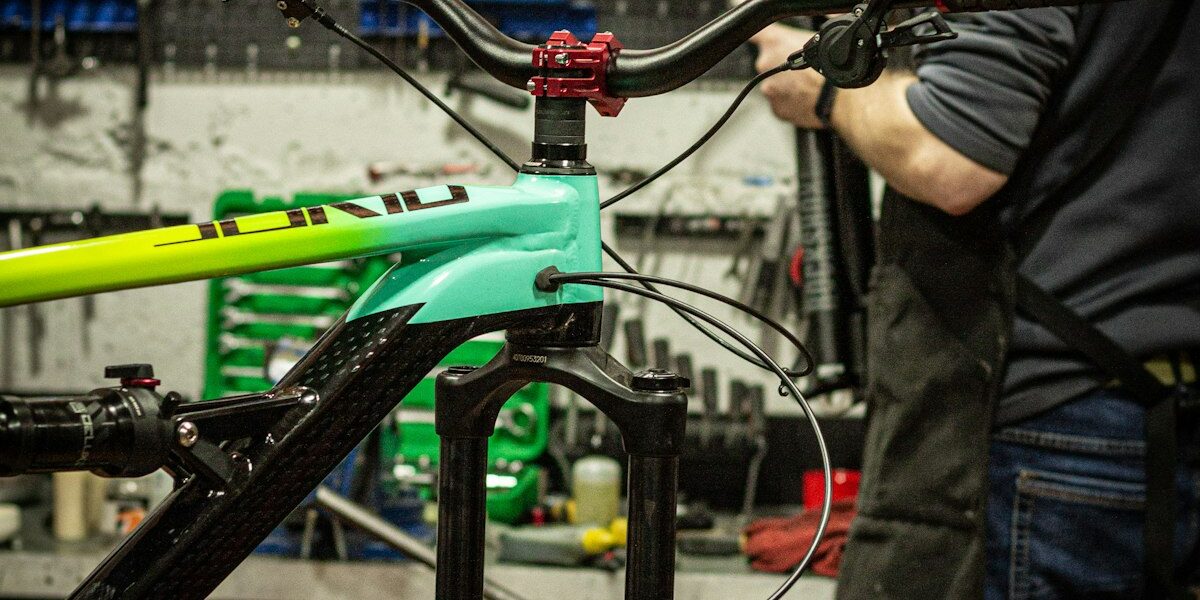
Brake Maintenance
Reliable brakes are non-negotiable. The type of brakes on your bike determines the maintenance required.
Rim brakes: Check pad wear monthly. Most pads have wear indicator grooves—when they disappear, replace the pads. Clean rims with rubbing alcohol to remove brake dust and improve stopping power. Adjust cable tension if levers pull too close to the handlebar.
Disc brakes: Inspect rotor thickness and pad material. Pads should have at least 1mm of material remaining. Never touch rotors with bare hands—oil from your skin causes contamination and squealing. If brakes feel spongy, they may need bleeding (a shop job for most home mechanics).
Brake cable replacement: Frayed or sticky cables should be replaced. This is a straightforward home repair with basic tools and cable cutters.
Drivetrain Basics
The drivetrain—chain, cassette, chainrings, and derailleurs—requires periodic attention beyond chain lubrication.
Shifting adjustment: If gears skip or won’t shift smoothly, start with cable tension. Most derailleurs have a barrel adjuster—turn it counter-clockwise to tighten cable tension (fixes slow upshifts on the rear), clockwise to loosen (fixes slow downshifts). Make quarter-turn adjustments and test.
Derailleur alignment: A bent derailleur hanger causes poor shifting across all gears. If you’ve crashed or dropped the bike on the drive side, have a shop check the hanger alignment with a proper gauge.
Cassette and chainring wear: These wear out along with chains. Shark-fin-shaped teeth indicate a worn cassette. If a new chain skips on your old cassette, you waited too long to replace the chain and now need both.
Seasonal Maintenance
Beyond regular cleaning and lubrication, schedule these tasks seasonally or annually:
- Headset check: Apply the front brake and rock the bike forward/backward. Clunking means loose headset bearings.
- Bottom bracket: Spin the cranks with the chain removed. They should rotate smoothly without grinding or play.
- Wheel true: Spin each wheel and watch the rim pass the brake pads. Wobbles greater than 2mm need truing.
- Hub bearings: Grab the wheel and wiggle side-to-side. Any play indicates loose or worn hub bearings.
- Suspension service: Fork and shock seals should be serviced annually per manufacturer guidelines.
- Cable and housing: Replace brake and shift cables yearly for consistent performance.
Know When to Visit a Shop
Some repairs require specialized tools or expertise:
- Wheel building and major truing
- Headset and bottom bracket installation
- Hydraulic brake bleeding
- Suspension rebuilds
- Frame alignment checks after crashes
- Electronic drivetrain diagnostics
A good relationship with your local bike shop pays dividends. They can catch problems you might miss and keep your bike running safely for years.
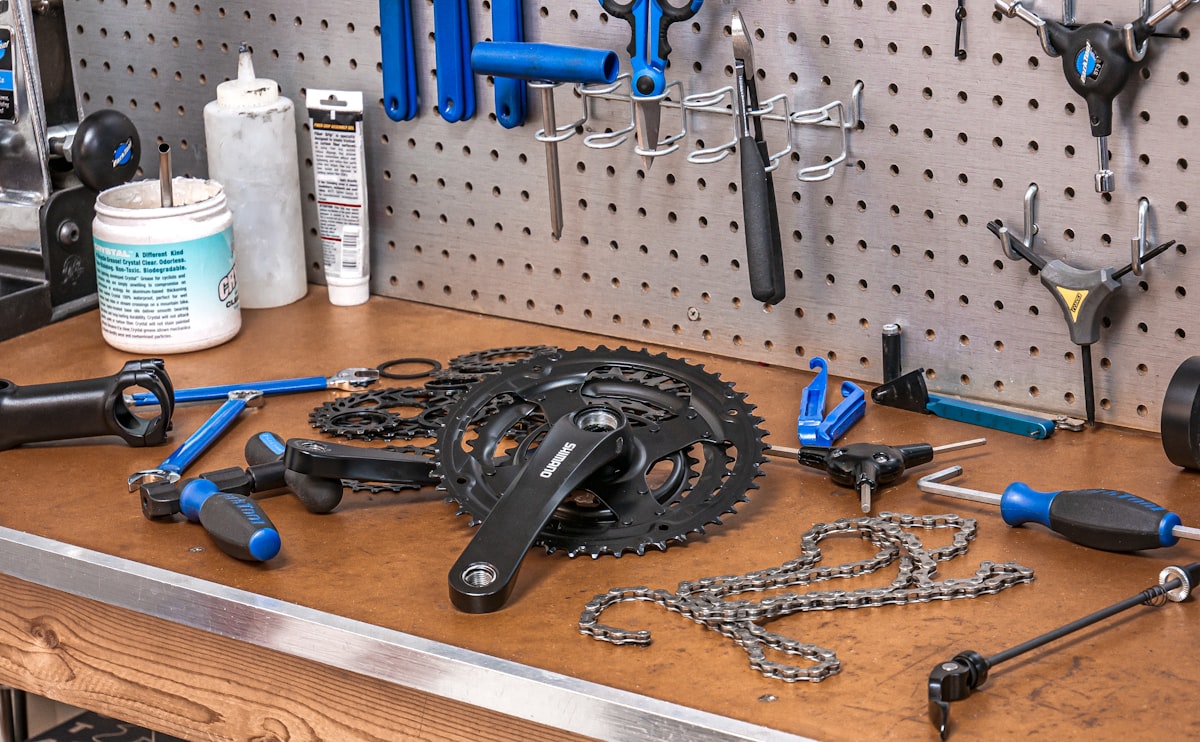
Essential Tools for Home Maintenance
Build your toolkit gradually, starting with the basics:
- Floor pump with pressure gauge
- Hex wrench set (2mm-8mm)
- Tire levers
- Chain lube (wet and dry)
- Degreaser
- Chain checker tool
- Screwdrivers (flat and Phillips)
- Cable cutters
- Torque wrench (for carbon components)
Recommended Maintenance Gear
Park Tool PCS-10.3 Bicycle Repair Stand – $259.95
Professional-grade home mechanic stand. Makes every maintenance task easier by holding your bike at working height.
Park Tool AWS-1 Hex Wrench Set
The three sizes you’ll use most: 4mm, 5mm, and 6mm in a convenient Y-wrench format.
Finish Line Speed Bike Degreaser
Fast-acting formula cuts through grime on chains, cassettes, and chainrings.
As an Amazon Associate, we earn from qualifying purchases.
Regular maintenance isn’t just about preventing breakdowns—it’s about enjoying every ride with a bike that responds precisely to your input. Start with the pre-ride check, keep that chain clean and lubed, and you’ll avoid most common mechanical problems. The skills you build will make you a more confident, self-sufficient cyclist.

Stay in the loop
Get the latest wildlife research and conservation news delivered to your inbox.