Bottom bracket replacement intimidates more home mechanics than almost any other job. Part of that fear is justified—there are at least six major BB standards, and using the wrong approach destroys frames. But once you understand what you’re working with, the actual replacement is straightforward. Here’s how to identify your system and replace it correctly.
Pressed vs. Threaded: The Fundamental Split
Threaded bottom brackets screw into threads cut directly into the frame’s bottom bracket shell. Standards include BSA/English (most common), Italian, French, and Swiss. These are the traditional approach and generally the most serviceable.
Pressed (press-fit) bottom brackets have cups or bearings pressed directly into a smooth-bored frame shell. Standards include PF30, BB30, PF86/92, BB86/92, and others. These became popular for their stiffness and manufacturing simplicity but introduced creaking issues that plague many riders.
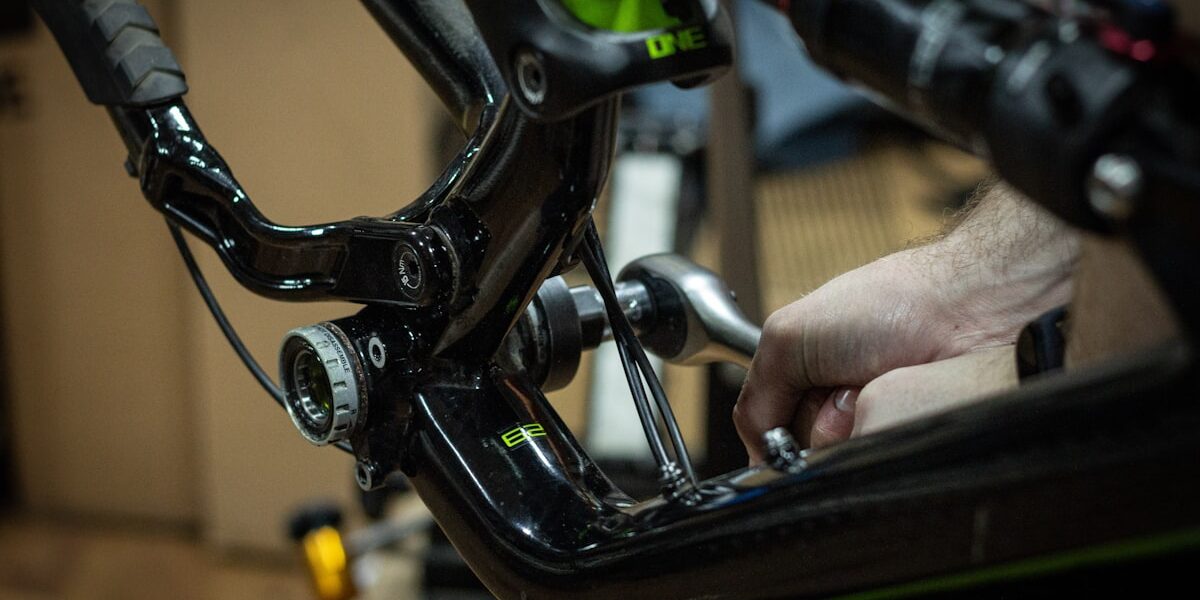
How to tell: Look at your frame’s bottom bracket area. If you see distinct cups with wrench flats or spanner notches, it’s threaded. If you see smooth cups flush with the frame, or if the bearings press directly into the frame with no visible cups, it’s pressed.
Threaded BB Replacement
For BSA/English (the most common standard):
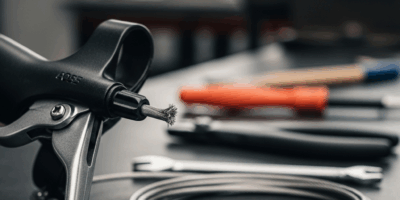
Tools needed: Bottom bracket tool matching your specific BB (Hollowtech, GXP, square taper, etc.), crank puller if applicable, grease, torque wrench.
Thread direction: The drive side (right) is reverse-threaded—turn clockwise to remove. The non-drive side (left) is standard threading—turn counter-clockwise to remove. Memory device: both sides loosen toward the front of the bike.
Removal: Insert appropriate tool into the cup notches. Apply firm pressure in the correct direction. Old BBs may be seized; penetrating lubricant and significant force (or a long breaker bar) may be required.
Installation: Clean threads thoroughly. Apply waterproof grease generously to threads (prevents seizing and water intrusion). Hand-thread the drive side first to ensure proper engagement. Torque to spec: typically 35-50 Nm for external bearing systems.
Pressed BB Replacement
Press-fit systems require different tools and more care:
Tools needed: Press-fit removal tool (or blind bearing puller), bearing press or threaded rod setup, appropriate drifts, grease.
Removal: Most press-fit BBs require driving the bearings out from inside the shell. A proper removal tool expands behind the bearing and allows controlled extraction. Improvised methods (drifts, hammers) work but risk frame damage.
Frame prep: Once bearings are out, inspect the shell bore. Clean thoroughly and check for scoring or deformation. Any damage affects bearing seat integrity.
Installation: Never hammer press-fit bearings directly. Use a proper bearing press that applies even pressure across the bearing face. Grease the bore and bearing outer race. Press until fully seated—you’ll feel/hear the bearing bottom against the shell.
The Standards Confusion
Here’s a quick reference for common systems:
BSA/English: 68mm or 73mm shell width, 34.8mm internal diameter, threaded. Most road bikes, many MTBs.
Italian: 70mm shell width, 36mm internal diameter, both sides standard thread. Some Italian frames.
BB30: 68mm shell, 42mm bore, pressed bearings, 30mm spindle. Some road and MTB frames.
PF30: Same as BB30 but with pressed plastic or aluminum cups that accept bearings.
BB86/92: 41mm bore press-fit, uses 24mm spindle (Shimano Hollowtech, etc.). 86mm for road, 92mm for MTB.
When in doubt: Measure your shell width and internal diameter. Compare to published standards. Or remove the old BB and match it.
The Creak Problem
Press-fit bottom brackets are notorious for creaking. The causes:
- Bearing-to-frame bore fit loosening over time
- Water intrusion between cups and frame
- Bearing wear or contamination
- Frame bore tolerances out of spec
Solutions: Some riders apply retaining compound (Loctite 609 or similar) between bearing and frame. Others use threaded BB adapters (convert press-fit to threaded). Fresh installation with proper technique and tolerance often eliminates creaking temporarily.
When to Replace
Signs your BB needs attention:
- Grinding sensation when pedaling
- Play or movement when rocking the crank
- Creaking under load (though this can have other causes)
- Visible bearing wear or contamination
- Difficult or rough crank rotation when bike is unloaded
With quality bearings and proper installation, threaded BBs last 3-5 years in typical use. Press-fit systems often require attention every 1-2 years, especially in wet conditions.
The Professional Option
BB replacement is manageable at home, but having the right tools matters significantly. A quality BB tool set costs $50-100. A press and removal tool set for press-fit adds another $50-100. If you only replace one BB every few years, shop labor ($30-60) may be more economical than tool investment.
Either way, understanding your system—threaded or pressed, bearing type, shell dimensions—empowers you to make informed decisions. Don’t let terminology confusion keep you from maintaining this critical connection point.


Stay in the loop
Get the latest bike maintenance pros updates delivered to your inbox.