Your dropper post worked perfectly for months. Now it either won’t drop, won’t return, or moves like it’s fighting through honey. Before you ship it off for rebuild or drop $400 on a replacement, try the fix that solves 70% of dropper problems: air pressure adjustment.
How Dropper Posts Work
Most modern droppers use a sealed air cartridge to drive the post upward when you release the lever. The actuator mechanism (mechanical cable or hydraulic) releases an internal valve, allowing the air spring to extend the post. When you sit on it, your weight compresses the air spring.
The key: that air spring needs to be at the correct pressure to function properly. Too low, and the post won’t fully return. Too high, and it becomes difficult to compress or may not fully drop.
Diagnosing Air Pressure Issues
Post won’t return (or returns slowly): Air pressure is too low. The spring doesn’t have enough force to overcome seal friction and post weight.
Post won’t drop (or drops slowly): Air pressure is too high. You can’t overcome spring force with body weight, or internal valves can’t release against the pressure.
Post works but feels harsh: Pressure may be too high, making the return aggressive.
Post works but feels sluggish: Pressure may be too low, or seals may need lubrication.
Finding the Air Valve
Most dropper posts have an air valve accessible somewhere on the post body:
- RockShox Reverb: Schrader valve at the bottom of the post
- Fox Transfer: Schrader valve at the collar
- OneUp: Schrader valve at bottom
- BikeYoke: Typically under the remote saddle clamp
- PNW: Check collar or bottom of post
If you can’t find it, check your post’s documentation. Some older mechanical posts have no air adjustment—they use coil springs instead.
The Pressure Adjustment Process
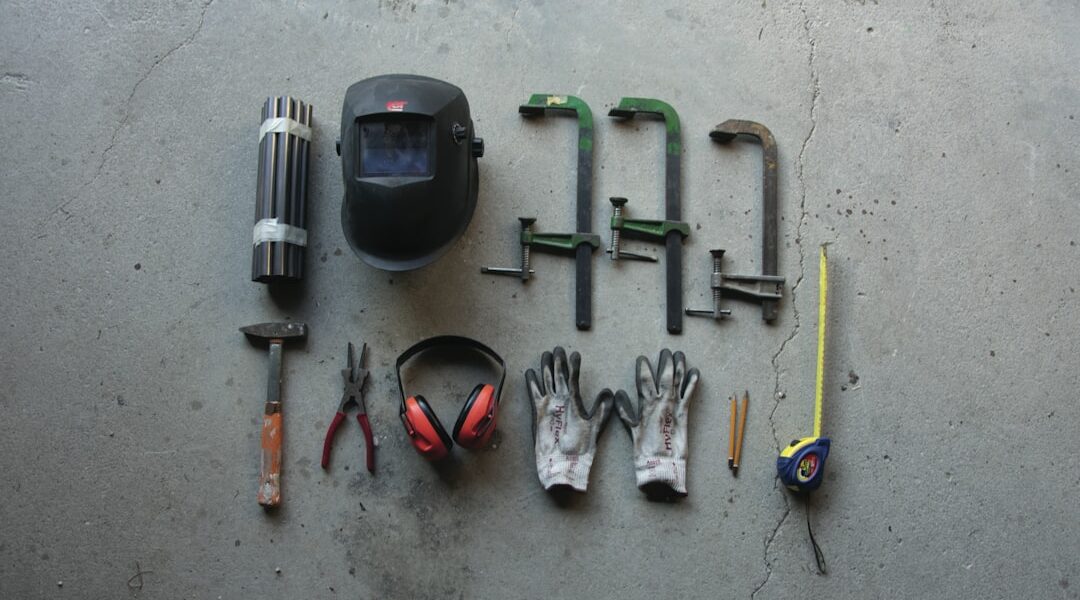
Tools needed: shock pump with accurate low-pressure gauge.
Step 1: Find manufacturer’s spec. Most droppers run 150-250 PSI depending on rider weight. Check your specific post’s manual—this varies significantly by brand and model.
Step 2: Check current pressure. Attach shock pump, note the reading. If it’s significantly low, you’ve found your problem.
Step 3: Adjust to spec. Add or release air to reach the recommended pressure. For variable-pressure droppers, start at the lower end and increase if return feels sluggish.
Step 4: Test function. Cycle the post fully at least 10 times. It may need a few cycles to equalize after pressure adjustment.
Step 5: Fine-tune. Heavier riders may need slightly higher pressure. Lighter riders may need less. Adjust in 10 PSI increments until function feels correct.
When It’s Not Just Air
Air pressure fixes most dropper problems, but some issues require more intervention:
Cable-actuated posts: Check cable tension. A frayed, stretched, or improperly routed cable prevents full actuation. Adjust barrel adjuster or replace cable.
Hydraulic remotes: Air in the remote line causes spongy lever feel and incomplete actuation. Bleeding the remote (different from post service) may be required.
Seal degradation: Old seals stick, creating friction that air pressure can’t overcome. Removal and re-greasing with appropriate suspension grease often helps. Full seal kit replacement is the permanent fix.
Stuck IFP (Internal Floating Piston): Some posts have internal components that can seize without regular cycling. If you stored the bike for months without using the dropper, this may be the issue.
Preventive Maintenance
Keep your dropper working with minimal effort:
- Cycle it regularly: Even on road rides, drop the post a few times. Movement prevents seal adhesion.
- Clean the exposed stanchion: Wipe with a clean cloth before and after rides. Grit destroys seals.
- Check pressure monthly: A slow pressure loss is easier to address than a dead post.
- Avoid full compression storage: Store the bike with the post extended to prevent seal compression set.
The Annual Service Reality
Droppers should be fully serviced annually or every 100-150 hours. This means disassembly, seal inspection, fluid replacement (if applicable), and complete re-greasing. Skip this, and seals degrade, internals corrode, and eventually the post fails completely.
But between services, air pressure management handles most functional issues. Check it before assuming the worst. That five-minute adjustment might save you from a week without your bike while it’s at the shop.
The Quick Field Fix
Post fails on the trail? Before abandoning the descent:
- Confirm the cable/remote is functioning (can you feel actuation?)
- Cycle the post manually while triggering the lever repeatedly
- Check that nothing is binding the post (seat clamp too tight, cable kinked)
- If possible, raise the post manually to a comfortable height and tighten the seat clamp to lock it there
A locked dropper that won’t drop is rideable. A dropper stuck in the down position makes technical terrain dangerous. Know the workarounds.


Stay in the loop
Get the latest bike maintenance pros updates delivered to your inbox.