Bicycle Repair Techniques
Bicycle Repair Techniques
Learning bicycle repair techniques can save you time and money. Whether you’re dealing with a flat tire, a broken chain, or squeaky brakes, knowing how to address common issues can keep your bike running smoothly.
Flat Tire Repair
First, remove the wheel from the bike. Unscrew the nuts or loosen the quick-release lever. Deflate the tire completely by pressing down on the valve stem. Use tire levers to pry the tire away from the rim. Work your way around the rim until one side of the tire is off. Remove the tube from inside the tire.
Inspect the tire and tube for the source of the puncture. Run your fingers gently around the inside of the tire to find any sharp objects. Once found, remove the debris from the tire. Patch the tube if necessary or replace it with a new one.
To patch the tube, roughen the area around the puncture with sandpaper. Apply adhesive and wait until it becomes tacky. Place the patch over the glue and press firmly. Wait a few minutes for the adhesive to bond.
Reinsert the tube into the tire, making sure it’s properly aligned. Fit one side of the tire back onto the rim using your hands. Use the tire lever to get the final section in place. Inflate the tire to the recommended pressure.
Chain Maintenance
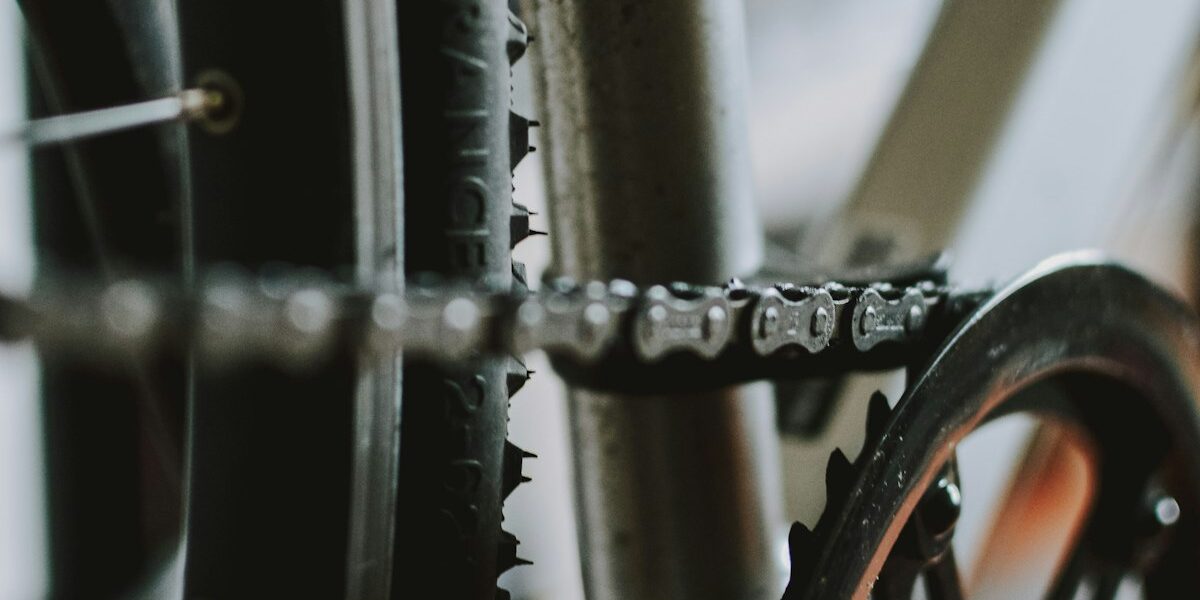
Regular cleaning and lubrication of your bike chain will extend its life. Shift the chain to the smallest front and rear gears for easier access. Use a chain cleaning tool or a brush to remove dirt and grime. Apply degreaser to the chain, letting it sit for several minutes. Rinse the chain with water and dry it with a clean cloth.
Once the chain is clean and dry, apply chain lubricant. Avoid using too much to prevent attracting more dirt. Spin the pedals backward to evenly distribute the lube across all links. Wipe off any excess lubricant with a cloth.
Brake Adjustment
Properly working brakes are vital for safe riding. If your brakes feel weak or unresponsive, they likely need adjustment. Check the brake pads for wear and replace them if they are worn out.
To adjust rim brakes, start by loosening the bolt that holds the brake pads. Align the pads so they are parallel to the rim and make sure they contact the rim evenly when the brake lever is squeezed. Tighten the bolt to secure the pads in place.
If you’re working with disc brakes, make sure the rotor is true. Spin the wheel and look for any wobble. If it wobbles, use a rotor truing tool to straighten it. Adjust the position of the brake calipers by loosening the bolts, squeezing the brake lever to center the caliper, then tightening the bolts.
Gear Shifting Issues
If your gears are not shifting smoothly, start by inspecting the derailleur. Make sure the derailleur hanger is straight. If it’s bent, it will need to be replaced. Adjust the high and low-limit screws on the derailleur. These screws control the range of movement and prevent the chain from falling off the gears.
Check the cable tension. Shift to the smallest gear and turn the barrel adjuster to fine-tune the tension. If the chain skips gears, the cable may need more tension. If the chain hesitates to shift up, reduce the cable tension.
Wheel Truing
A wobbly wheel can affect your ride quality. Start by securing the bike in a stand, and spin the wheel. Identify the areas where the wheel veers off. Use a spoke wrench to tighten or loosen the spokes on the opposite side of the wobble.
Make small adjustments, checking the wheel’s alignment after each turn of the wrench. Aim for the wheel to spin true without any side-to-side movement. Excessive adjustments can cause new problems, so proceed carefully.
Lubricating Moving Parts
Regular lubrication is crucial for maintaining smooth operation. Apply lubricant to the derailleurs, brake pivots, and other moving parts. Focus on the areas where metal components rub against each other.
Wipe off excess lubricant to prevent dirt build-up. Keeping these parts well-oiled reduces wear and tear, extending the bike’s lifespan.
Handlebar and Stem Check
Loose handlebars can be dangerous. Periodically check that the stem bolts are tight. If your handlebars creak or move, the bolts may need to be tightened.
Align the handlebars with the front wheel to ensure they are properly centered. If you’re uncomfortable doing this, seek assistance at a local bike shop.
Bottom Bracket Service
The bottom bracket connects the crankset to the bike frame and allows the cranks to rotate smoothly. If you notice any wobbling or clicking noises, it might be time to service the bottom bracket. Start by removing the crank arms. Use a bottom bracket tool to remove the bottom bracket from the frame.
Clean the bottom bracket shell and inspect the bearings for wear. If the bearings are damaged or worn out, replace them. Apply grease to the threads of the bottom bracket and reinstall it into the frame. Reattach the crank arms and ensure that they spin smoothly.
Pedal Maintenance
Check your pedals regularly for wear and smooth operation. Remove the pedals using a pedal wrench. Clean the pedal threads and inspect for any damage or wear. Apply grease to the pedal threads before re-installing them.
Ensure that the pedals are tightened securely to the crank arms. If the pedals don’t spin smoothly, the bearings may need attention. Disassemble the pedals if possible, clean, and re-grease the bearings before reassembly.
Saddle and Seatpost Adjustments
A properly adjusted saddle ensures comfort and efficiency while riding. Adjust the saddle height so your knee is slightly bent at the bottom of the pedal stroke. Loosen the seat post clamp and move the saddle to the desired height.
Ensure the saddle is level to avoid discomfort during riding. Tighten the seat post clamp securely. If the saddle still feels uncomfortable, consider a different design or additional padding.
Cable Replacements
Over time, cables can stretch, fray, or corrode. Replace gear and brake cables when they show signs of wear. Shift to the highest gear and remove the cable from the derailleur.
Remove the cable housing and inspect for damage. Cut a new cable to the appropriate length and thread it through the housing. Attach the cable to the derailleur or brake and adjust the tension.
Grip and Tape Replacement
Replace worn grips or bar tape to maintain a secure and comfortable handlebar. Remove the old grips or tape. Clean the handlebar surface. For grips, slide the new grips onto the handlebar using some soapy water to ease installation. For bar tape, start at the end of the handlebar and wrap the tape tightly, overlapping slightly as you go along.
Secure the end of the tape with a plug or adhesive tape. Ensure the wrap is even and tight throughout for maximum comfort and control.
Suspension Maintenance
If your bike has suspension forks or a rear shock, regular maintenance can keep them performing well. Clean the stanchions regularly to remove dirt and grime that can damage seals. Check the suspension pressure according to the manufacturer’s recommendations.
Lubricate the stanchions with suspension oil if needed. Periodically service the suspension by replacing the oil and seals. This may require special tools and knowledge, so consulting a professional might be necessary if you’re unfamiliar with the process.
Headset Maintenance
The headset allows the fork to rotate within the head tube of the frame. A loose or gritty headset can make steering difficult. To service the headset, first check for proper tension. If it’s loose, tighten the top cap bolt while holding the handlebars steady.
If the headset feels rough or has play, you may need to disassemble and clean it. Remove the stem and fork, clean the bearings and bearing cups, and re-grease them before reassembly. Tighten everything back up, ensuring smooth movement without any play.
Derailleur Hanger Alignment
A misaligned derailleur hanger can cause shifting issues. Check the hanger using a derailleur alignment tool. Attach the tool to the hanger and check its alignment with the wheel. Adjust the hanger by bending it gently until it aligns perfectly.
Reattach the derailleur and test the shifting. A well-aligned derailleur hanger is crucial for smooth gear changes and overall drivetrain performance.
Crank Arm Tightening
Loose crank arms can lead to inefficient power transfer and potential damage. Regularly check the bolts securing the crank arms to the bottom bracket spindle. Use a torque wrench to ensure they are tightened to the manufacturer’s specifications.
If you notice any play in the crank arms, address it immediately. Tightening the bolts can often resolve the issue, but inspect for wear or damage which might require further attention.
Cleat Position Adjustment
If you use clipless pedals, proper cleat positioning is crucial. Misaligned cleats can cause discomfort or injury. Adjust the cleats so they align with the ball of your foot and allow for natural knee tracking.
Make small adjustments and test the fit until they feel comfortable. Secure the cleat bolts tightly and periodically check them for any loosening.


Subscribe for Updates
Get the latest articles delivered to your inbox.
We respect your privacy. Unsubscribe anytime.