Left Pedal Threads the Wrong Way — Know This First
Bike pedal removal has shifted noticeably with all the conflicting advice flying around. Half the tutorials skip the one thing that actually matters, and you end up with a stripped crank arm and a wrench on the floor.
The left pedal is reverse-threaded. Full stop. Tighten it counterclockwise, loosen it clockwise. The right pedal is normal — clockwise to tighten, counterclockwise to loosen. As someone who destroyed a perfectly good crank arm at 22 years old, standing in a garage with PB Blaster-soaked hands convinced the pedal was seized, I put in the hours studying this the hard way. I was threading it deeper into the arm with every ounce of strength I had. Today, I will share it all with you.
Here’s the mnemonic that saved me after that disaster: Left Loose goes the other way. Tattoo it somewhere. The left side reverses. The right side doesn’t. That’s it.
But why does the left pedal thread backward? In essence, it’s a physics solution to a self-loosening problem. But it’s much more than that. When you pedal, your leg drives the crank forward — and normal threading on the left side would gradually unscrew itself through rotational force alone. Reverse-threading counteracts that. Manufacturers cracked this problem back in the 1800s and haven’t changed it since. That’s what makes the design endearing to us cyclists, honestly — elegant simplicity hiding under something that looks like a trap.
Worth putting near the top, because before you touch a single tool, you need to physically identify which pedal you’re pulling. Crouch down. Look at the crank. Right side — the drive side, where your chain lives — standard threads. Left side, opposite the chain — reversed. Confirm it visually every single time. The number of stripped cranks I’ve seen traces back to skipping this one step.
What You Need Before You Start
While you won’t need a full shop setup, you will need a handful of specific tools — and the right ones matter more here than on most bike jobs.
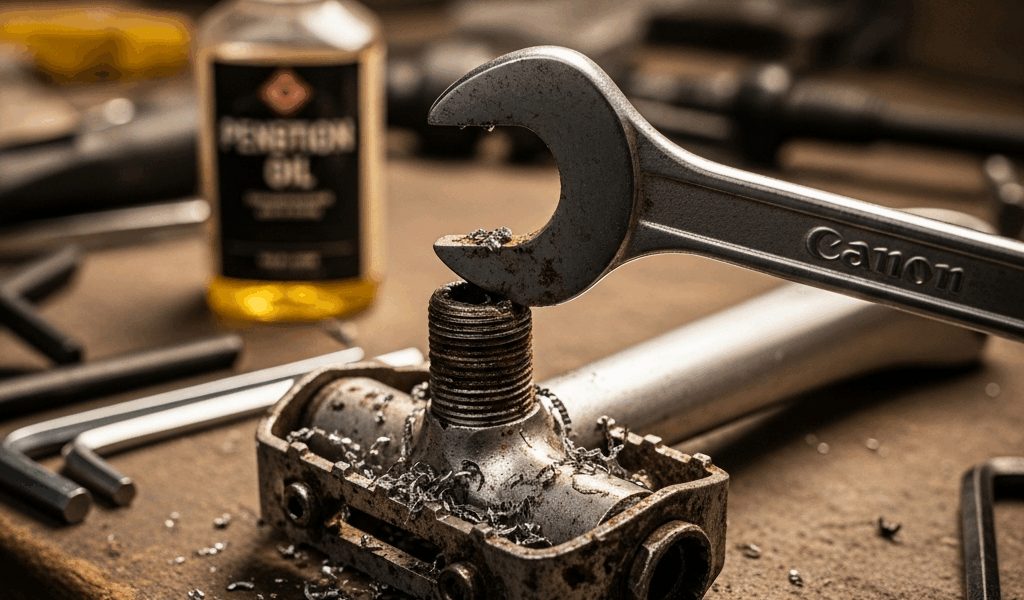
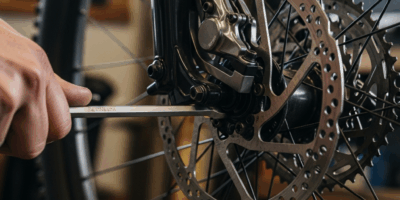
A 15mm pedal wrench is non-negotiable. Most pedals also accept a 9mm or 10mm Allen key through the backside of the crank, but the leverage difference is enormous. A dedicated pedal wrench — something like the Park Tool PW-4, which runs around $18 — has a thin profile specifically designed to fit the shallow flats on a pedal axle. A standard 15mm open-end wrench from a hardware store? The flats on a pedal axle are tighter and shallower than a regular bolt. Even slightly oversized, the wrench slips and rounds the corners. Once those flats are gone, you’re buying a pedal extractor. I’m apparently someone who learned this with an $8 hardware store wrench, and the cheap route cost me a $45 extractor purchase three days later. Learn from what tripped me up.
Here’s what to have on hand:
- 15mm pedal wrench — non-negotiable, thin profile required
- Penetrating oil — PB Blaster, Liquid Wrench, or WD-40 Specialist. Not all penetrating oils are equal. I’m apparently a PB Blaster person and it works for me while generic hardware store oil never does on seized pedal threads
- Crank holder or secondary wrench — something to stabilize the opposite arm so it doesn’t spin when force goes on
- Heat source (optional, usually necessary) — heat gun preferred, held at 3 to 4 inches. Hot water poured over the crank eye works in a pinch. Never use an open flame near carbon fiber or painted frames — not even briefly
- Clean rag — wipe the interface before you start, inspect those threads before forcing anything
Step-by-Step Method to Remove Stuck Pedals
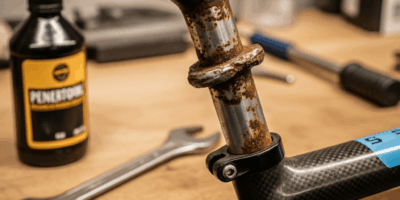
Step 1: Apply penetrating oil and actually wait. Drip or spray penetrating oil directly into the seam where the pedal axle meets the crank arm. Ten minutes is the absolute minimum. Thirty is better. I spray it, walk inside, make coffee, drink half of it, come back. The oil needs time to creep into corroded threads — rushing this step is how you end up using force where patience would have worked.
Step 2: Position the crank arm for leverage. Rotate the crank so the arm you’re working on sits horizontal. Right pedal at 3 o’clock, pointing toward your right. Left pedal at 9 o’clock, pointing left. This gives you full mechanical advantage — body weight going straight down through the wrench handle. A crank arm pointing up or down gives you nothing to push against.
Step 3: Confirm your direction before moving the wrench. Right pedal: counterclockwise to loosen. Left pedal: clockwise to loosen. Say it out loud if you have to. Muscle memory will betray you here — the body defaults to righty-tighty and it’s wrong half the time on a bike.
Step 4: Use body weight, not arm strength. Stand over the wrench. Let your weight push down through it. Gravity is doing the work. If you’re cranking hard with just your arm and wrist, you’re one slip away from knuckles on the chainring and a rounded axle flat. That’s how the job gets worse.
Step 5: If it won’t budge, apply heat. Heat gun on medium, 3 to 4 inches from the crank eye, 20 to 30 seconds. The metal expands slightly and breaks the corrosion bond. Hot — not boiling — water poured directly over the joint works too. Let it cool for one full minute, then try the wrench again. Repeat the cycle if needed. Two or three rounds usually wins.
Critical warning: If the axle flats already look rounded — smooth edges where sharp corners used to be — stop immediately. More force will strip the crank’s internal threads next. Switch to a pedal extractor tool, which runs $15 to $40, or take the bike to a shop. A destroyed crank costs $150 to $300 depending on the groupset. I’ve watched people cross that line trying to finish the job themselves. It’s a brutal way to spend an afternoon.
Pedal Threads Are Stripped or Seized Into the Crank
Sometimes the pedal simply won’t come out. The threads corroded so aggressively that the axle essentially fused with the crank, or the threads themselves are already damaged going in.
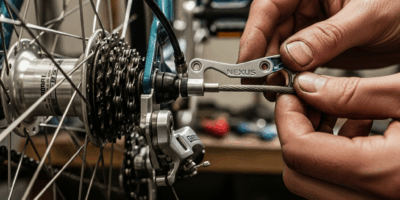
A pedal extractor tool is designed exactly for this situation. It threads into the pedal axle itself and uses mechanical leverage against the crank arm to pull the pedal free — without chewing up the crank threads further. Reasonable cost. $15 to $40. That’s nothing compared to replacing the crank arm.
Frustrated by a completely fused axle with no recoverable threads, plenty of riders have handed the bike to a machine shop — and for good reason. A helicoil insert repair drills out the old threads, installs a spiral metal insert that restores thread strength, and cuts fresh threads sized for a standard pedal axle. This new idea took off several years later in motorsports and eventually evolved into the go-to crank repair that bicycle mechanics know and rely on today. Labor runs $30 to $60. Saves the crank entirely.
When in doubt, take it to a shop. A destroyed crank costs hundreds, and the labor to swap a crank is significantly more than the cost of a 30-minute extractor job done by someone who’s done it 200 times.
How to Stop Pedals Seizing Again
First, you should coat the pedal threads with anti-seize compound before reinstalling — at least if you ever want to remove these pedals again without this same ordeal. Copper-based anti-seize or Loctite anti-seize both work. Thin layer on the threads only, not the pedal body. That’s the whole job.
Torque to spec if you have a torque wrench: 35 Nm for most standard pedals. Without a torque wrench, hand-tight plus a firm quarter turn is reliable — enough to seat the threads without overtightening.
Titanium pedal threads might be the best option for weight-conscious builds, as that setup requires extra attention on installation. That is because titanium oxidizes differently than steel and seizes significantly faster if threads go in dry. Anti-seize is mandatory there, not optional.
Left pedal reverses. That one rule — remembered before you touch the wrench — solves 90% of stuck-pedal problems before they ever start.

Stay in the loop
Get the latest bike maintenance pros updates delivered to your inbox.