Basic Bike Maintenance
Bike maintenance has gotten complicated with all the YouTube tutorials and forum debates flying around. Everyone’s got an opinion on the “right” way to take care of your ride, and honestly, most of them overthink it. I remember when I first started wrenching on my own bike — I watched about fourteen videos on chain lube alone and ended up more confused than when I started. So let me break it down the way I wish someone had for me.
Cleaning Your Bike
Here’s the thing: a clean bike isn’t just about looking good at the group ride. Dirt and grime actually eat away at your components over time. It’s like leaving dishes in the sink for a week — eventually things get gross and crusty and start causing problems.
Start by rinsing off the loose stuff with a gentle stream of water. And I mean gentle. Don’t go blasting your bike with a pressure washer like you’re cleaning the driveway. That kind of force pushes water straight into bearings and seals where it has no business being. Grab a bucket of soapy water and a soft brush, then work your way around the frame, wheels, and drivetrain. Give everything a good scrub, rinse with clean water, and dry it off with a soft cloth. That last step matters more than you’d think — leaving water sitting on metal is basically an open invitation for rust.
- Regular cleaning keeps dirt from building up and grinding away at parts.
- Bike-specific cleaning products work best on stubborn grime.
- Always dry the bike completely — corrosion is sneaky like that.
Lubricating the Chain
A smooth chain makes everything feel better. Shifting gets crisper, pedaling feels more efficient, and you won’t hear that annoying dry squeak on every revolution. But before you start dripping lube everywhere, clean the chain first. Grab a rag and some degreaser and get the old gunk off.
Once it’s clean and dry, apply a bike-specific lubricant — just a few drops along the chain. Probably should have led with this, but less is more here. Seriously. Drowning your chain in lube is one of the most common mistakes I see. Let it sit for a couple minutes, then wipe off the excess. All that extra oil does is attract dirt and turn your chain into a grimy mess.
- Always clean the chain before adding fresh lubricant.
- Use a lubricant made for bikes — not WD-40, not cooking spray.
- Wipe off the excess after application.
Checking Tire Pressure
Ever ride a bike with mushy tires? It feels like pedaling through sand. Too low and you’re working way harder than you need to, plus you’re asking for a pinch flat. Too high and every bump feels like it’s rattling your teeth loose. Finding the sweet spot makes a real difference.
Get yourself a decent tire pressure gauge — don’t just squeeze the tire and guess. Check the sidewall of your tire for the recommended pressure range and inflate accordingly. It takes about thirty seconds and it’s one of those things that makes your ride noticeably better every single time.
- Check pressure before every ride. Make it a habit.
- A good pressure gauge is worth the ten bucks.
- Stick to the recommended range printed on your tire.
Adjusting the Brakes
Let’s talk about the thing that actually keeps you from flying into traffic. Your brakes need to work. Period. Give the levers a squeeze — they should feel firm and responsive. If they feel mushy or you have to pull the lever all the way to the bar before anything happens, something needs fixing.
For rim brakes, check that the pads are hitting the rim evenly on both sides. If one pad is rubbing and the other barely touches, adjust the cable tension. For disc brakes, take a look at the pads and rotors. Worn pads need replacing, and if your rotor is warped, you’ll hear it rubbing with every wheel rotation. That’s what makes brake maintenance endearing to weekend warriors — once you learn the basics, you feel like a proper mechanic.
- Test your brakes regularly. Don’t wait until you need them and they’re not there.
- Make sure brake pads contact the rim or rotor evenly.
- Swap out worn brake components before they become a safety issue.
Inspecting the Drivetrain
The drivetrain is where the magic happens — chain, cassette, derailleurs all working together to turn your pedaling into forward motion. When it’s dialed in, it’s smooth and quiet. When it’s not, you get skipping, grinding, and the kind of noises that make other riders stare at you.
Check your chain for wear using a chain checker tool (they’re cheap and easy to use). A stretched chain will chew up your cassette and chainrings, which are definitely not cheap. Look at the cassette teeth — if they’re starting to look like shark fins, it’s time for a replacement. Make sure your derailleurs are aligned and the limit screws are set right so your chain doesn’t drop off into the spokes or into the frame.
- Check chain wear regularly — replacing a chain is way cheaper than replacing a cassette.
- Inspect cassette teeth for signs of wear.
- Keep derailleurs aligned for smooth shifting.
True the Wheels
A wobbly wheel is annoying at best and dangerous at worst. Spin your wheel and watch it — if it’s weaving side to side, it needs truing. This is where a spoke wrench becomes your best friend. You tighten or loosen individual spokes to pull the rim back into line.
A truing stand makes this way easier, but you can absolutely do it with the wheel still on the bike. The goal is even spoke tension all the way around. It’s kind of meditative once you get the hang of it. And keeping your wheels true means a smoother ride and less stress on the hub bearings.
- Spin your wheels every now and then to check for wobbles.
- A spoke wrench is the only tool you need.
- Aim for even tension — don’t just crank one spoke and call it done.
Checking Bolts and Fasteners
This one might not sound exciting, but a loose stem bolt can literally send your handlebars spinning while you’re riding. Not fun. Go around the bike and check everything — stem, handlebars, seat post, seatpost clamp, crank bolts, you name it.
Use a torque wrench if you have one. Over-tightening is just as bad as under-tightening, especially on carbon parts where too much force can crack things. Follow the torque specs stamped on the component or listed in the manual. It takes five minutes and it’s cheap insurance against something coming loose at the wrong moment.
- Check bolts and fasteners on a regular basis.
- A torque wrench keeps you from over-tightening.
- Always follow the manufacturer’s torque specs.
Inspecting the Saddle
Your saddle is one of three contact points with the bike, and if it’s off, every ride is miserable. Check it for wear, tears, or any damage. Make sure it’s level — a saddle that’s nose-up or nose-down can cause all sorts of discomfort and even injury over time.
If your current saddle is causing pain, don’t just tough it out. Swap it for something that fits you better. Saddle fit is personal, and what works for your riding buddy might be torture for you. Adjust the height and angle until it feels right — small tweaks can make a huge difference.
- Look for wear, rips, or damage on the saddle surface.
- Adjust height and tilt for your comfort.
- Don’t ride on a saddle that hurts — find one that fits.
Checking the Headset
The headset is what lets your fork turn smoothly inside the frame. Lift the front wheel off the ground and turn the handlebars side to side. It should feel smooth and free, with zero clicking or grinding. Now grab the front brake and rock the bike forward and back — any clunking means there’s play in the headset that needs fixing.
Adjusting a headset isn’t hard, but you do want to get it right. Too loose and the bike feels twitchy and vague. Too tight and the steering binds up. Use the right tools and follow the steps for your specific headset type.
- Test for smooth turning and no play.
- Adjust if there’s any clunking or stiffness.
- Follow manufacturer guidelines for your headset type.
Checking the Suspension
If you’re riding a bike with suspension, there’s a bit more to keep track of. Check the fork and rear shock for smooth operation — they should compress and rebound without any weird noises or sticky spots. Look at the seals for any oil leaking out, and keep the stanchions clean. Dirt on the stanchions gets dragged past the seals and causes premature wear.
Set your suspension to match your weight and riding style. And don’t skip the manufacturer’s recommended service intervals — suspension internals need periodic rebuilds to keep working properly.
- Inspect suspension regularly for smooth operation.
- Keep stanchions clean — wipe them down after every ride.
- Follow the service schedule in your owner’s manual.
Maintaining Cables and Housing
Cables are easy to forget about until your shifting gets sluggish or your brakes feel weak. Take a look at your cables for fraying, rust, or kinks. Check the housing for cracks or crushed sections. Anything that looks sketchy should get replaced — cables are cheap and the difference fresh ones make is night and day.
A little cable lube goes a long way too. It keeps everything moving freely inside the housing and extends the life of the cable. If you haven’t replaced your cables in a couple years, you’ll be amazed at how much better everything feels with new ones.
- Inspect cables and housing for wear or damage.
- Replace frayed or rusty cables right away.
- Lubricate cables for smoother shifting and braking.
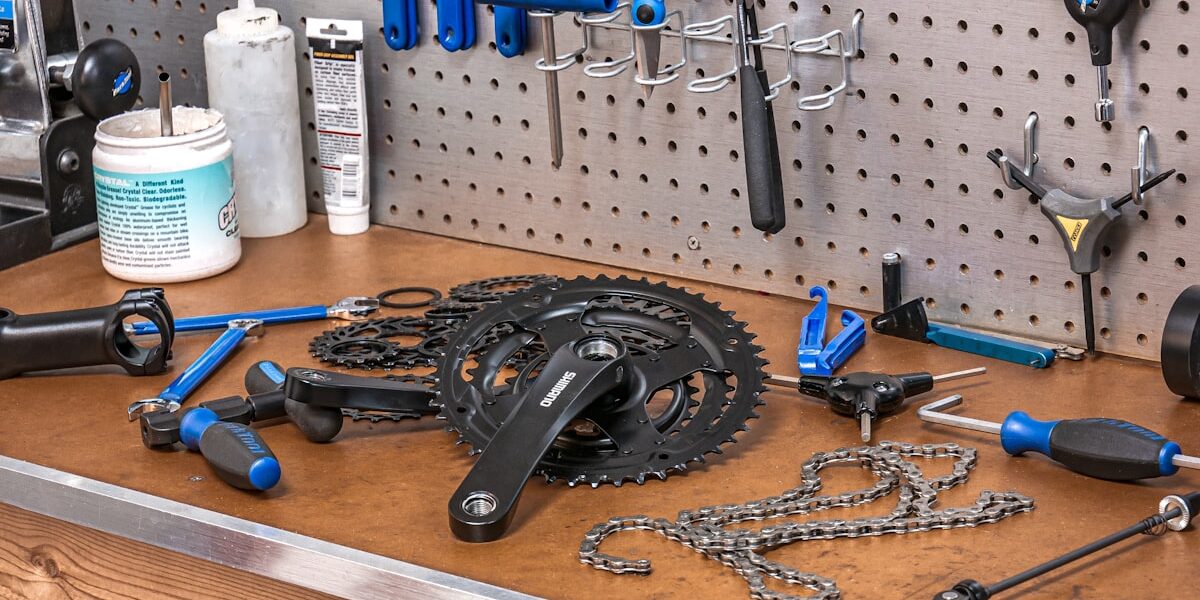
Spare Parts and Tools
Nothing ruins a ride faster than getting a flat ten miles from home with no way to fix it. At minimum, carry tire levers, a multi-tool, a mini pump or CO2 inflator, and a spare tube. Know how to use them before you need them — practicing a tube change in your garage is a lot less stressful than figuring it out on the side of the road.
At home, stock up on extra tubes, brake pads, and maybe a spare chain. Having the parts on hand means you can fix things when you notice them instead of putting it off because you have to order something first.
- Build a basic bike toolkit and keep it accessible.
- Always carry spare tubes and a way to inflate them on rides.
- Practice using your tools before you actually need them out there.