Quick Guide to Bike Repair
I got stranded three miles from home last summer with a flat tire and zero idea how to fix it. Just stood there on the shoulder staring at my wheel like it owed me money. That experience convinced me to actually learn basic bike repair, and honestly? Most of it is way simpler than I expected. Knowing even a handful of these fixes saves you from that helpless feeling — and saves you money at the bike shop too.
Tools Needed
- Bike multi-tool
- Tire levers
- Portable bike pump
- Chain breaker tool
- Pliers
- Hex keys
- Patch kit
- Screwdrivers
Fixing a Flat Tire
This is the one repair every cyclist should know by heart. Start by removing the wheel from the bike. Use tire levers to pry the tire off the rim — it takes a little muscle the first time, but you’ll get the feel for it. Pull the tube out and inflate it slightly, then listen for that telltale hissing sound. Once you find the hole, slap on a patch from your kit. If the tube looks really chewed up, just swap in a new one. When you’re putting everything back together, make sure the tube sits flat inside the tire without any bunching or pinching. Inflate slowly and watch that the bead seats properly on the rim — if it’s bulging anywhere, deflate and reseat it. Pop the wheel back on and make sure it’s locked in tight before you ride off.
Adjusting the Brakes
Probably should have led with this, because brakes that don’t work are a way bigger deal than a flat. Start by checking the brake pads. They should be clean, free from grit, and not worn thin. If they look like they’ve seen better days, replace them. Next, check the alignment — the pads should sit flat against the rim’s braking surface, not rubbing the tire. Loosen the pad bolts, position them where they need to be, and tighten back up. Squeeze the lever — it should stop the wheel firmly without the lever pulling all the way to the grip. Use the barrel adjuster to fine-tune the tension. Counterclockwise for more tension, clockwise for less. Easy once you’ve done it a couple times.
Lubricating the Chain
A clean, well-lubed chain is one of those things that makes a noticeable difference in how your bike feels. Start by wiping the chain down with a degreaser and a rag to get the old crud off. Then apply a drop of bike-specific lube to each link while slowly cycling the pedals through the gears. Don’t go overboard — a thin coat is all you need. Wipe off any excess with a clean rag so you don’t end up with a dirt magnet wrapped around your drivetrain.
Adjusting Derailleurs
Smooth shifting is something you notice when it’s gone. For the rear derailleur, the barrel adjuster is your best friend — small turns to tweak cable tension. Shift to the smallest cog and then work your way up through the gears, listening for hesitation or skipping. For the front derailleur, the limit screws control how far the cage can move. Shift to the smallest chainring and largest cog, and make sure the derailleur cage lines up with the chain. If it doesn’t, adjust the L-limit screw. Do the same check on the other end — largest chainring, smallest cog — and set the H-limit screw. It sounds fussy, but once you understand what each screw does, it clicks (pun intended).
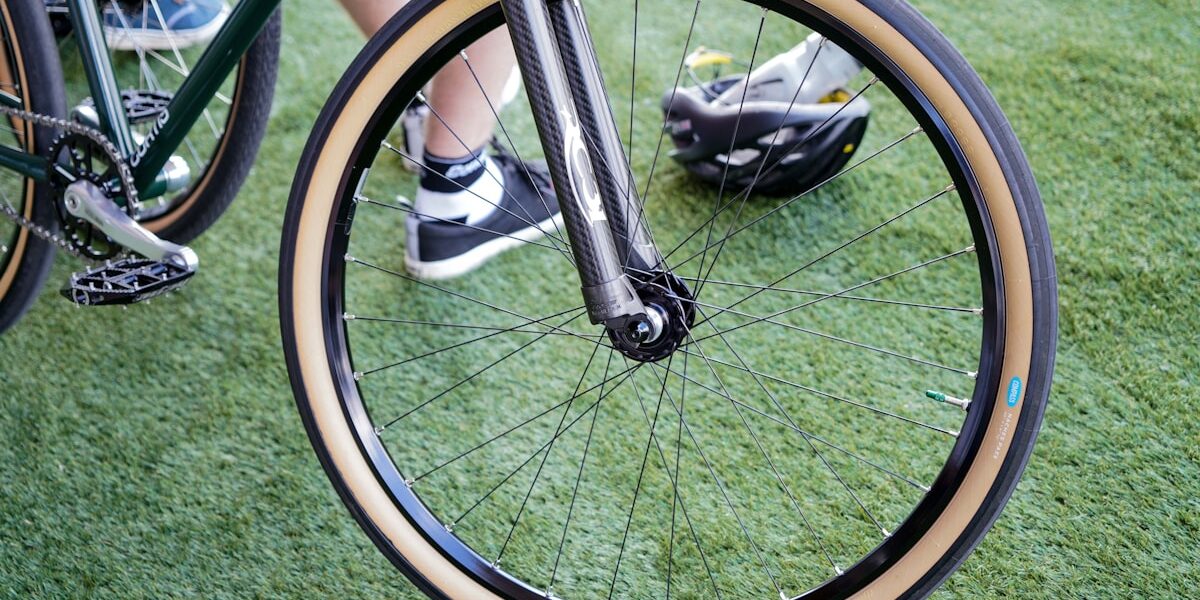
Truing a Wheel
A wobbly wheel messes with your handling and can cause the brakes to rub. You’ll need a spoke wrench for this one. Put the bike in a stand (or flip it upside down if you don’t have one) and spin the wheel. Watch where it wobbles toward the brake pads. On that side, tighten the spokes by small amounts — a quarter turn at a time. On the opposite side, loosen a bit. Keep spinning and checking. It’s a patience game, but getting a wheel to spin true is genuinely satisfying. That’s what makes wheel truing endearing to home mechanics — the results are immediate and tangible.
Replacing Brake Cables
Brake cables wear out over time, and a frayed cable is something you don’t want to discover mid-ride. To replace one, loosen the bolt clamping the cable to the brake arm. Pull the old cable out through the housing and the handlebar lever. Thread the new cable back through the same path, making sure it slides smoothly without kinking. Clamp it at the brake arm and use the barrel adjuster to get the tension right. Give the brakes a few good squeezes to test. They should bite firmly and release cleanly.
Replacing a Chain
Chains stretch over time and eventually need swapping. How do you know it’s time? A chain checker tool will tell you, but if you don’t have one and the chain is skipping gears even after derailleur adjustments, that’s a strong hint. Use a chain breaker tool to pop the old chain off. Lay the new chain next to the old one to figure out the right length — match link count. Route the new chain through the derailleurs correctly (front derailleur cage, around the cassette, through the rear derailleur jockey wheels). Connect the links with the chain tool and cycle through the gears to make sure everything runs smoothly.
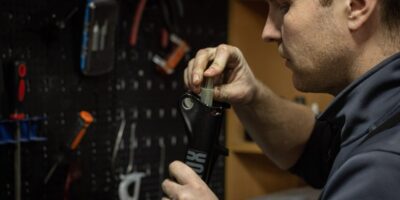
Fixing a Slipping Seatpost
A seatpost that slowly sinks while you ride is annoying at best and unsafe at worst. First thing — make sure both the seatpost and the inside of the seat tube are clean and grease-free. Sometimes old lube is the actual problem. Tighten the seatpost clamp. If it still slips, try carbon paste — it adds grip without needing to crank down on the bolt. If the clamp itself is worn out or the wrong size, replacing it is cheap and usually fixes the issue for good.
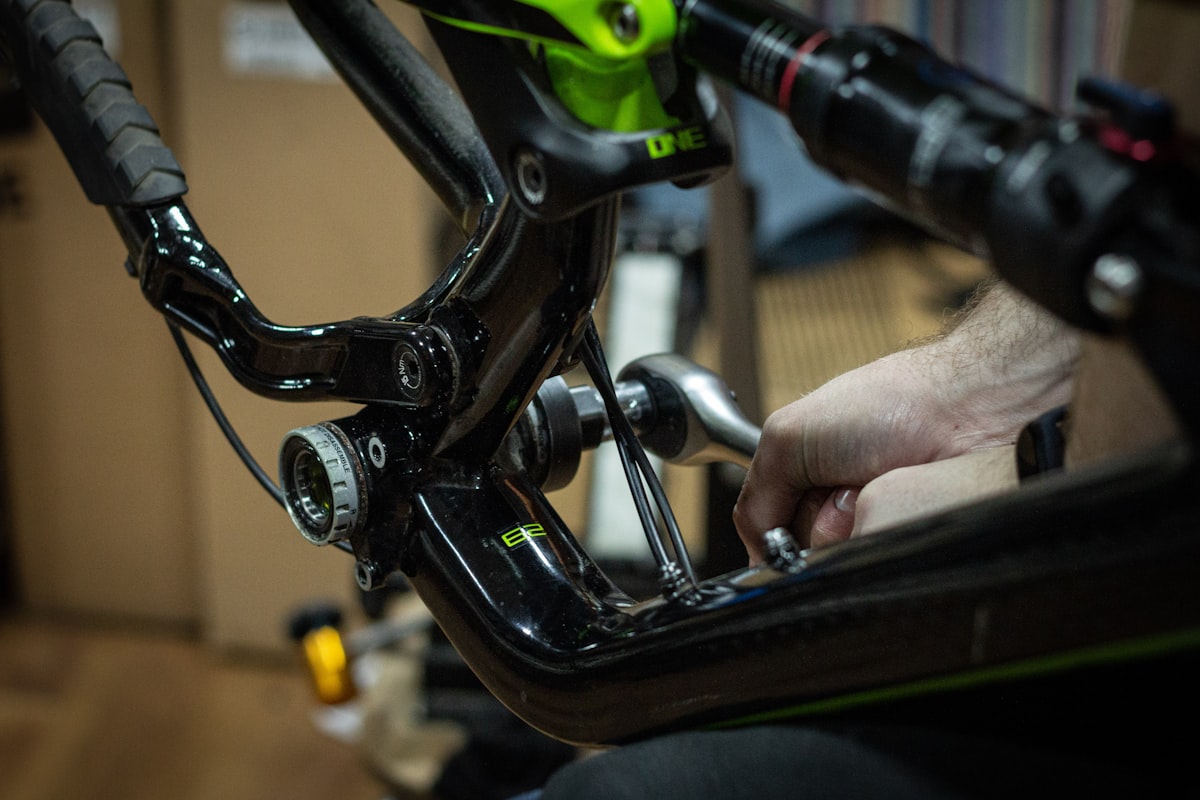
Maintaining Headset and Bearings
A healthy headset means smooth, predictable steering. Here’s the test: grab the front brake and rock the bike back and forth. If you feel a knock or any looseness in the headset area, it needs tightening. Loosen the stem bolts first, then tighten the top cap bolt until the play is gone — but don’t overdo it or you’ll make the steering stiff. Make sure the handlebars still turn freely, then retighten the stem bolts. For the bearings themselves, periodic cleaning and regreasing keeps everything rolling smoothly and prevents premature wear. It’s one of those jobs that takes twenty minutes but buys you thousands of trouble-free miles.