Bike Care and Repair
Bike Care and Repair
Bike maintenance has gotten complicated with all the conflicting advice flying around. One YouTube video says wash your bike after every ride, another says water is the enemy. I remember my first attempt at wrenching on my own bike in the garage — I overtightened a brake cable so badly that the rear wheel locked up on my test ride down the driveway. Not my finest moment. But that’s the thing: you learn by doing, and most of this stuff really isn’t as hard as it looks once you just get your hands dirty.
Cleaning Your Bike
Start with the frame. Grab a bucket of soapy water and a sponge or soft brush. Don’t go crazy scrubbing — you’ll mess up the paint if you’re too aggressive about it. Just give it a solid once-over and rinse with clean water.
Next up is the drivetrain, which is where things get grimy. Hit the chain, cassette, and chainrings with a degreaser. An old toothbrush is honestly the best tool for getting in between the gears. Fancy brushes work, but a worn-out toothbrush does the job just fine. Rinse everything well and let it dry before you move on.
For the brakes, soapy water and a brush again. Just be careful here — you really don’t want detergent getting on your brake pads. That’ll make stopping way less effective, and nobody wants that surprise on a downhill.
Tire Maintenance
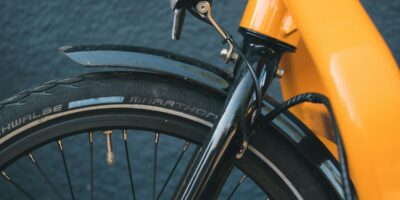
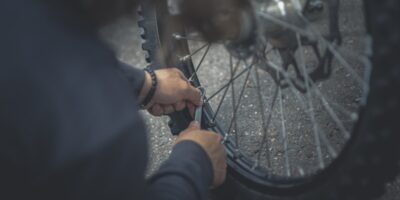
Check your tire pressure regularly. I know, it sounds basic, but you’d be amazed how many people skip this. Underinflated tires make pedaling way harder than it needs to be and you’re basically rolling out a welcome mat for punctures. Get yourself a pump with a pressure gauge. The manufacturer’s recommended PSI range is usually printed right on the tire sidewall — just match that number and you’re good.
While you’re at it, give your tires a visual once-over. Look for cuts, cracks, or little bits of glass and debris stuck in the rubber. If a tire shows real wear or has any serious damage, swap it out. Riding on worn-out tires is just asking for trouble.
Lubricating the Chain
Probably should have led with this, because a dry chain is the number one thing I see people neglect. Lubricate your chain after cleaning it — always in that order. Use a bike-specific lubricant (not WD-40, please). Apply a small drop to each link while slowly turning the pedals, then wipe off the excess with a clean rag. More isn’t better here. Too much lube actually attracts dirt and grit, which defeats the whole purpose.
Brake Inspection and Adjustment
Here’s a quick rule: if your brake pads are worn down to the metal, stop riding and replace them. Seriously. That’s not a “when I get around to it” kind of fix. Check the alignment too — the pads should make full, even contact with the rim without touching the tire. If they’re rubbing the tire, you’ll chew through it fast.
If you squeeze the brake levers and they pull almost all the way to the handlebar, the cables need tightening. Find the barrel adjuster on the brake lever or caliper and give it a clockwise turn to bump up the tension. A few small turns usually does it.
Gear Shifting and Adjustment
Gears not shifting smoothly? Don’t panic — it’s usually just a cable tension issue. Start with the barrel adjusters on the derailleur or shifters. Turn clockwise to decrease tension, counterclockwise to increase it. Small adjustments here make a surprisingly big difference.
If the chain keeps skipping gears, your derailleurs might need indexing. This means messing with the limit screws, so go slow. The high limit screw controls how far the derailleur can move outward, and the low limit screw controls inward movement. Quarter turns, check, repeat. Patience is your best friend here.
Wheel Truing and Spoke Maintenance
Spin your wheels and watch for wobbles. A little side-to-side movement is normal, but anything obvious needs attention. You can fix minor wobbles with a spoke wrench — turn the nipple on the side opposite the wobble. Go a quarter turn at a time and recheck. It’s tedious but weirdly satisfying when you finally nail it.
Broken or bent spokes? Replace them right away. Riding with a compromised wheel is asking for a bad day — the stress on the remaining spokes can snowball into a much bigger and more expensive problem.
Bottom Bracket Care
If you’re hearing creaking or grinding from the area where your pedals connect to the frame, that’s the bottom bracket talking to you. And it’s not saying nice things. These sounds usually mean it’s time for maintenance or a full replacement. Pull the crank arms off and take a look at the bottom bracket for dirt buildup and wear.
Clean everything out and pack in fresh grease if it looks serviceable. Getting the bottom bracket reinstalled correctly matters a lot — if it’s cross-threaded or not seated right, you’ll be dealing with the same annoying noises within a week.
Headset and Steering Inspection
Here’s a quick test: hold the front brake and rock the bike forward and back. Feel any clunking or movement in the headset area? That play needs to go. Grab the right-sized Allen key and tighten the tension bolt on top of the stem until the looseness disappears.
Also check that your steering is smooth by turning the handlebars side to side. If there’s resistance or a gritty, grinding feel, the bearings probably need servicing. That’s what makes a well-tuned headset endearing to everyday riders — when it’s right, you don’t even notice it. When it’s wrong, every single turn feels off.
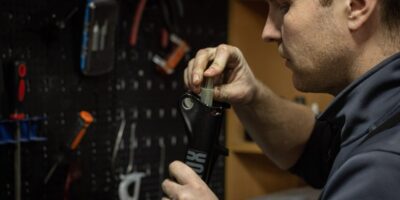
Saddle and Seatpost
Give your saddle a look for tears or wear spots. Check that the seatpost is at the right height and properly aligned — nobody wants a crooked seat on a long ride. If the seatpost clamp is loose, tighten it up. And if you’re someone who adjusts saddle height often (maybe you share the bike with family), put a little lube on the seatpost to keep it from seizing in the frame. Stuck seatposts are a real nightmare to deal with later, trust me.
Handlebars and Grips
Make sure your handlebars are locked in tight. Grab them and give a firm twist — any movement means the stem bolts need attention. Tighten them evenly so you’re not putting lopsided stress on anything. While you’re there, check your grips or bar tape. Worn-out grips get slippery when wet, and loose bar tape is just plain annoying. Replace either one when they start going south — it’s cheap and makes a noticeable difference in how the bike feels.
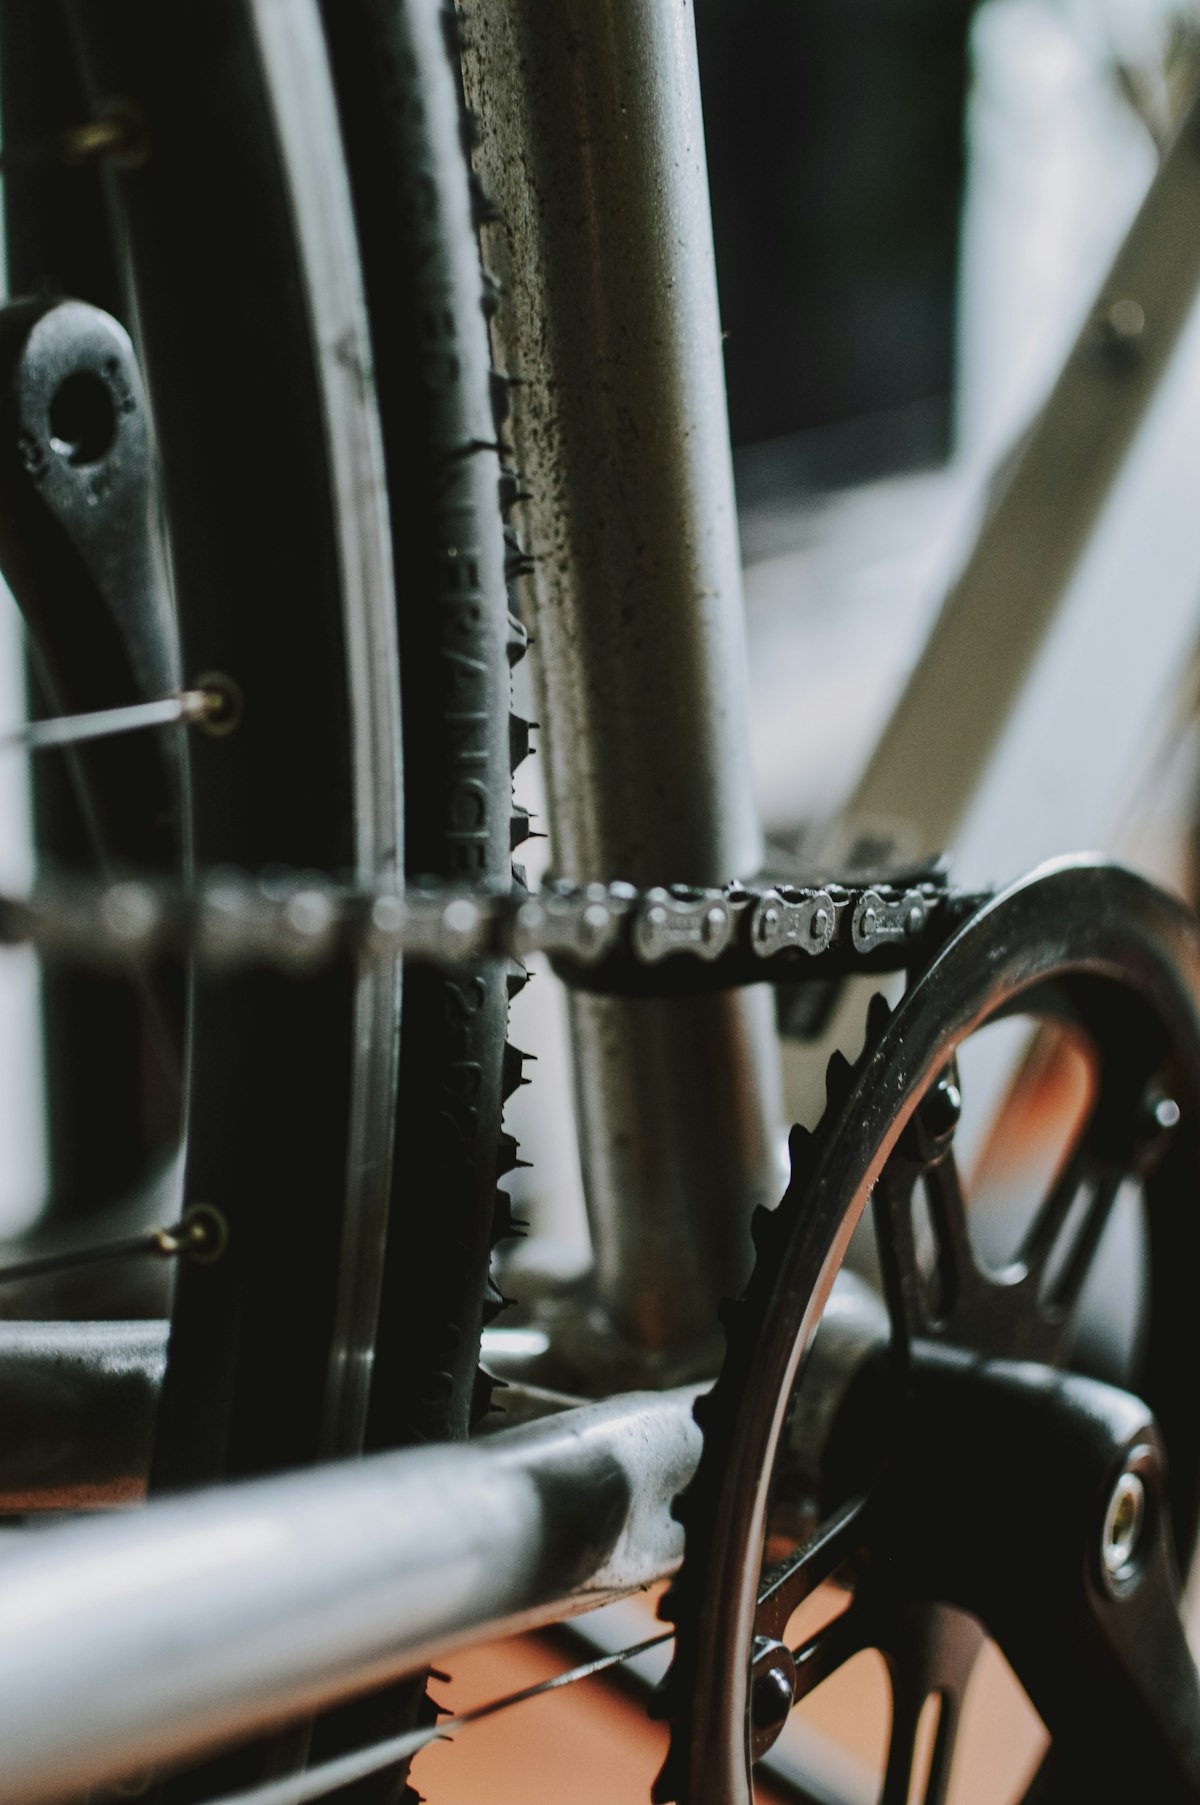
Chainring and Crankset
Take a close look at the chainring teeth. If they look sharp and pointed like little shark fins instead of rounded and symmetrical, it’s replacement time. Worn chainring teeth cause the chain to skip under load, which is especially fun when you’re standing up on a hill (not really). Check the crankset bolts too and make sure the crank arms are snug against the bottom bracket spindle. Loose cranks will click with every pedal stroke and it’ll drive you up the wall.
Pedals and Cleats
Check that your pedals spin freely and are threaded tight on the crank arms. Before installing pedals, put a little grease on the threads — it makes removal way easier down the road and prevents them from fusing to the cranks. If you ride clipless, inspect the cleats on your shoes for wear. Worn cleats won’t click in or out properly, and that’s a safety issue you definitely don’t want to discover mid-ride on a busy street.
Bike Storage
Store your bike somewhere dry. A bike cover helps keep dust and moisture off if you don’t have a dedicated indoor spot. If you have to store it outside, invest in a decent lock — bike theft is unfortunately way too common. And honestly, a quick check before each ride goes a long way. Just a fast once-over to make sure tires are firm, brakes grab, and nothing’s rattling loose. Takes thirty seconds and saves you real headaches down the road.